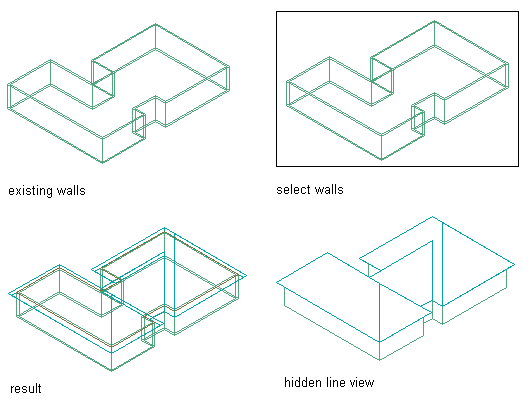
Use this procedure to create a roof that is based on a selected closed set of walls and has the properties of the roof tool you select. You can edit these properties after creating the roof. The roof takes its plate height from the top of each wall segment.
Note: If your walls are not properly cleaned up, the roof conversion is unpredictable.

Creating a roof from walls
- Open the tool palette that contains the roof tool you want to use.
- Right-click a roof tool, and click Apply Tool Properties to
 Linework and Walls.
 - Select the walls to convert, and press Enter. Note: If the walls you select are not closed, a roof is added to the top of each wall segment.
- When prompted to erase the original geometry, press Enter to keep the wall, or enter y (Yes) to erase it.
- Edit the properties of the roof on the Properties palette, if needed.