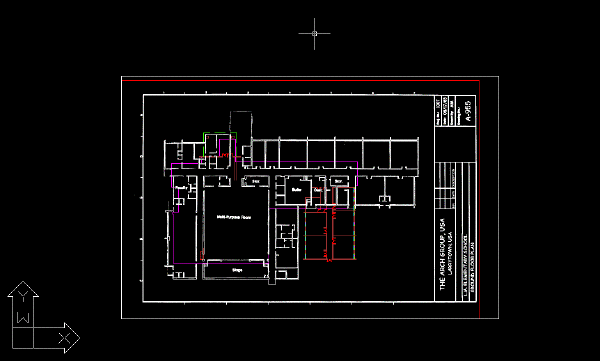
In this exercise, you use the Insertion Wizard to insert an image into a drawing.
The Insertion Wizard guides you through the process of inserting an image and positioning the image relative to the other objects in the drawing.
Related Exercises
Before doing this exercise, ensure that AutoCAD Raster Design toolset options are set as described in the exercise Exercise A1: Setting AutoCAD Raster Design Toolset Options.
Exercise
- In the ..\Program Files\Autodesk\ApplicationPlugins\RasterDesign2024.Bundle\Contents\Tutorials\Tutorial4 folder, open the drawing file Hybrid_01.dwg.
- View the vector linework in the drawing.
The magenta line represents the outline of the school building. The dimensions of the outline were obtained from field taping measurements. The other vector linework shows the proposed changes to the building.
Choose an image to insert
- To display the
Insert Image dialog box, on the ribbon, click
Raster Tools tab
 Insert & Write panel
  Insert
 .
.
- Click the Views menu to verify that Preview and Information are checked. This causes AutoCAD Raster Design toolset to display a preview and a list of parameters for each selected image.
- From the Files of Type list, choose CALS Type 1.
- If necessary, navigate to the ..\Program Files\Autodesk\ApplicationPlugins\RasterDesign2024.Bundle\Contents\Tutorials\Tutorial4 folder.
- Select the image file Floorplan_01.cal.
- Review the values shown for each parameter.
This parameter list identifies important characteristics of the image.
Position and insert the image
- In Insert Options, select Insertion Wizard.
- In Insert Options ensure that Show Frames Only is not selected.
- Click
Open to display the
Pick Correlation Source dialog box.
This dialog box is the first dialog box of the Insertion Wizard. When you choose a correlation source, the dialog box shows the insertion point, rotation, and scale associated with the selected correlation source.
- Select each of the options in the
Correlation Source list, one after another, and view the insertion parameters and image density associated with each source.
The correlation sources are listed in descending order of priority. The resource file has the highest priority as a correlation source.
- Select Resource File for the correlation source and click Next.
- Zoom out and notice that the inserted image is much bigger than the rectangle enclosing the vector linework.
- In the
Modify Correlation Values dialog box, change the Scale value from 300 to 25. Click
Apply to see the results.
The Modify Correlation Values dialog box gives you the opportunity to alter correlation information before AutoCAD units are applied. AutoCAD Raster Design toolset shows where the image will appear in the drawing when the image is inserted according to the specified correlation values.
- Click Next.
- The
Insertion dialog box shows the correlation of the image in AutoCAD units. Click
Finish to accept the values shown here.
The image of the floor plan is inserted in the drawing, which already contains some vector linework.

- Close the drawing without saving changes.