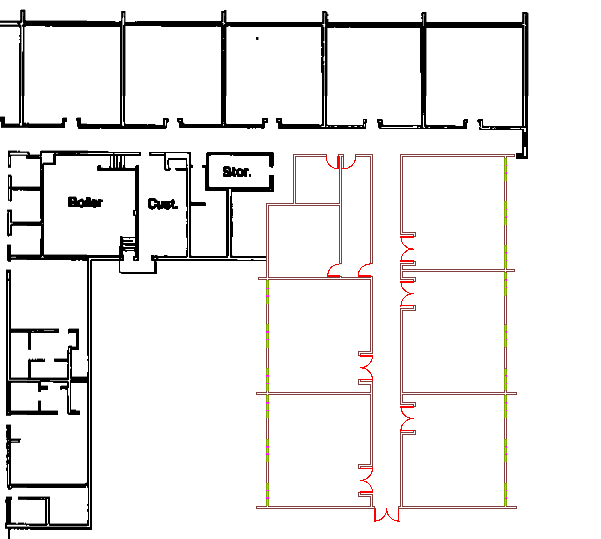
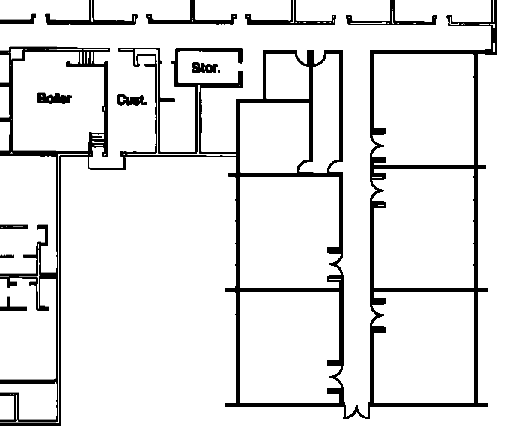
In this exercise, you update a drawing and merge new vector data with existing raster data.
| To merge vectors into raster data | ||
|---|---|---|
| 1 |
Open the LiveView_Merge.dwg sample file. You see a drawing of a school. The white raster data indicates the original building, and the colored vector data indicates the additional classrooms. |
 |
| 2 | On the ribbon, click
Raster Tools tab  Edit panel (expanded)
  Raster Pen to open the
Raster Pen Settings dialog box.
|
 |
| 3 |
Select the Red pen color, set its pen width to 1 pixel, then click OK. With this setting, the doors will be drawn in thinner raster lines than the walls. |
 |
| 4 |
On the ribbon, click
Raster Tools tab Note: If you can't select the frame of the raster image, click
Raster Tools tab
 Manage & View panel
  Toggle Frames.
Press Enter to accept the default setting of deleting the vectors after the merge. If prompted to proceed, click Yes. The vector data is merged with the raster data. |
 |