Set up a gel simulation
The source_mpm_gel node is useful for simulating many materials such as icing, toothpaste, ketchup, melted chocolate, and foam, just to name a few possibilities.
Check out the sample gel simulations available in the Bifrost Browser. See Get Started with sample graphs.
Get the meshes to use as emitters for the gel, as well as containers and other colliders. These meshes can be input from the scene or created in the graph. For best results:
- The meshes should be as regular as possible, for example, triangles or quads without any long slivers.
- The edge lengths should reflect the size of detail that you want in the simulation.
- If you are using meshes from the scene, you probably want to hide the emitter meshes.
Connect each emitter mesh into the
geometryinput of asource_mpm_gelnode, and set its properties.- Use separate
source_mpm_gelnodes if you want different meshes to emit with different properties. - Connect multiple meshes into the same node for efficiency if you want them to emit in the same way. Optionally, you can also merge them into a single mesh beforehand.
- Use separate
Connect the outputs from the
source_mpm_gelnodes into thesourcesport of asimulate_mpmnode.Connect the ouput of an
mpm_solver_settingsnode into thesettingsport of thesimulate_mpmnode, and set its properties.Connect the meshes that you want to use as obstacles (such as containers for the gel) into
collidernodes. You can connect all the collider meshes into a single node if you want them to have the same properties, or into different nodes if you want different colliders to have different properties.Connect the outputs of the
collidernodes into thecollidersinput of thesimulate_mpmnode.Optionally, connect influence nodes such as
wind_influenceorturbulence_influenceinto theinfluencesinput of thesimulate_mpmnode.To visualize the flow of the gel particles, connect the
granular_pointsoutput of thesimulate_mpmnode to a graph output orterminalnode. Play through the simulation and adjust settings as desired.- The
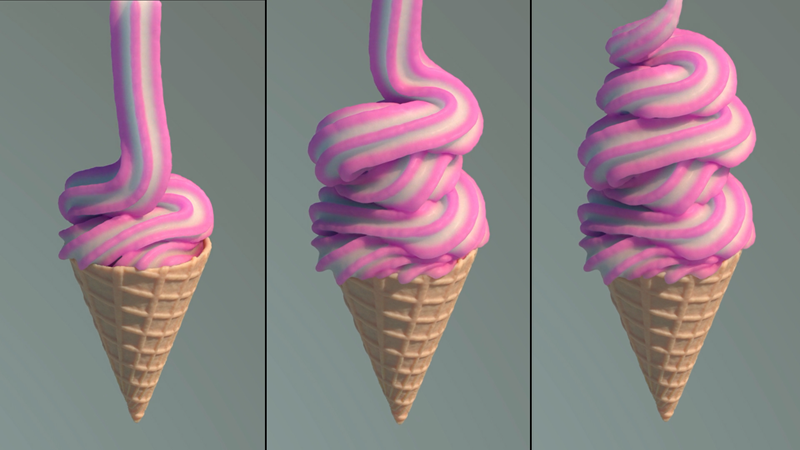
yield_stressproperty on thesource_mpm_gelnode controls the overall behavior — the larger the value, the more the gel will clump together and resist yielding under shear force.
- The
To generate a mesh for rendering, it's best to cache the particles because rendering typically takes longer than the simulation and can be easily resumed (unlike the simulation).
- Before caching, you can use
erase_component_propertiesto remove point properties that are no longer needed and reduce the size of the cache files. You can use a watchpoint to list the properties of the gel points, but note that thegranular_pointsoutput is an array so you need to get the gel points object from the array first. - Connect the output to a
file_cachenode, and connect its output to a graph output orterminalnode. - For the meshing, use
points_to_volumefollowed byvolume_to_mesh. To tweak the mesh output, you can useset_geo_propertyto adjustpoint_sizebeforepoints_to_volume, as well as usesmooth_voxel_propertyto adjust volume properties afterwards — the details depend on what you are trying to simulate and how you want it to look.
- Before caching, you can use