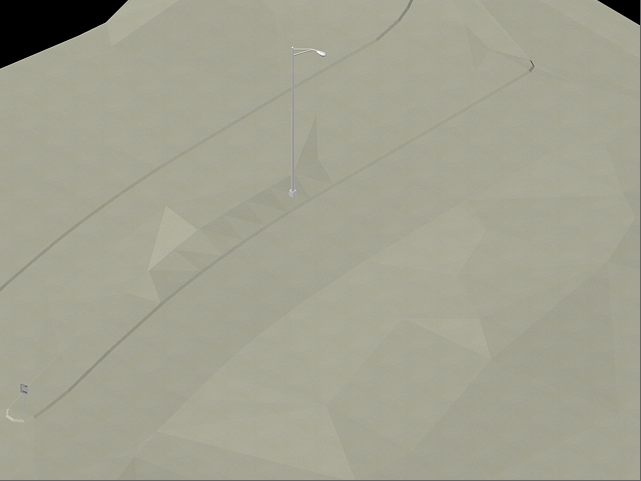
In this exercise, you will use some of the visualization features in Autodesk Civil 3D to render a surface.
Like other Autodesk Civil 3D objects, you must apply a render material to the surface using the Surface Properties dialog box.
This exercise continues from Exercise 1: Moving Multi-View Blocks to a Surface.
Apply a render material to the surface
- In Toolspace, on the Prospector tab, expand the Surfaces collection.
- Right-click the XGND surface. Click Surface Properties.
- In the
Surface Properties dialog box, on the
Information tab, specify the following parameters:
- Render Material:
Sitework.Planting.Sand
This render material displays contrast in the surface elevations.
- Surface Style: Standard
- Render Material:
Sitework.Planting.Sand
- Click OK.
This exercise uses Surface-7.dwg with the modifications you made in the previous exercise.
Apply a visual style to the surface
- Click
tab
 panel
panel  Visual Styles drop-down
  .
.
This visual style shades the surface and smooths the edges between polygon faces. The render material that you applied to the surface is displayed.
- Click
tab
 panel
panel  Visual Styles drop-down
  .
.
This visual style shades the surface and smooths the edges between polygon faces. The shading in this style uses the Gooch face style, a transition between cool and warm colors rather than dark to light. The effect is less realistic, but it can make the details of the model easier to see.
Visual Styles give a fast, basic visualization of the surface that is useful for on-screen presentation in Autodesk Civil 3D.
Render the surface
- On the command line, enter
RPREF.
Examine the many render settings that are available, including variations in image quality and output size. If you wanted to save the rendered image to a file, you would click
 and use the
Output File Name control to specify a file name and destination.
- Click
 .
.
The surface and blocks are rendered in the Render window. The effects of rendering are more apparent in a drawing that has different render materials applied to several surfaces and objects.
