You can set up a reference template with the settings that you want to reference into drawings. Only the items that are selected will be referenced into the host drawings by default.
To set up a reference template
- Open or create a new DWT file.
- Set up the styles and settings that you want to use in the template.
- On the Manage tab, click Styles panel
 Set Reference Template Defaults
 .
Note: The Set Reference Template Defaults command is available on the ribbon only when you are working in a DWT file.
.
Note: The Set Reference Template Defaults command is available on the ribbon only when you are working in a DWT file.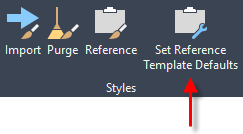 The Set Reference Template Defaults dialog box is displayed.Note: You can also access this dialog box when you are creating a new template. In the Template Options dialog box, click Set Defaults to display the Set Reference Template Defaults dialog box.
 - Select the check boxes for the styles and settings that you want to be referenced by default. In the following example, only the Reference Template Marker Style is selected.

- Click OK.
To attach a reference template to a drawing and verify the settings
- Click
Manage tab
Styles panel Reference
Find.
- In the
Attach Referenced Template dialog box, click Attach a New Template
 .
.
- In the Open Template File dialog box, select the DWT file to attach and click OK.
Tip: Select the file type from the Files of Type list at the bottom of the Open Template File dialog box.
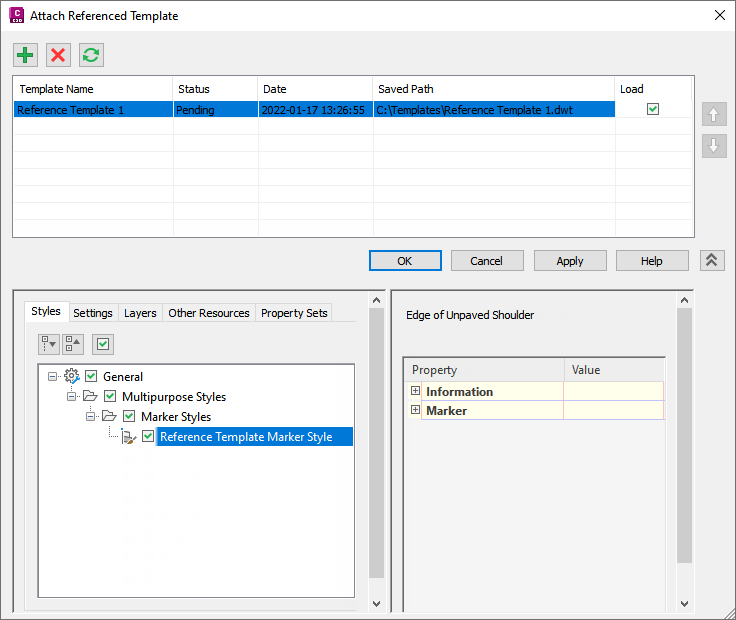
When you attach a template, the lower part of the dialog box is expanded so you can review the settings. The styles and settings that you selected in the reference template are displayed and selected.
 Note: If you clear the load check box and click Apply or OK, unused components from a reference template are removed from the drawing and the drawing is not updated with further changes that are made to the reference template. Components that have been used, such as layers, remain in the drawing.
 - Click Apply to apply the reference template to the drawing.
To attach an additional reference template to a drawing and resolve conflicts
If you have multiple templates to attach, you can control which components are applied from which template if the components exist in more than one template.
- Click
Manage tab
Styles panel Reference
Find.
- In the
Attach Referenced Template dialog box, click Attach a New Template
.
- In the Open Template File dialog box, select the DWT file to attach and click OK.
Note: When you attach a template, it is added to the top of the list, which means it has the highest priority. You can move it down in the order before applying it if needed.
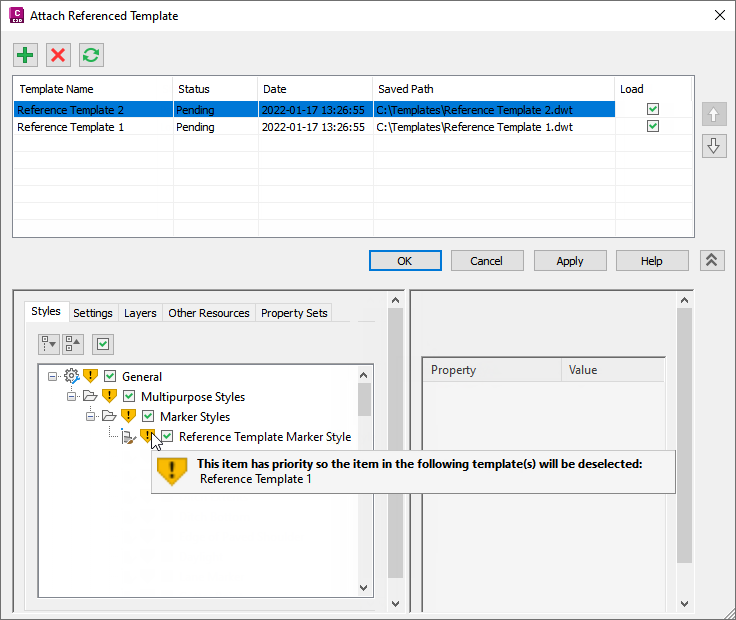
Warning symbols are displayed the lower part of the dialog box if there are duplicate components in a lower priority template that will be overridden.
In the following example, after adding Reference Template 2, but before applying it, duplicate styles are identified.
 Note: If you clear the load check box and click Apply or OK, unused components from a reference template are removed from the drawing and the drawing is not updated with further changes that are made to the reference template. Components that have been used, such as layers, remain in the drawing.
 - In this example, you could address the conflict as follows:
- You can click Apply to use the components in Reference Template 2. This will clear the selections in Reference Template 1 so the duplicate components in that template will be deselected and will not be used.
- You can change the priority order of the templates using the Move Up
 and Move Down
 buttons. If you move Reference Template 1 to be the highest priority template, the components in Reference Template 1 will be used if there are duplicates. Duplicates in the lower priority template will be deselected and will not be used.
- You can clear a check box in a higher priority template to use the component in the lower priority template. When you clear a check box for a duplicate component in a higher priority template, the component in the lower priority template remains selected and will be used.
- Click Apply to apply the templates.
When you click Apply or OK, the styles and settings are applied, duplicates are de-selected in the lower priority templates, and the alerts are cleared.