Save the map before you publish. You cannot publish to any format without saving first.
Note: This exercise uses the map you modified in the
previous exercise.
To publish the map book to DWF format
- Save the map.
- On the Map Book tab of the Task Pane, right-click the map book name (in this example, it is Default-ModelSpace) and click Publish To DWF.
- Specify a name for the output file.
- If prompted, choose a sheet set.
- If you see the message that tells you the job is processing in the background, click OK.
Notice the animated icon in the lower right corner of the window.
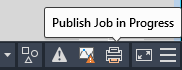
Place your cursor over the animated icon to see which page of the map book is being published.

When the job is finished, a message alerts you to any errors.
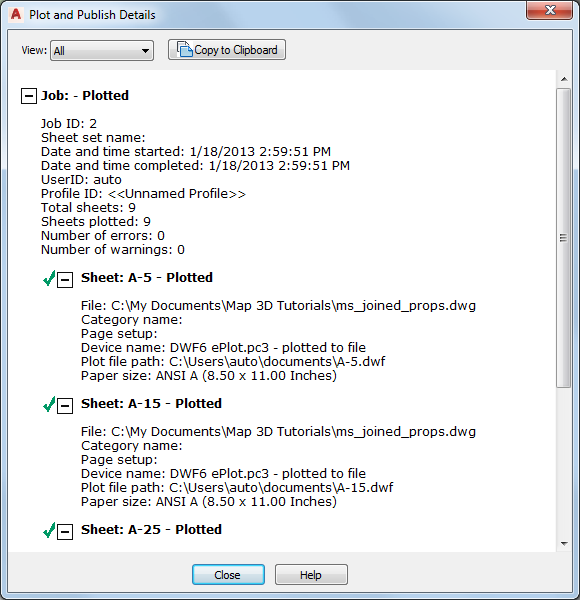
You can view the details
Where you are now
You customized a map book template and used it to create a map book. You published the map book to DWF format, so you can share it with people who do not have a copy of AutoCAD Map 3D toolset. These people can download a free viewer, Autodesk Design Review, to see the maps. Autodesk Design Review is available from http://www.autodesk.com/designreview.