More Box Transformations
mybox to be already defined with an instance of a Box primitive. If you are not continuing directly from these previous lessons, you must at least evaluate the linemybox = box()to apply the following examples to the 3ds Max scene.
The following lines prepare our box for more complex transformations. They change the number of box segments on all sides, and put a check mark into the Generate Mapping Coords. box in the Parameters rollout:
ENTER THE FOLLOWING FOUR LINES OF CODE:
   mybox.lengthsegs = 10
   mybox.widthsegs = 10
   mybox.heightsegs = 10
   mybox.mapCoords = true
MAXScript has changed the appropriate settings in the Parameters rollout:
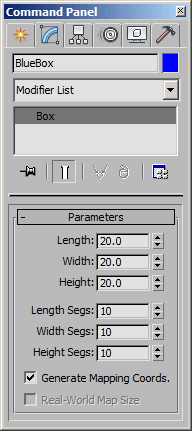
Any time you change a property of a 3ds Max object, MAXScript immediately reflects the change in the scene and in the user interface.

You can also create modifiers and add them to an object.
Creating and Assigning Modifiers
Creating a Modifier
Creating a modifier is pretty simple. You use the addModifier command and specify the name of the modifier you want to use and its appropriate parameters.
To create a Twist modifier set to 30 degrees and apply it to your box,
ENTER
addModifier mybox (twist angle:30)
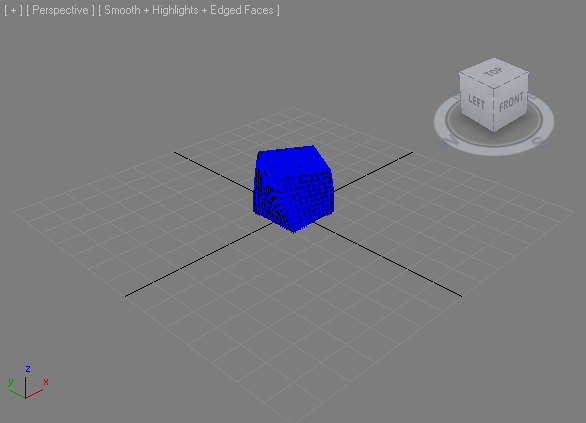
The box in your Perspective viewport is now twisted and the interface shows the new Twist modifier in the modifier stack display, together with its parameters:

Changing a Modifier
Changing a modifier is similar to changing a creation parameter. Again, because you used a variable name for your object, and you added a modifier to that object variable, you now have easy access to the new modifier properties of your object.
To change the angle of the twist modifier to 60 degrees,
ENTER
mybox.twist.angle = 60
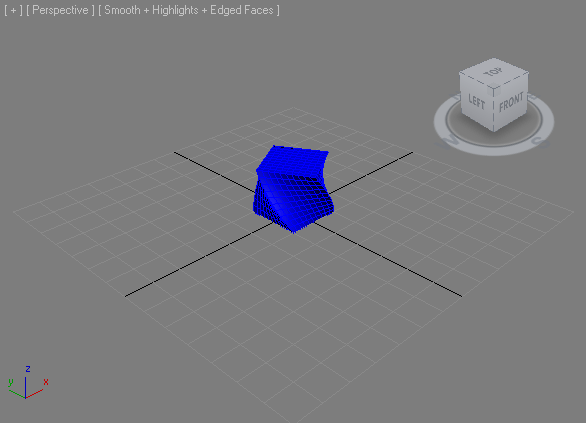
The twist of your box is now more pronounced and the Angle parameter of the Twist modifier displays the new value:
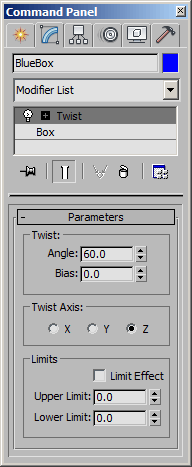
Now, you can add and change other modifiers as you like. The syntax is the same for all modifiers. To find out the names of other modifiers, search for the "Modifier : MAXWrapper" topic in the MAXScript Reference.
If you entered the above commands, click  Undo twice to bring the box back to its original state.
Animating the Box
MAXScript has several syntax forms that mirror the main UI tools such as, the Auto Key button, the time slider, and the active coordinate system.
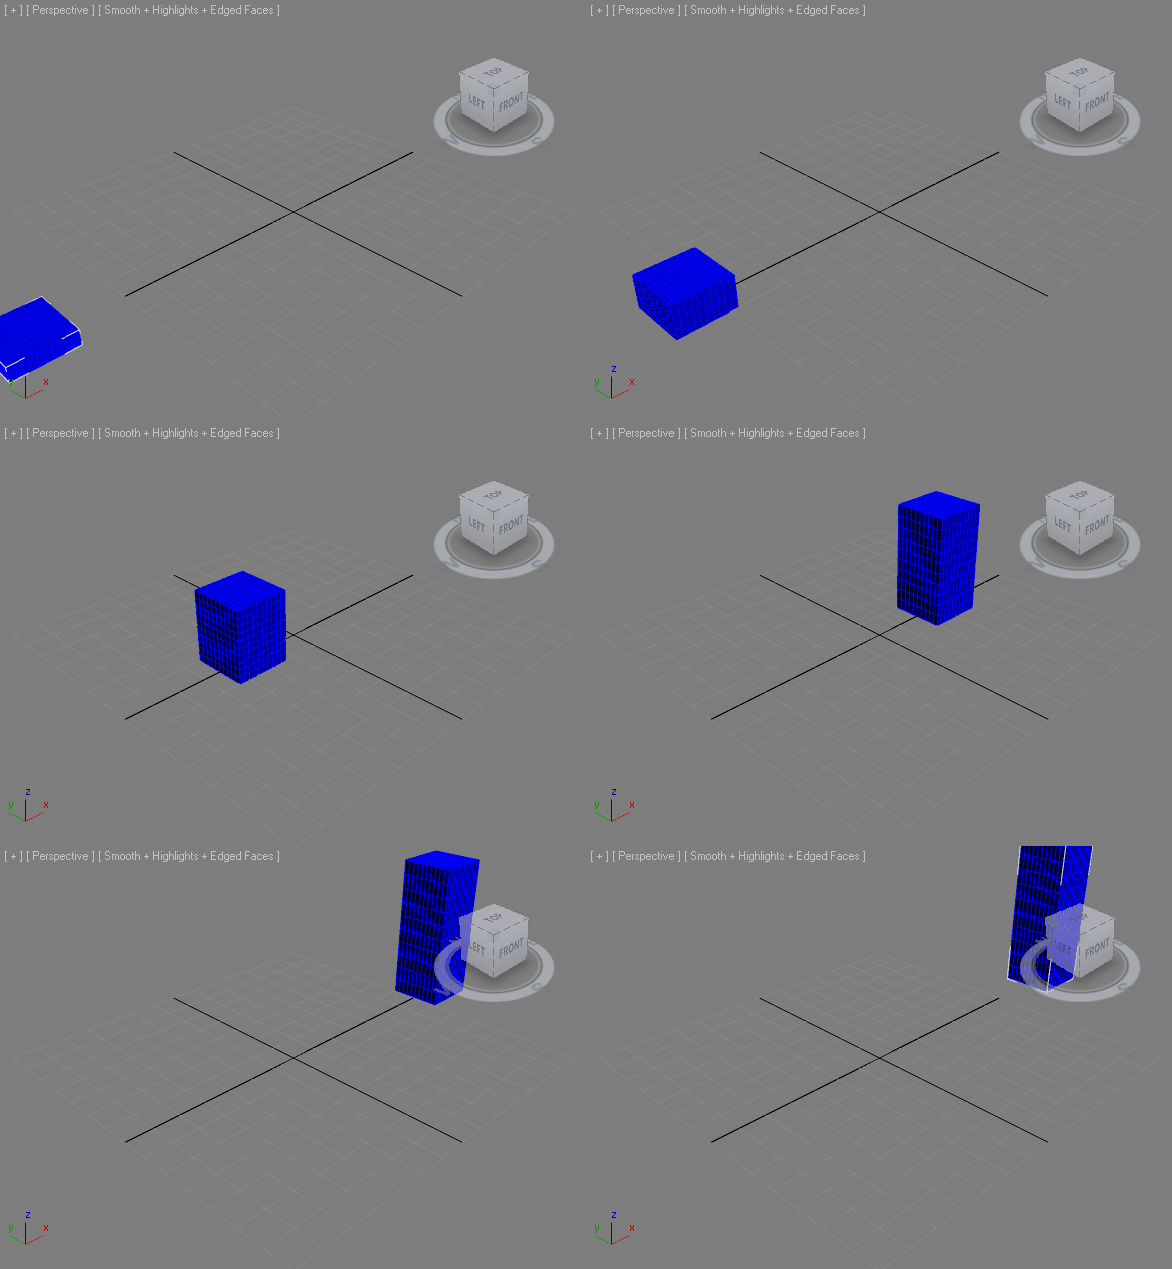
In the following example, you turn on the Auto Key button, set the slider to several different values, and adjust the properties of your box, just as you would do using the software’s UI:
EXAMPLE:
   animate on
   (
     at time 0 (mybox.pos = [-100, 0, 0]; mybox.scale = [1, 1, 0.25])
     at time 100 (mybox.pos = [100, 0, 0]; mybox.scale = [1, 1, 3])
   )
Drag the slider around, and you will see that MAXScript has animated the box, and placed keyframes at 0 and 100.
When you use MAXScript to animate objects, the actual Auto Key button in the UI does not come on, nor does the time slider move; these things happen within MAXScript.
In this example, the time was given as a simple number. If no unit is specified, MAXScript interprets this as a frame number. You can also use one of the various time literals in the following manner:
EXAMPLES:
   2.5s-- 2.5 seconds
   20f-- 20 frames
   4800t-- 4800 ticks = 1 sec
   1m3s5f-- 1 min, 3 seconds, 5 frames
   1:15.5-- SMPTE: 1 min, 15 seconds, 5 frames
All times are automatically converted to frames.
HISTORY:
In the early versions of3ds Max, the User Interface featured a button called Animate, which performed the same function as the current Auto Key button. For this reason, the MAXScript context for creating animations is called Animate and not Autokey.
Next Topic