
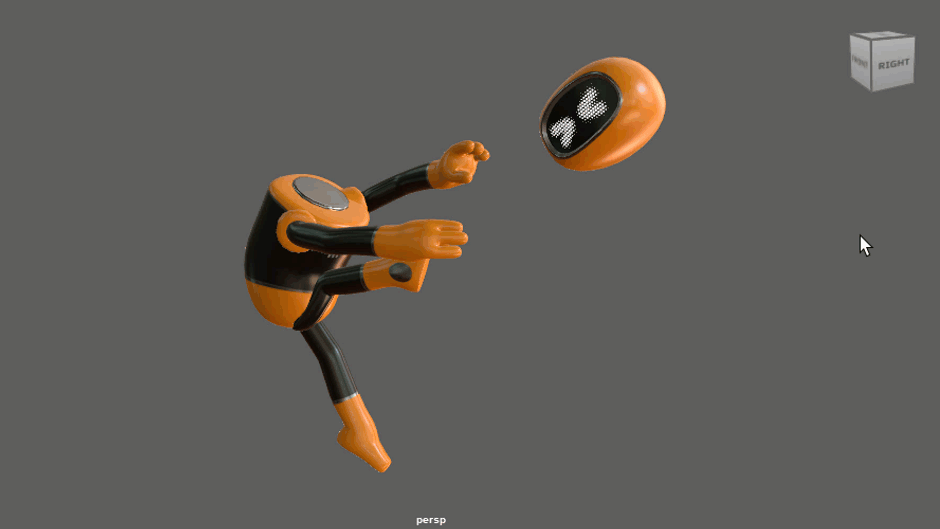
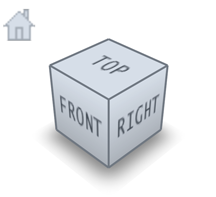
The ViewCube ® is an on-screen 3D navigation element that provides feedback about the current camera view in relation to the 3D scene and lets you quickly and easily switch between scene views.
The default camera view in Maya is the Perspective view, a standard three-quarter view with a perspective projection. As the camera view is adjusted, the ViewCube updates to reflect the camera’s current orientation in relation to the 3D scene.
Clicking on a particular face of the cube automatically adjusts the camera’s view so it matches that face. The viewing camera animates in real-time during the transition between views so you can see how the orientation of the camera changes in relation to the 3D scene. Clicking on the edges or corners of the ViewCube adjusts the camera view to positions that are in-between the face views. Clicking on the Home icon resets the camera’s position to the default perspective view.
In total, 26 standard views are available by clicking on the various cube elements (6 face views, 8 corner views, and 12 edge views).

The ViewCube can also be dragged and snapped to different positions other than the fixed views providing many other viewing options. The ViewCube outlines are drawn with a dashed line style when this occurs.
The ViewCube is on by default in the scene views. You can turn off the ViewCube or edit its options via the ViewCube preferences (right-click the ViewCube and select Preferences, or go to and select the ViewCube category).
When you position the mouse pointer over the ViewCube, regions of the cube appear highlighted. The highlighted areas of the cube (faces, corners, and edges) indicate the view that will be selected when you click your mouse.
To change the scene view using the ViewCube
- Position your mouse pointer on the ViewCube so that the desired region is highlighted.
- Click the highlighted region of the
ViewCube.
The scene view changes to match the point of view that corresponds to the region of the ViewCube you selected.

To reset the scene view using the ViewCube
- Click the
Home button above the
ViewCube.
The camera returns to its default position. That is, clicking the Home button in the orthographic views (Front, Top, and Side) resets the views to their default camera positions. Clicking the Home button in the Perspective view resets the camera’s position to a three-quarter view with a perspective projection.
When viewing the scene in an orthographic view, four small arrows surrounding the ViewCube are used to rotate the camera to an adjacent orthographic view.
For example, when viewing the scene in the Front view, clicking the arrow to the right of the ViewCube changes the orthographic view so the scene is viewed from the right.
To view a neighboring orthographic view using the ViewCube
- Select Orthographic View from the drop down menu next to the ViewCube. Arrows appear surrounding the ViewCube that represent the different orthographic views.
- Click on any of the arrows. Two curved arrows appear above the
ViewCube to let you roll the scene view in a clockwise or counter-clockwise rotation.
To hide the ViewCube in the scene views
- Right-click the ViewCube and select Hide ViewCube, or select and turn off Show the ViewCube in the ViewCube category.
To change the ViewCube preferences
- Select Preferences from the drop down menu next to the ViewCube or right-click the ViewCube.
You can control properties such as the ViewCube's size, position, opacity and other behaviors via the ViewCube preferences editor.