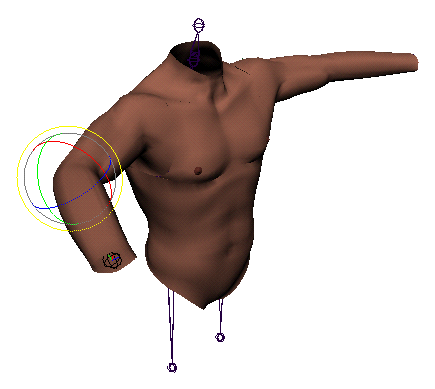
Smooth skinning creates organic and realistic deformation and articulated deformation effects by enabling several joints to influence the same deformable object points. The smoothing effects around joints are automatically set up when you bind skin. Smooth Skinning is suitable for natural movements like bending, stretching, and used to create realistic deformations like muscle bulging or skin folding.
Smooth skinning, also known as vertex-based skinning or smooth binding, is a more advanced method that allows for flexible deformation of the character's mesh. Instead of assigning each vertex to a single joint like with Rigid Skinning, smooth skinning assigns each vertex to several nearby joints to have varying influences on the same skin points (NURBS CVs, polygonal vertices, or lattice points), which creates a smooth deformation.

With default smooth skinning, the amount of influence varies with distance, but you can also define influences using other binding methods. Once you have basic skin point weighting set up, you can refine and edit by painting weights on a joint-by-joint basis.
To explore some examples now, see Example workflows for smooth skinning.

Unlike rigid skinning, with smooth skinning you don’t have to use lattice deformers, flexors, or edit skin point set memberships to get smooth deformation effects. The smoothing effects around joints are automatically set up when you bind. By default, the effect of each joint on a smooth skin point depends on the joint’s proximity to the point.