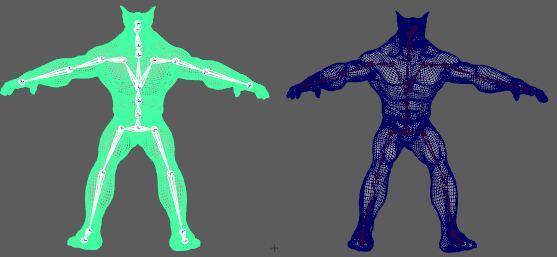
You can bake deformers onto a character to approximate the deformations for game engines with limited deformer support.
To bake a character's deformers
- Select . The Bake Deformer Tool window appears.
- Right-click the top of the character's hierarchy (for example, the hips) and choose Select Hierarchy from the contextual menu. The entire character skeleton is selected.
- Shift-select the Character mesh.

Select both the skeleton and the mesh
- Click
Source in the
Bake Deformer Tool window to add your character's properties to the
Source fields.
Note: If you add multiple skin clusters to the destination mesh, a dialog appears asking you if you want to create another. This is to prevent accidentally overwriting the first skin cluster.
- Now, do the same for the destination character. (Right-click the hips joint, choose Select Hierarchy and then Shift-select the mesh.)
- Click Destination in the Bake Deformer Tool window to add your character's properties to the Destination fields.
- Click
Apply. The Source Character performs a series of quick transformations to calculate the deformer weighting.

You can verify that the deformers have been converted to cluster deformers by comparing the two characters in the
Attribute Editor; the destination character will have no deformer tabs except for a skin cluster.
Note:
 A progress bar in the
Help Line lets you track the Bake process. The speed of the Bake process varies depending on many factors. You will see a warning if there is not enough memory to complete the solve and you can press
Escape to cancel the process at any time.
