Ripple animation
You can create ripple effects by using a wave deformer on a NURBS or polygonal surface. This example shows how you can create a simple ripple effect on a NURBS plane.

To create the NURBS plane
- Create a NURBS plane, using the default creation options except set Width to 20, U Patches to 40, and V Patches to 40.
To create a wave deformer
- With the plane selected, create a wave deformer for the plane with the following creation options:
- Min Radius: 0
- Max Radius: 1
- Amplitude: 0.2
- Wavelength: 0.4
- Dropoff: 1
- Offset: 0
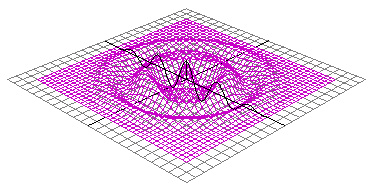
The result follows:

Next, you will set keys at frames 1, 10, and 20.
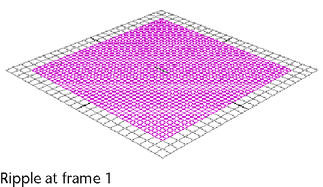
To key ripple at frame 1
- In the Time Slider, select frame 1.
- In the
Channel Box, set wave1’s attributes as follows:
- Amplitude
-
0.0
- Max Radius
-
0.1

- Set keys for all of wave1’s attributes.
To key ripple at frame 10
- In the Time Slider, select frame 10.
- In the
Channel Box, set wave1’s attributes as follows:
- Amplitude: -0.2 (negative value allows first wavelet to go down)
- Dropoff Position: 0.5
- Max Radius: 1
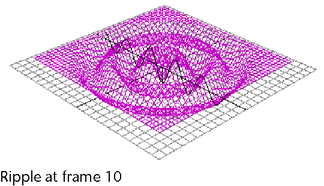
The result is as follows:

- Set keys for all of wave1’s attributes.
To key ripple at frame 20
- In the Time Slider, select frame 20.
- In the
Channel Box, set wave1’s attributes as follows:
- Min Radius: 1
- Amplitude: -0.1
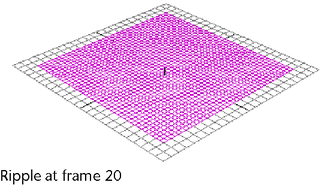
The result is as follows:

- Set keys for all of wave1’s attributes.
To see the ripple
- Scrub or play the animation.
- You can create more intricate and complicated rippling effects by continuing to adjust the wave deformer’s attributes. You can also apply additional wave or sine deformers to the plane for more complex results.
Tip: Instead of animating the Dropoff Position attribute, you could write an expression that drives the drop off of the wave. The expression would be as follows:
wave1.offset = wave1.wavelength * .25;