The Shaderfx Game Hair shader allows you to view realistic game hair shading for models directly in the viewport. You can create this shader via the Create tab in the Hypershade.
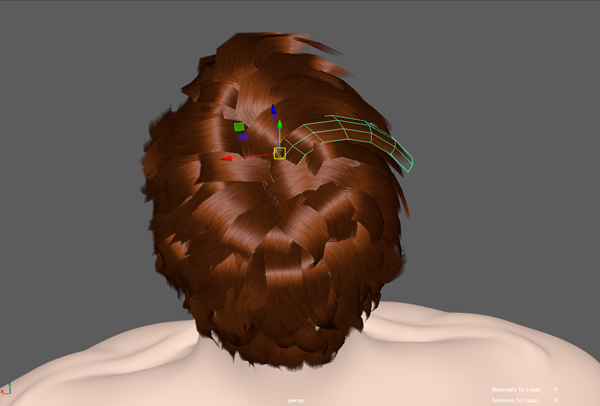
Create polygon strips to model the hair. You can quickly generate these polygon strips using the Convert XGen Primitives to Polygons workflow. Apply the Shaderfx Game Hair shader to these polygon strips, then connect an opacity map to the shader to define the hair strands per strip, and a breakup map to provide controlled noise to make hair appear more realistic. You can then preview your hair shading in the viewport. You may wish to tweak your UV's per strip to add variety to your strand layout.
A selection of professionally painted opacity maps and a breakup map are provided for you in the /presets/Assets/Textures directory of your installation folder.
Upon creation of the shader, an opacity map and a breakup map are already connected by default.
After you have applied the shader to your meshes, you can adjust its attributes as follows:
- Color
- The color of the hair. This attribute affects the diffuse and the secondary specular color
- Diffuse
- Multiplier for the diffuse intensity of the hair.
- Primary Spec Intensity
- Multiplier for the primary specular highlight.
- Primary Spec Roughness
- Roughness of the primary specular highlight.
- Secondary Spec Intensity
- Multiplier for the secondary specular highlight.
- Secondary Spec Roughness
- Roughness for the secondary specular highlight.
- Secondary Spec Shift
- Amount by which to shift the secondary specular highlight away from the light. This value should be set to greater than 0 to simulate light photons that scatter inside the hair follicles before exiting on the same side as the diffuse and primary specular highlight.
- Back Scatter
- Simulates the light scattering through the hair and exiting through the direction from which it came.
- Breakup Map
-
Connect a map to add controlled noise to the hair, so that hair strands appear to intersect with and weave over and under each other, providing a more realistic appearance.
A texture is already connected by default. To map to a different texture, navigate to the file node connected to the Breakup Map attribute and select a different file via the Image Name attribute.
- Opacity Map
-
The texture map that defines the hair strands. It determines the opacity of the polygon strips so that each strip looks like a bunch of hair.
A texture is already connected by default. To map to a different texture, navigate to the file node connected to the Opacity Map attribute and select a different file via the Image Name attribute.
- Opacity Amount
- The amount that determines the opacity of the polygon strips, multiplied by the opacity map.
- Self Shadow Amount
- The amount of shadowing applied to the hair.