You can use the 3 Points constraint to constrain the rotation of an object with the position of three objects.
To constrain an object’s rotation with the 3-Points constraint:
- Select a 3-Points constraint from the Asset browser’s Constraints folder and drag it into the Viewer window.
If you drag it into an empty area of the Viewer window, the 3-Points constraint template appears in the Constraint settings.
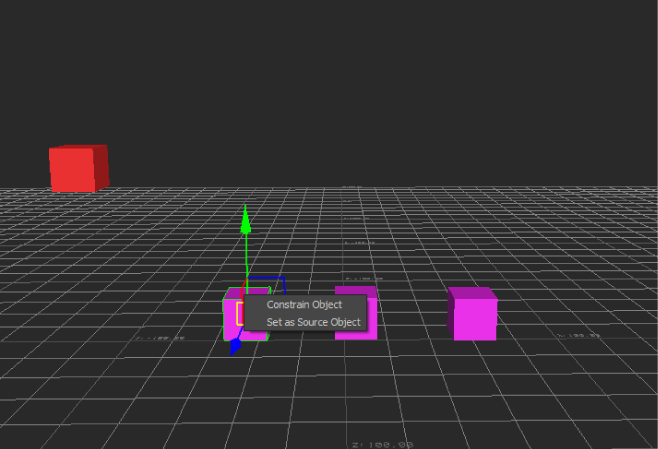
If you drag the constraint on top of an object, a context menu appears asking if you want to assign the object as the constraint’s Source (parent) or Constrained (child) object.

Constraint context menu
- Assign the object whose rotation on which you want to base the position and movement of three source objects to the Constrained Object cell.
- Assign the object whose position affects the pivot point of the constrained object to the Origin cell. Note: You can specify the same asset, model, or marker as the Origin and the constrained object.
- Assign the object whose position affects the rotation of the constrained object to the Target cell.
- Assign the object whose position affects the roll of the constrained object to the Up cell.
- Click Lock in the Constraint settings to lock the position of the objects to be constrained.
- Click Active to activate the constraint. Note: Rotating or scaling the source objects does not alter the constrained object.