Measuring a cone requires a minimum of seven points. When taking points, it is important to keep the axis of the stylus as near normal to the surface as possible.
To create a cone:
- Select Home tab > Execute panel > Delay.
- Create a geometric group to hold the new items to be measured.
- Select Home tab > Mouse Context panel > Wireframe Checker.
- To create 3D items using the Wireframe Checker, you must change its pick mode. To do this, right-click in the CAD view, and then select Surface from the context menu.
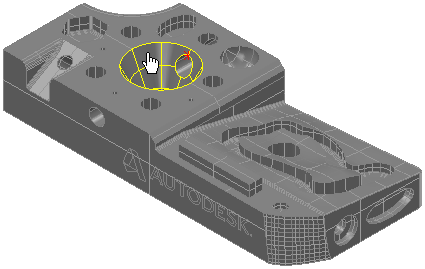
- In the CAD view, move the cursor over the cone to be measured. When the cone is highlighted in yellow, click the left mouse button. For example:
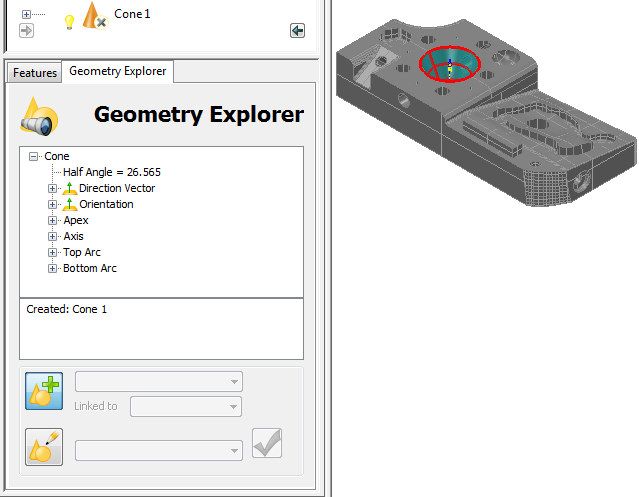
The details of the cone are displayed in the Geometry Explorer tab.
- Click Accept
 .
.The cone is added to the inspection sequence.