Use slope arrows to define slopes on a roof, such as a 4-sided gable roof.
You can use slope arrows to create slopes on a roof. For instructions, see Creating a Sloped Surface Using a Slope Arrow.
The following example shows a roof that you can create in
Revit using a slope arrow.
Creating a Roof with Different Eave Heights
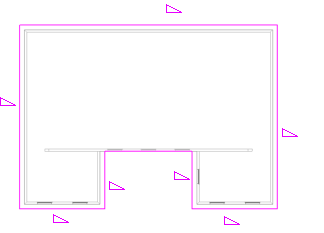
- Create a footprint roof sketch similar to the following:
- On the Properties palette, specify a cutoff level for the roof. For example, if you are sketching the roof on level 2, you might specify level 4 as the cutoff level.
- Click
 (Finish Edit Mode).
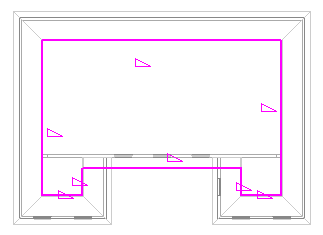
- Create another footprint roof sketch at a higher level, similar to the following:
- Click
(Finish Edit Mode).
- In a 3D view, select both roofs, and click Modify tab
 Geometry panel
 (Join/Unjoin Roof).
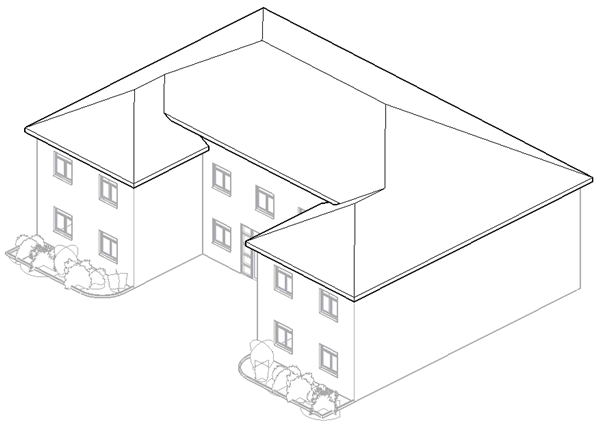
- View the 2 roofs in a plan view:
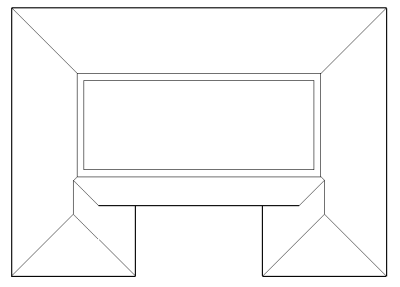
You now have a single roof with different eave heights.
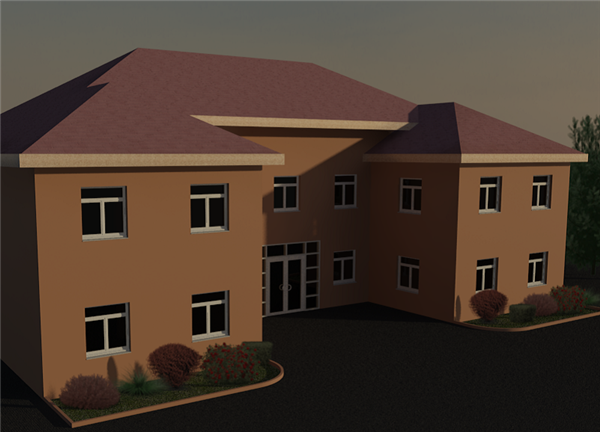
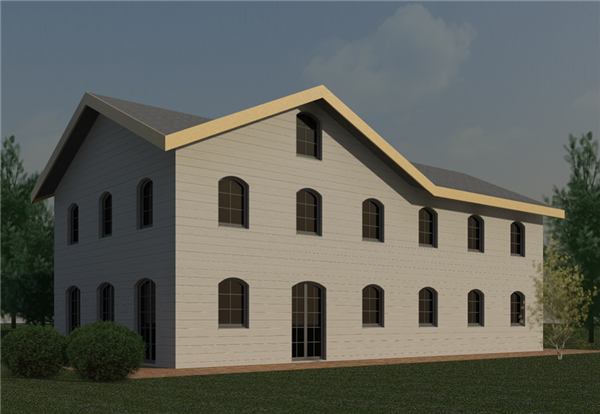
Finished house in a rendered view
You can create a roof with slope-defined lines at different elevations by joining 2 separate roofs.
Tip: This procedure works best with a multi-level building.
Creating a Four-Sided Gable Roof
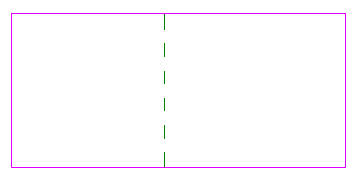
- Create a rectangular footprint sketch, and designate all sketch lines as non–slope-defining. The reference plane in the sketch indicates where the 4 sided gable roof stops.
- Click Modify | Create Roof Footprint tabDraw panel
 (Slope Arrow).
- On the Properties palette, select New <Sketch> from the filter list.
- Under Constraints, for Specify, select Slope.
- Under Dimensions, for Slope, enter 9" (or the metric equivalent).
- Sketch slope arrows as shown.
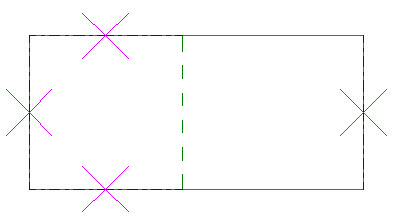 Note: The longer edges of the rectangle are split at the reference plane before the slope arrows are added.
 - Click
(Finish Edit Mode).
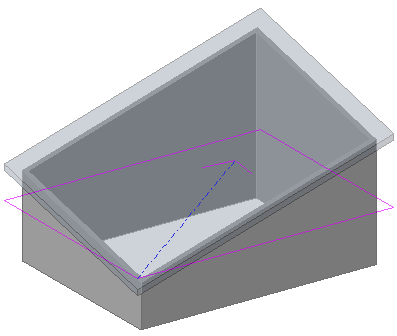
- Open the roof in 3D.
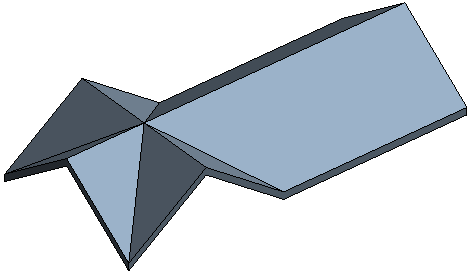
Completed roof
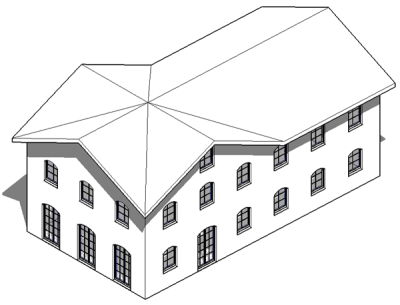
Completed roof on a model
Use slope arrows to create a 4-sided gable roof.