Use a plan region to define a cut plane at a different height than the cut plane used for the rest of the plan view.
- Open a plan view.
- Click View tab
 Create panelPlan Views drop-down
 (Plan Region).
- Sketch a closed loop using lines, rectangles, or polygons.
- On the Properties palette, for View Range, click Edit.
- In the View Range dialog, specify the primary range and view depth.
If the value for Cut Plane is specified as Parent View’s Level, then the level used to define all the clip planes (Top, Bottom, Cut, and View Depth) is the same as for the entire plan view.
Note: Values for offsets need to make sense with respect to each other. For example, the top offset cannot be lower than the cut plane offset, and the cut plane offset cannot be lower than the bottom offset. - Click OK to exit the View Range dialog.
- On the Mode panel, click
 (Finish Edit Mode).
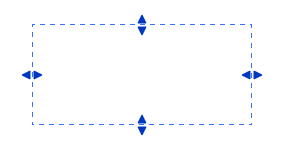
You do not have to enter sketch mode to edit the shape of a plan region. Each boundary line of the plan region is a shape handle, as shown in the following image. Select the shape handle and drag it to modify the size.
Example of how a plan region is used to show a window placed in a wall above the typical cut plane of the view. A plan region is used in this area to adjust the cut plane only at that location.
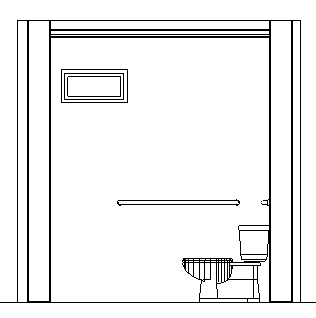
Restroom Elevation with High Window
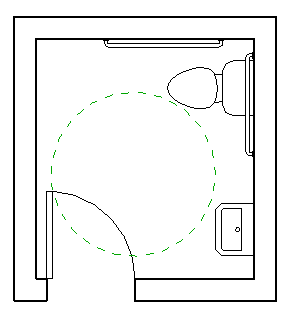 Plan without Plan Region |
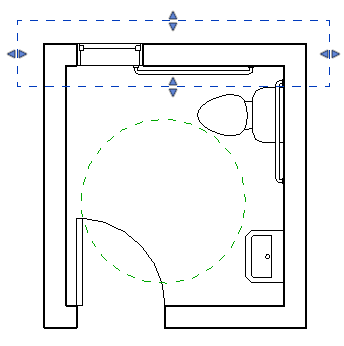 Plan with Plan Region |