You can specify various options such as grid lines, outlines, and font style using the Appearance tab of the Schedule Properties dialog (or the Material Takeoff Properties dialog).
| If you want to... | then... | |
|---|---|---|
|
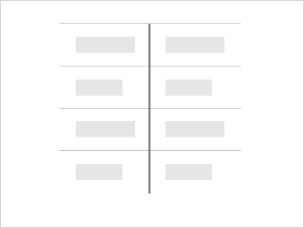
display grid lines around schedule rows | select Grid lines, then select the grid line style from the list. You can create a new line style if needed. |
|
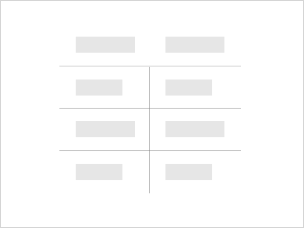
extend vertical grid lines into headers, footers, and spaces | select Grid in headers/footers/spacers. |
|
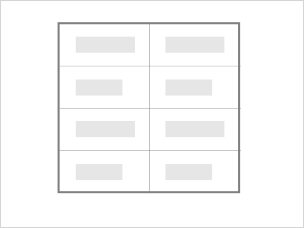
display a border around the schedule | select Outline, then select a line style from the list. The border displays when you add a schedule to a sheet view. If you clear this option, but the Grid lines option is still selected, the grid line style is used as the border style. |
|
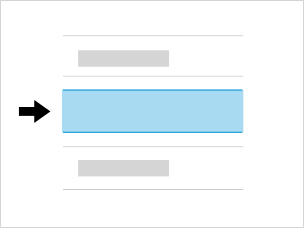
insert a blank row before the data rows | select Blank row before data. This option affects both the schedule segment on the sheet and the schedule view. |

|
display rows in contrasting colors to make rows in a wide schedule easier to follow | Follow the steps in
Display Contrasting Rows in a Schedule.
Note: Stripe Rows is set for the current view and the current
Revit session only. Shading and conditional formatting can override the Stripe Rows setting when they are applied to a schedule. Stripe Rows does not apply to panel schedules or graphical schedules. Striped rows are presented in a sheet view so that tools can be created to display striped rows on shop drawings.
|
|
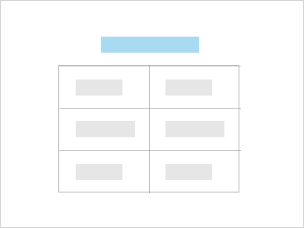
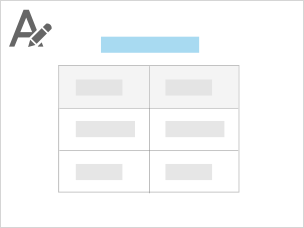
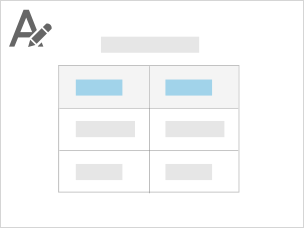
display the title of the schedule | select Show Title. |
|
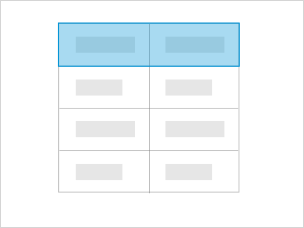
display the headers of the schedule | select Show Headers. |
|
specify the font for the title text | select a text type from the Title text list. You can create a new text type if needed. |
|
specify the font for the heading text | select a text type from the Header text list. You can create a new text type if needed. |
|
specify the font for the body text | select a text type from the Body text list. You can create a new text type if needed. |