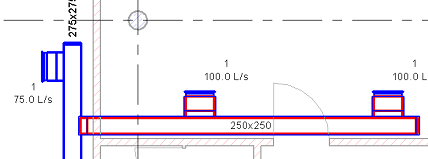
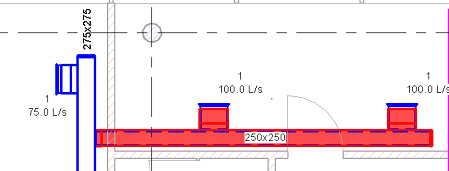
You can add insulation and lining to duct.
 Video: Add Insulation and Lining to Duct
To add insulation to duct
- In the drawing area, select the duct, and filter out items that are not duct segments, fittings, or flex duct.
Tip: To insulate all the ducts in a system, highlight a component in the system, press Tab until all the components of the system are highlighted, and click to select everything in the system. You can then use the filter tool to select only duct segments, fittings, or flex duct before adding insulation.
- Click Modify | Duct tab
 Duct Insulation panel
 Add Insulation.
- In the Add Duct Insulation dialog, select the desired Insulation Type, and enter the desired thickness.
Tip: To change the type properties for the insulation, click Edit Type.
- Click OK.
 Note: Interference Checking detects interferences caused by insulation added to duct.
To edit insulation on duct
- In the drawing area, select the duct you wish to modify.
- Click Modify | Duct tab
 Duct Insulation panel
 Edit Insulation.
- On the Properties palette, specify the insulation thickness, and click Apply.
Tip: To change the type properties for the insulation, click Edit Type.
To remove insulation from duct
- In the drawing area, select the duct you wish to modify.
- Click Modify | Duct tab
 Duct Insulation panel
 Remove Insulation, and in the confirmation dialog, click Yes.
To add, edit, or remove lining on ductwork
Follow the previous steps and use the commands on the Duct Lining panel of the ribbon.
