Customizing Your Display
Customizing your display is possible using an assortment of tools found in the View > Display menu.
Powerwall Settings - Opens the Powerwall Settings Editor containing the following attributes:
Standard Display - Encodes the rendered image to be displayed on a standard display.
HDR10 Display - Automatically turns on HDR rendering in Windows, if it is not already enabled, and disables VRED's internal color management, so Windows can take over full color management control. For information on HDR Light Studio settings when working with area lights, see How to Connect Area Lights to HDRLS.
SIM2 HDR - Encodes the rendered image to be displayed on an HDR display.
Sony 10bit - Encodes the rendered output image with 10-bit color depth.
OpenVR HMD - Enables head mounted devices to connect to VRED via the OpenVR for working in VR.
Varjo HMD - Enables your Varjo head mounted devices to connect to VRED via the OpenVR.
OpenXR HMD - Enables head mounted devices to connect to VRED via the OpenXR for working in XR.
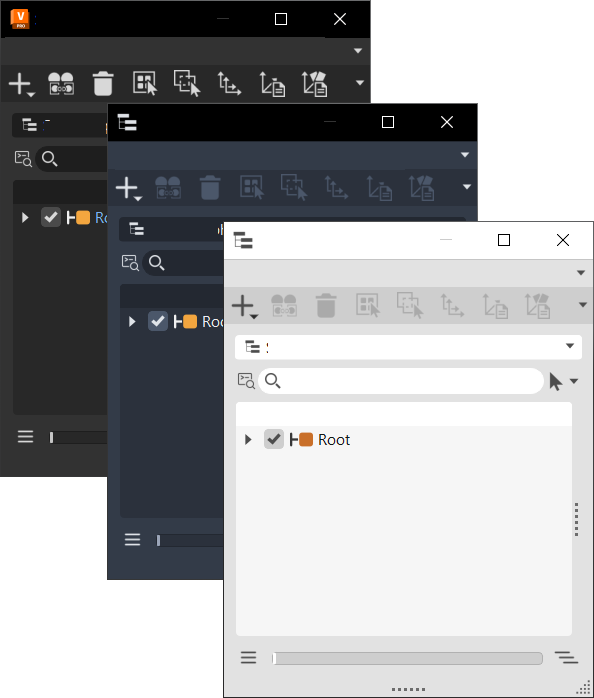
How to Split the View and Return to a Single View
Splits the Viewport into perspective, front, side, and top views.
| Show Single View | Show Split View |
|---|---|
 |
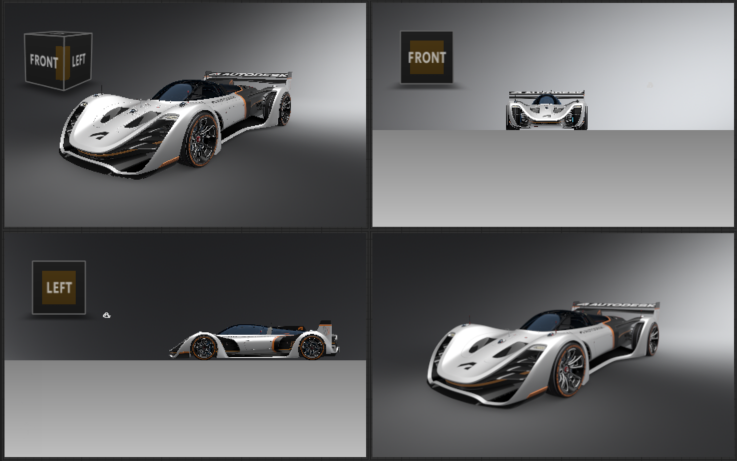 |
To split the view, in the Menu Bar, select Window > Show Split View.
To return to a single display view, in the Menu Bar, click Window > Show Single View to display single view. The last active window, indicated by a white border, will become the single view.
For a shortcut to toggle between split view and single view, use Ctrl + Spacebar.
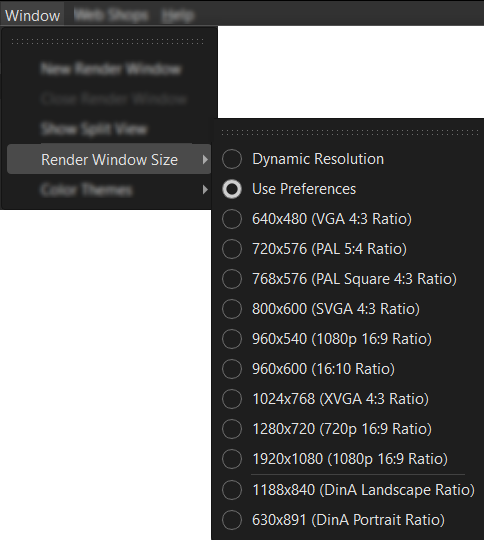
How to Specify the Render Window Size
Video captions: To adjust your render window size settings, please open the Window menu. The default value, Dynamic Resolution, indicates that your render window size depends on your user interface layout and your scene resolution.
To set your window size to a fixed resolution, choose from different presets. Now your render window remains independent of your GUI modules.
To customize your fixed resolution, open the preferences and adjust the size in Render Options.
To specify the size of your render window, click Window > Render Window Size, then select from the options available.
Please note that when Render Window Size is set to Use Preferences, it uses the settings from the Edit > Preferences > Rendering > Render Window > Visualization tab > Use Fixed Resolution and Pixel Resolution options.
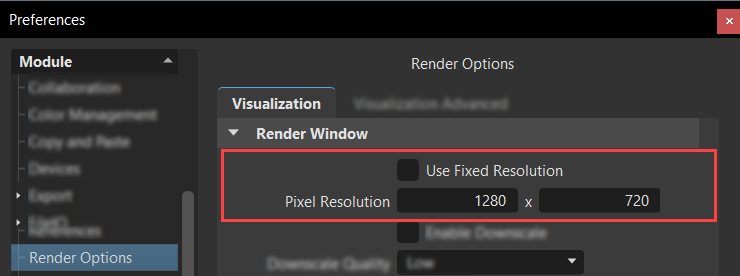
- When Use Fixed Resolution is disabled, it is the same as the Render Window Size Dynamic Resolution option.
- When Use Fixed Resolution is enabled, it sets the render window to the exact resolution set in Pixel Resolution.
To set a default Render Window size, use the Render Options Visualization preferences.
How to Close a Render Window
To close a render window, click Window > Close Render Window.
How to Change the Color Theme
To change the color theme used for VRED, click Window > Color Themes and choose one of the theme colors.
Since VRED uses colors throughout the UI to help to indicate states or differentiate one field from another, you will notice slight variations in color.
How to Identify Stereo Output Channels
In the Menu Bar, select View > Stereo Identification. A letter appears in the Viewport.
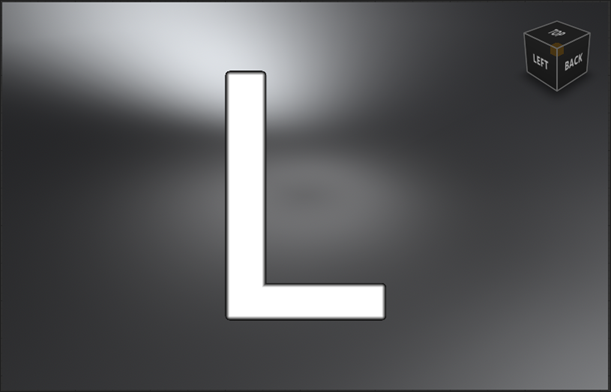
Image Processing Modes and Legends
When selecting an image processing mode that includes a legend, the legend may not be rendered in some stereo modes or rendered incorrectly. See the list below for possible behaviors.
Horizontal Interlaced - The legend is rendered but not interlaced.
Vertical Interlaced - The legend is rendered but not interlaced.
Left/Right Split - The legend is not rendered.
Left/Right Split (Half) - The legend is not rendered.
Top/Bottom Split - The legend is rendered but stretched across both screens.
Red/Cyan, etc. - The legend is rendered.
Left Eye/Right Eye - The legend is rendered for each eye.
However, the rendering of legends should be consistent across the modes and, if it is rendered in stereo modes, it should be rendered correctly. If there is any issue, the legends will be removed from the stereo rendering.
How to Show a Simulation of a Scene
In the Menu Bar, select Visualization > Simulate. This starts the simulation loop to control animations, interactive scripts, viewpoint interpolations, and other functions.