Learn how to modify an existing weld symbol using the weld template DWG file available for your installation language.
To modify an existing weld symbol, follow these steps:
- Open the "WeldTemplate.dwg" located in ...\ProgramData\Autodesk\Advance Steel 2024\[INSTALLATION LANGUAGE EXTENSION]\Shared\Support\Symbols
Note: In this case, the weld symbol template file is WeldTemplate.dwg. This file may differ from one installation to another (e.g. different languages).
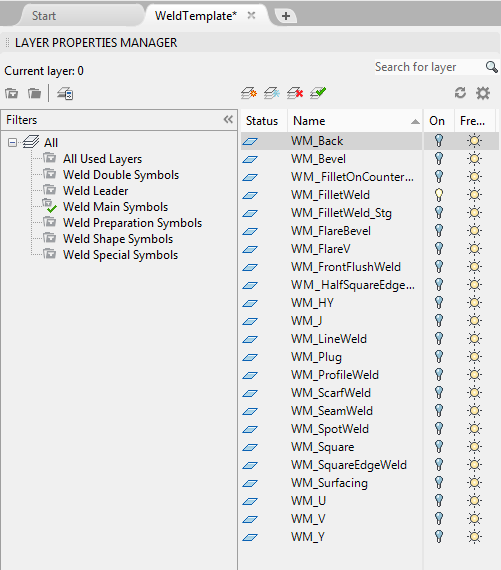
- Open the Layer Manager.

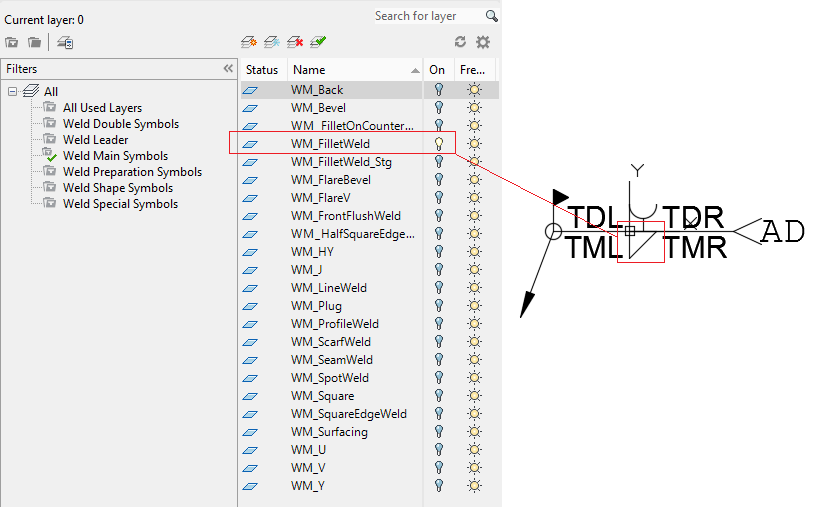
Note: Starting with Advance Steel 2016, each weld symbol is drawn on a separate layer (e.g. fillet weld symbols are drawn on WM_FilletWeld and WD_FilletWeld layers)."WM_","WD_", "SM_","SD_","PM_","PD_" are acronyms for Weld Main, Shape Main, Preparation Main etc, and are not mandatory but are recommended for organizational purposes.
- Identify the weld symbol layer and turn it on. Turn off the other layers to avoid overlapping symbols.

- Make the desired modifications.
- Save and exit.