Using the Cylinder object, you will create a central pole that will act as the hub for the revolving door. First, you set up units and snaps, and then create a new layer for the revolving door.
This tutorial does not require you to load any particular file to begin. At the beginning of subsequent lessons, you can continue working with your original scene, or you can open a “snapshot” scene in which we've saved the work to that point.
Set up the display unit scale:
- On the menu bar, choose Customize
 Units Setup.
The Units Setup dialog appears.
- In the Display Unit Scale group, choose US Standard, if necessary.
Set the scale to Feet w/Decimal inches, if necessary.
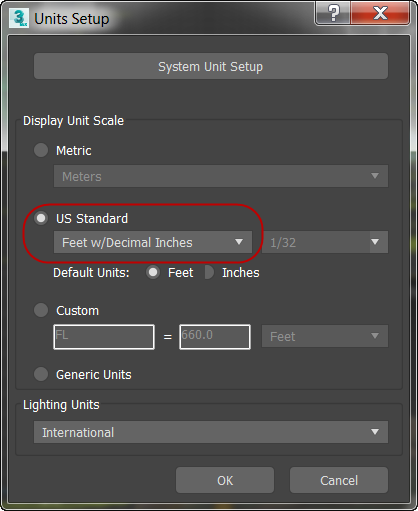 Note: Leave the System Unit Setup as it is. This should be changed only to reset the system unit to the default setting (inches) after loading a file that uses a different system unit, or if you are working on files that are so huge or so tiny that values don't appear correctly in the numeric entry fields.
 - Click OK to accept the change.
Now, when you make something, its measurements are displayed in the command panels in familiar real-world terms.
Next you'll make some additions to the grid and snap settings.
Set up snaps:
- On the main toolbar, right-click
 (3D Snaps Toggle).
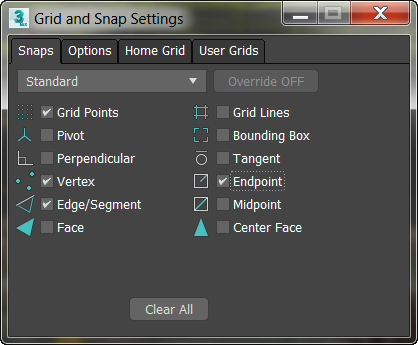
3ds Max opens the Grid And Snap Settings dialog.
- On the Snaps panel, turn on Grid Points, Vertex, Edge/Segment, and Endpoint. Make sure all the other snaps are turned off.
-
 Close the dialog.
Now, when Snap is on, you'll be able to snap to vertices, grid points, and edges.
Note: Unlike unit settings, snap settings are not saved with a scene, though 3ds Max does remember them from session to session.You're ready to create a cylinder to serve as the central pole that rotates the revolving door.
Create a layer:
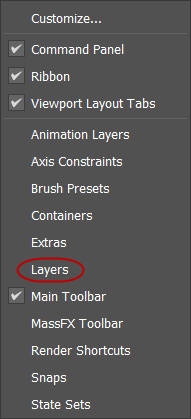
- By default, the Layers toolbar is hidden when you start
3ds Max. If it is not currently open, right-click a blank space on the main toolbar and choose Layers from the pop-up menu.
- On the Layers toolbar, click
 (Create New Layer).
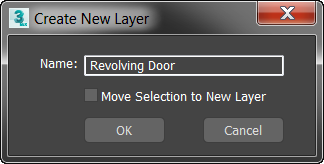
This creates a new layer and opens the Create New Layer dialog.
- Use the Create New Layer dialog to name the Layer
Revolving Door, and then click OK.
 Tip: If 3ds Max creates the layer without opening the Create New Layer dialog, then open the Layers drop-down list, right-click the new layer, and use the Rename Layer dialog to give it the name you want.
The Revolving door layer is now current and visible in the Layers toolbar. Whatever you create now will be on this layer.
You can use the layer-management system for display and rendering purposes. Here you will create a new layer for the revolving door.
Create the hub:
- Right-click the Perspective view to activate it, then in the viewport navigation controls at the lower-right corner of the
3ds Max window, click to activate
 (Orbit). Drag within the navigation orb to change the perspective view of the home grid so you have a view that is closer to ground level. When you are done, right-click the viewport to deactivate Orbit.
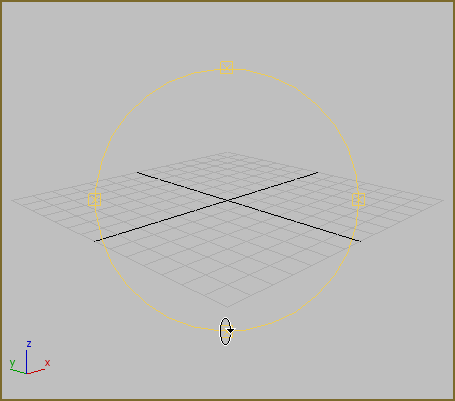
Orbit navigation orb
- On the main toolbar, click
(3D Snaps Toggle) to turn it on.
- On the
 Create panel, activate
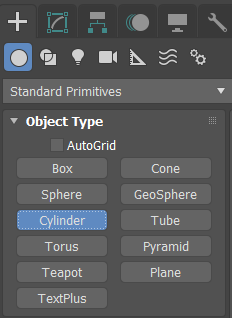
 (Geometry). Make sure Standard Primitives is chosen in the drop-down list, then on the Object Type rollout, click to activate Cylinder.
The Cylinder button highlights to indicate it is active and ready for use.
- Now move your cursor over the grid in the viewport.
The cursor displays a snap icon and jumps to the grid points.
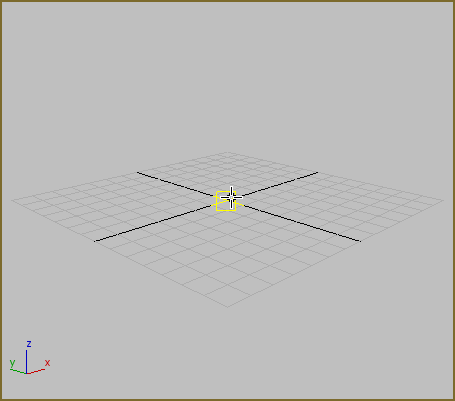
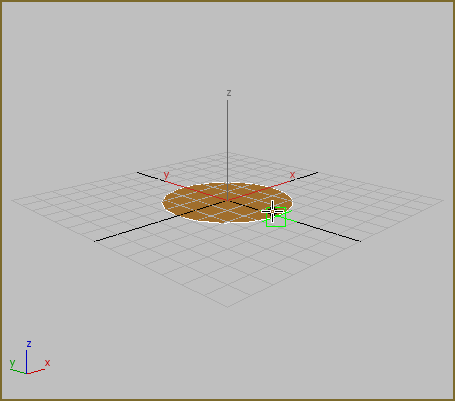
- Position the cursor over the center of the grid and then click and drag.
As you move the mouse away from the center, a flat shaded circle grows from your cursor. You are defining the radius of the cylinder as you move the mouse.
Notice that as you move away from the center of the grid the mouse will snap to grid points.
- Turn off the snap by pressing the
S on the keyboard while you are still moving the cursor.
The snap has been turned off, while you are still in the middle of creating the cylinder. Now as you move your mouse, you are free from the snap control.
- Lift the mouse button, and you have set the radius of the cylinder. The radius is displayed on the Parameters rollout.
- Now move your cursor upward in the viewport.
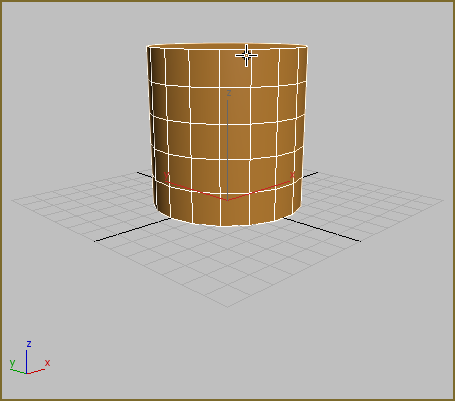
- The cylinder grows as you move the cursor upward. When you click again you have set the height.
Make the cylinder any size you like. You're going to change the size in the next step.
Before creating the hub, you will adjust your viewport so you have a better view of the objects you will make.
Adjust the hub:
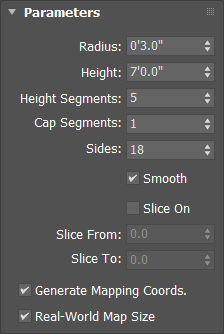
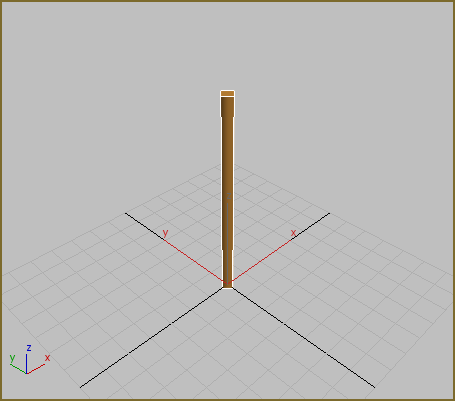
- On the Parameters rollout change the Radius value to
0' 3.0", then change the Height to
7' 0.0".
- In the Navigation controls, click
 (Zoom Extents).
The viewport zooms so you can see the entire cylinder.
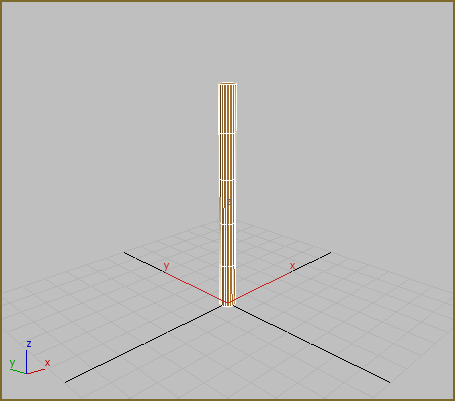
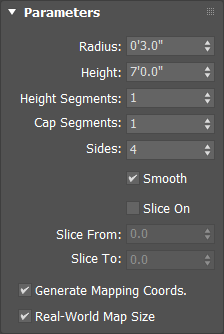
- On the Parameters rollout, change Height Segments to
1, then change Sides to
4.
Tip: The lowest possible Height Segments value is 1. You can minimize the value of a numeric field by right-clicking the spinner arrows to the right of the field where you can type.
The Cylinder changes into a tall box with four sides; this will make it easier to create the door. Later you'll change the pole back to a cylinder.
Reduce the segments.
Next you'll rotate the cylinder so the four sides line up with the grid.
Immediately after creating an object, you can modify its parameters such as size and shape by changing these values on the Parameters rollout on the Create panel.
 Modify panel and adjust the parameters there, or you can simply
Rotate the hub:
- Position the cursor over the bottom of the cylinder and then press I (the letter “I”) on the keyboard to center the viewport on the cursor position.
- Click
 (Zoom) in the viewport navigation controls, then drag the mouse to Zoom in so you can see the bottom of the cylinder up close. Use Orbit to rotate the view if you like.
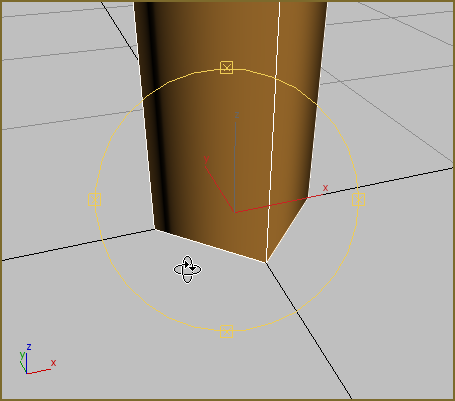
Zoom in and rotate the view.
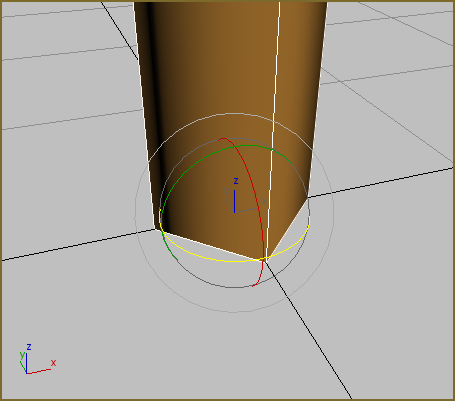
- On the toolbar, click to activate
 (Select And Rotate).
The transform gizmo appears in the viewport.
- In the coordinate display below the Perspective viewport, click in the Z entry field and enter
45. Press
Enter to confirm the entry.

The cylinder rotates around the Z axis so the sides line up with the grid.
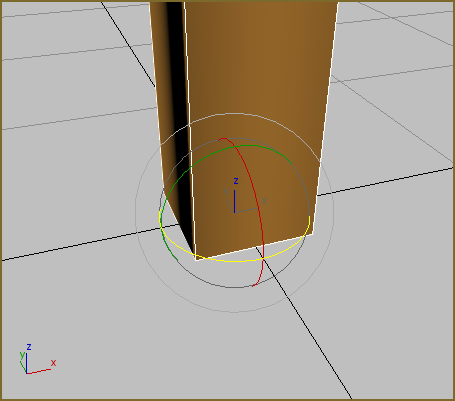
Cylinder rotated
This will be the pole that revolves to turn the revolving door. You'll snap to its sides when you create an initial Pivot door object. After the other doors are cloned, you can increase the number of sides so it will look like a cylinder again.
Next you will create a tube object to make the door enclosure.
Save your work:
- From the
 Application menu, choose Save As, and save your scene as
my_revolving_door_hub.max.
Application menu, choose Save As, and save your scene as
my_revolving_door_hub.max.