In this lesson, you will work in symmetry mode on half the helmet. This way, any changes you make will be perfectly mirrored on the other half.
Set up the lesson:
- Continue from the previous lesson, or browse to the folder
\scenes\modeling\helmet\ and open
helmet_01.max.
Note: If a dialog asks whether to use the scene’s units, accept the scene units, and click OK.
- If you open the new file, then
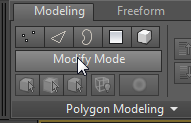
 select the helmet object. If the Modify panel isn't active, on the ribbon
  Polygon Modeling panel, click Modify Mode.
When active, Modify Mode makes the entire array of Graphite Modeling Tools available.
Add the Symmetry modifier:
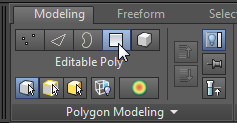
- On the Polygon Modeling panel, activate
 (Polygon) to go to the Polygon sub-object level.
- Click the ribbon’s Selection tab.

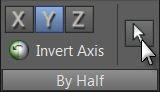
- On the By Half panel, click
 , then click
 (Select).
This selects half of the polygons based on the object's Y-axis orientation.
- On the By Half panel, click Invert Axis.
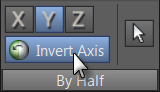
The polygon selection is inverted. The new selection comprises the polygons you'll remove.
- Press
Delete.
You will now add a Symmetry modifier to the remaining polygons so that their geometry can be mirrored.
- On the ribbon, click the Modeling tab. With the helmet object still selected, go to the
 Modify panel and from the drop-down Modifier List choose Symmetry.
- On the Parameters rollout Mirror Axis group, choose the Y option and turn on Flip.
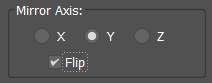
This properly orients the mirrored half of the helmet.
Notice how the ribbon displays a limited set of modeling tools. This is because the Symmetry modifier is active.
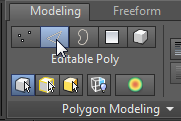
- On the ribbon, go to the Modeling tab and on the Polygon Modeling panel, click
 (Previous Modifier).
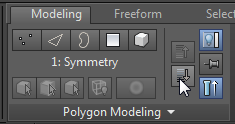
Now the editable poly object is active again, and the ribbon displays an expanded set of tools for polygon editing.
The mirrored half of the helmet is hidden in the viewport because with the polygon-editing controls displayed, you are editing the source polygons only.
- On the Polygon Modeling panel, click
 (Show End Result) to see the mirrored side of the helmet controlled by the Symmetry modifier.
- Click
 (Show End Result) again to turn it off.
Subdivide the seam and rim faces to extrude:
- On the Polygon Modeling panel, activate
 (Edge) to go to the Edge sub-object level.
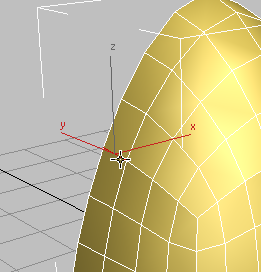
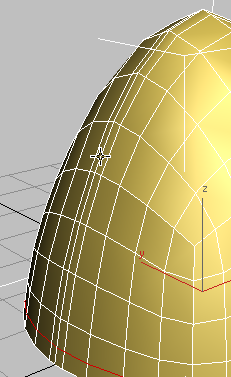
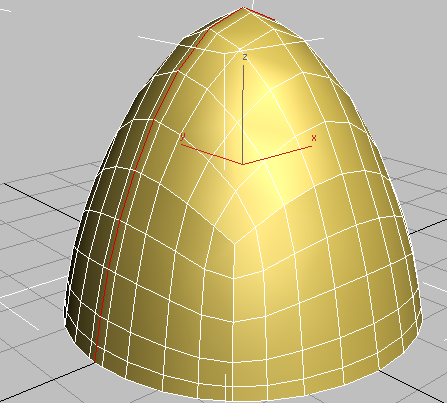
- In the viewport,
select a polygon edge as shown in the next illustration, then on the Modify Selection panel, click
 .
.

3ds Max selects all edges parallel to the first one, in a ring around the object.
- On the Loops panel,
Shift+click
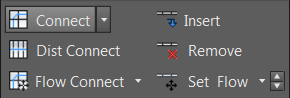
 (Connect).
3ds Max draws a single loop of edges around the selected edges. It also displays the “caddy” controls for the Connect tool.
(When you Shift+click certain tools on the ribbon, 3ds Max displays the caddy controls for that tool.)
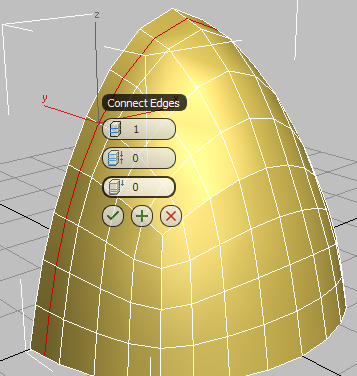
By default, the loop is placed in the center of the selected edges, but the negative Slide value you will specify in the next step will position it to the left of center.
- On the third control of the caddy, Slide, drag until the value equals
–50, and then click
 (OK).
(OK).
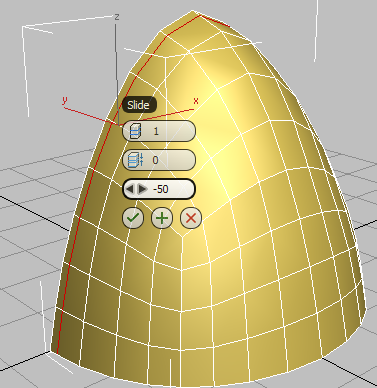
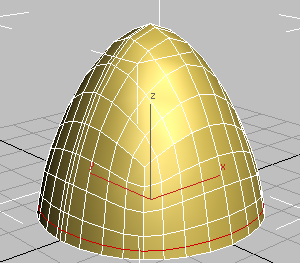
Edge slides to the left
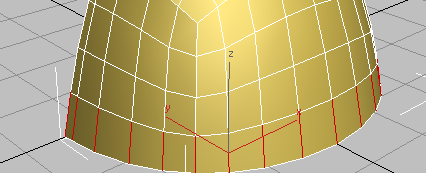
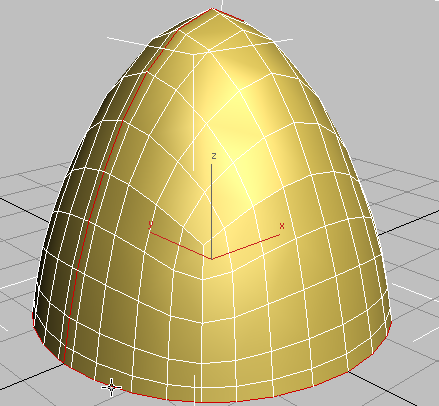
- In the viewport,
click to select a vertical edge on any polygon at the bottom row of the helmet, then on the ribbon Modify Selection panel, click
.
The Ring tool automatically selects all the vertical edges.
- On the Loops panel,
Shift+click
(Connect).
Once again, 3ds Max displays the caddy controls for the Connect tool.
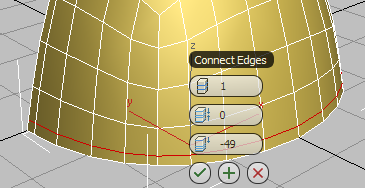
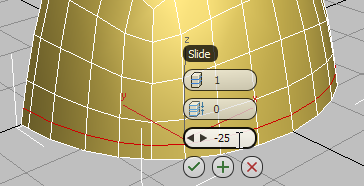
- Change the value of the Slide control to
–25, then click
(OK).
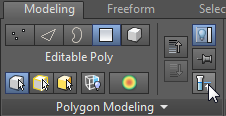
- On the Polygon Modeling panel, turn on
(Show End Result) to see how the Symmetry modifier has added a mirrored portion to the helmet.
- Again convert the object to editable poly format by opening the Polygon Modeling panel expansion (click the Polygon Modeling label) and choosing Convert To Poly.
The Symmetry modifier is removed and all the mirrored polygons are integrated into the model.
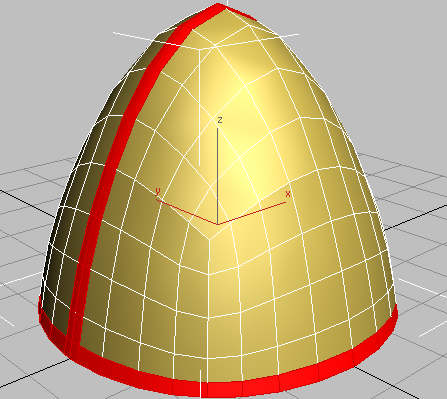
Select the helmet seam and rim:
- On the ribbon Polygon Modeling panel, activate
(Edge).
- On the Modify Selection panel, click Loop Mode to turn it on.
-
Click to select one of the edges along the center edge of the helmet.
Because Loop Mode is on, 3ds Max selects the entire loop of edges along the helmet ridge.
 Tip: Another way to select an edge loop is simply to double-click one of its edges.
 - With Loop Mode still active, hold down the
Ctrl key, then click an edge along the rim of the helmet.
3ds Max adds the rim edges to the ridgeline selection.
- Hold down the
Ctrl key again, and on the ribbon Polygon Modeling panel, activate
Polygon.
3ds Max selects all the polygons adjacent to the edge selection.
Extrude the helmet seam and rim:
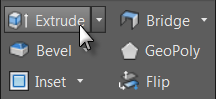
- On the Polygons panel,
Shift+click
 (Extrude).
3ds Max displays the caddy controls for the Extrude tool.
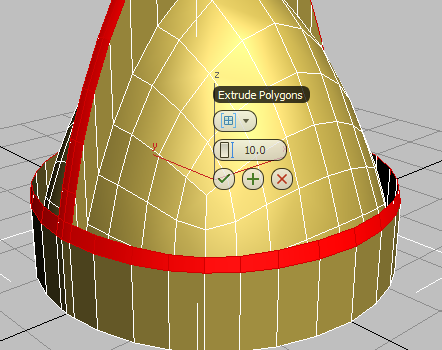
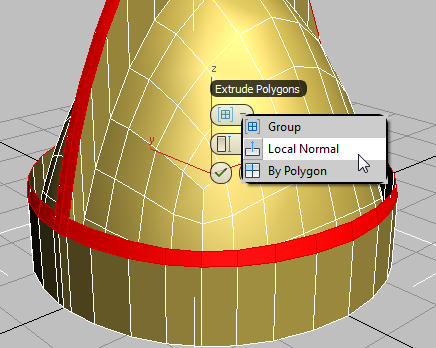
- On the first control, Group, choose Local Normal from the drop-down list.
- On the second control, Height, change the value to
1.0
, then click
(OK).

- On the ribbon Polygon Modeling panel, click
 (Polygon) selection to exit the sub-object level.
Next you'll smooth the object. While the Editable Poly object has smoothing tools such as NURMS subdivision, you'll use the new OpenSubdiv modifier instead. OpenSubdiv has options, such as creasing, unavailable with other tools.
- On the
Modify panel, open the Modifier List and choose OpenSubdiv.
The model is subdivided and smoothed using the default Iterations value of 1.
- On the General Controls rollout, set Iterations to
2
to further smooth out the helmet.
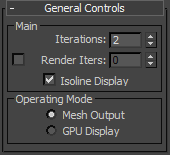
As long as Edged Faces is on, you'll still see the underlying geometric structure; that of the original editable poly object. To see the actual subdivision resulting from OpenSubdiv, turn off Isoline Display, also on the General Controls rollout.
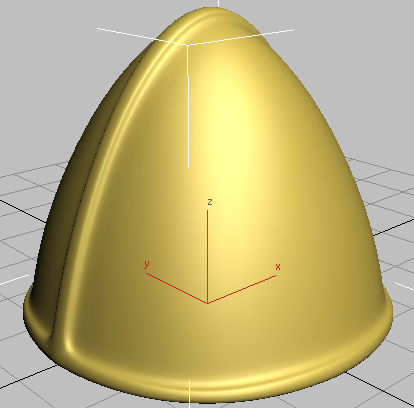
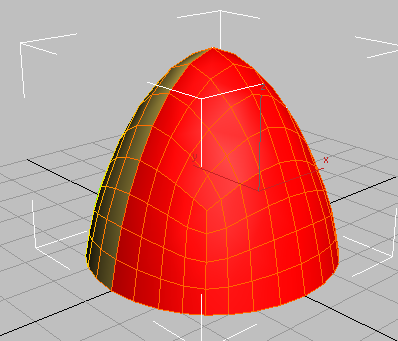
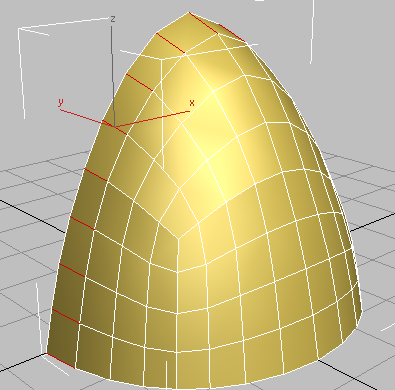
Helmet with middle seam and rim extrusions
In the next lesson, you will add creasing to create a less rounded extrusion to the rim and ridge.
- On the Modify panel, click
 (Remove Modifier From the Stack) to delete the OpenSubdiv modifier. You'll add it again later on.
- Save your scene as my_helmet_02.max.