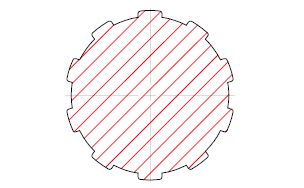
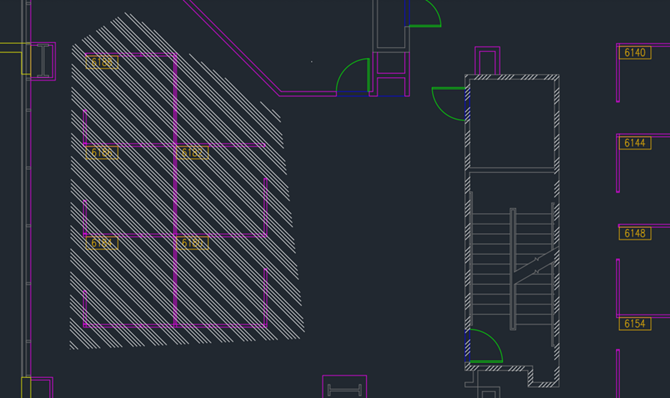
Fills an enclosed area or selected objects with a hatch pattern, solid fill, or gradient fill.
Find
The HATCH command offers different options depending on the state of the ribbon.
- When the ribbon is active, the Hatch Creation contextual tab is displayed.
- When the ribbon is off, the Hatch and Gradient dialog box is displayed. If you prefer using the Hatch and Gradient dialog box, set the HPDLGMODE system variable to 1.
- When the ribbon is off, set HPDLGMODE system variable to 0 to access the new HATCH command options.
If you enter -HATCH at the Command prompt, options are displayed.
Note:
- To prevent memory and performance problems, the maximum number of hatch lines created in a single hatch operation is limited. However, you can change the maximum number of hatch lines with the HPMAXLINES system variable.
- To maintain performance for hatches with non-continuous hatch lines, choose a predefined hatch pattern rather than loading and setting a non-continuous linetype. Beginning with AutoCAD 2015-based products, the HPLINETYPE system variable suppresses the display of non-continuous linetypes in hatches by default.
- To control whether object snaps ignore hatch objects, add or subtract 1 from the OSOPTIONS system variable.
Choose from several methods to specify the boundaries of a hatch.
- Specify a point in an area that is enclosed by objects.
- Select objects that enclose an area.
- Specify boundary points using the -HATCH Draw option.
- Drag a hatch pattern into an enclosed area from a tool palette or DesignCenter.

The following prompts are displayed.
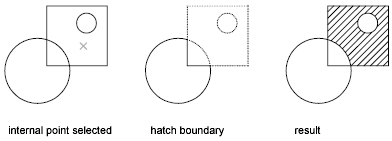
- Pick internal point
- Determines a boundary from existing objects that form an enclosed area around the specified point.

- Select objects
- Determines a boundary from selected objects that form an enclosed area.

- Remove boundaries
- Removes the hatch patterns added during the currently active HATCH command. Click the pattern you want to remove. (Available only when adding hatches from within the Hatch and Gradient dialog box.)
- Add boundaries
- Switches from the Remove Boundaries mode so you can add hatch patterns again. (Available only when adding hatches from within the Hatch and Gradient dialog box.)
- Draw
- Uses specified points or creates basic geometric shapes to define new boundaries to hatch or fill.
The Mode option controls how the new boundary is defined, an area or a path.
As you specify points for the polyline boundary or path, you can define both straight and arc segments using options similar to the PLINE command. When you're done, press Enter to complete the polyline boundary or path.
Note: To close the polyline boundary or path, use the Close option. Do not make the first and last points coincident.
The following options are available:
- Mode. Sets the current hatch boundary drawing method.
- Area. Defines a closed boundary from specified points or the basic geometric shape created. The area of the closed boundary defines the hatch or fill.
- Path. Defines an open or closed path from which a closed boundary is derived. The Alignment and Width options define the direction and area of the closed boundary to hatch or fill.
- Rectangle. Defines a rectangular boundary using the same options as the RECTANG command.
- Circle. Defines a circular boundary using the same options as the CIRCLE command.
- Alignment. Defines the alignment of the closed boundary to the path drawn. Alignment can be set from the center, inside or outside of the path. (Available only when Path mode is active.)
- Width. Defines the width of the closed boundary from the path drawn. (Available only when Path mode is active.)
- Mode. Sets the current hatch boundary drawing method.
- Undo
- Removes the last hatch pattern you inserted with the currently active HATCH command.
- Settings
- Opens the Hatch and Gradient dialog box, where you can change settings.