Migrate custom styles
By default, the style library supplied with Autodesk Inventor is in the C:\Program Files\Autodesk\Inventor <version>\Design Data folder or in the C:\Users\Public\Documents\Autodesk\Inventor <version>\Design Data folder. The style library location is also available from the Application Options, File tab. If you work in a networked environment, this folder resides in a shared location on the network, and not on your local hard drive. If you are unsure of this location, check with your IT or CAD Administrator.
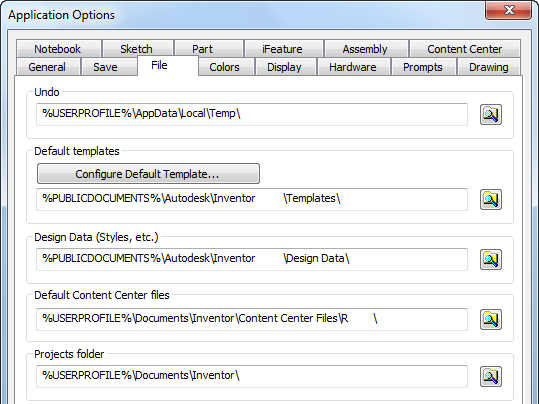
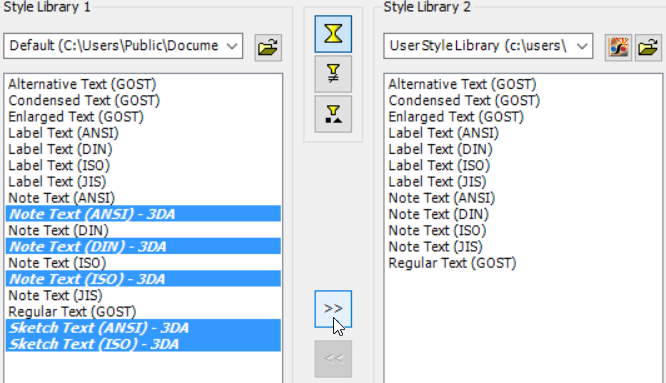
Use Inventor Style Library Manager to migrate current style library to new release of Autodesk Inventor
Before beginning the migration, there are several points to consider:
If you did not modify the style library that was shipped with the previous release, it is not necessary to migrate it. Use the style library that is supplied with the new release of Inventor.
Once migrated, you cannot use style libraries with older versions of Inventor.
If you modified the existing style library, there are several possibilities after the older library is migrated with the Style Library Manager:
- Continue to use the migrated library. It functions exactly as it did in the previous release. However, you cannot take advantage of the corrections and additional styles that are added to the latest release.
- If you added or modified only a few styles, then we recommend using the Style Library Manager to move these styles into the style library of the newly installed Inventor as described in this document.
- If you added or modified many styles, use the Style Library Manager to copy styles that are different from the new Inventor Style Library into the migrated library. These styles are shown in red by the Style Library Manager and described in more detail in the following sections. (The red indicates that Autodesk modified the attributes of this style since the previous release of Inventor.)
- Inventor 2013 uses new Material and Appearance Library to replace material and color styles. Migrate custom material or color styles to Material and Appearance Library. For more information, see Material and Color Style Migrate
Migrate your style library
Before you start, back up the existing style library.
On the Start menu, click All Programs > Autodesk Inventor
> Tools > Style Library Manager. The Inventor Style Library Manager dialog box displays.
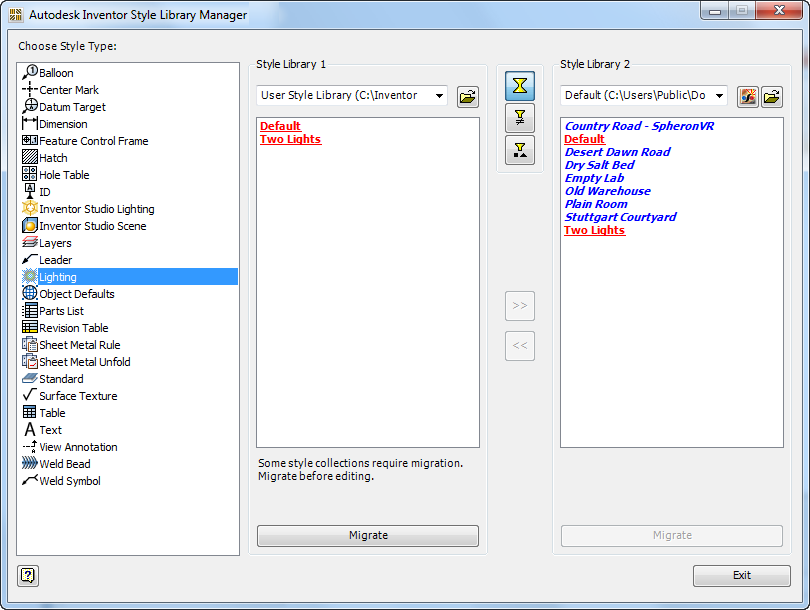
In the Style Library 1 pane, use the browser button to navigate to the folder where older style collections (in .xml format) are located. By default, the folder location is C:\Program Files\Autodesk\Inventor
\Design Data or C:\Users\Public\Documents\Autodesk\Inventor \Design Data. You also can click Open Style Library to select specified old style library folder. The Style Library 2 pane also provides a browser button to navigate to the location of the new style library. By default, the folder location is C:\Program Files\Autodesk\Inventor
\Design Data or C:\Users\Public\Documents\Autodesk\Inventor \Design Data. You can click Open Style Library to select specified new style library folder. In the example shown in the previous image, the Lighting style collection is selected from the Choose Style Type: list at the far left of the dialog box. Also, both the old and new style library folder locations are selected using the appropriate browser button. Their contents appear in the left and right panes respectively, and the old style library pane [Migrate] button is highlighted.
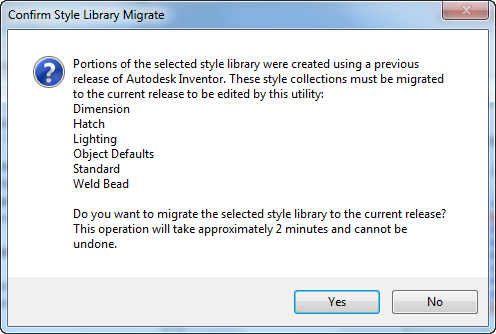
To start the styles migration, at the bottom of the Style Library 1 pane, click Migrate. (Enabled only when a library requires migration.) The Confirm Style Library Migrate dialog box displays, prompting you to confirm the migration. Click Yes or No as appropriate.
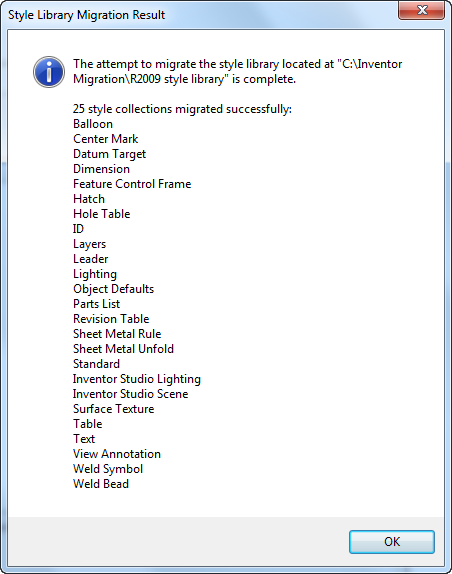
The migration process takes a minute or two. When it is complete, a dialog box displays the results of the migration. Click the OK to close the dialog box.
Filter Buttons
There are three ways in which style collections are listed in the style library panes. These methods are controlled using the filters located at the top center of the Style Library Manager dialog box:
 Show All Styles Active by default. Lists all styles in both style libraries. Style definitions that are identical between the two libraries display in a regular black font.
 Show Mismatched Styles Shows the styles with definitions that differ in the two libraries. With this setting, the style names are underscored and display in red.
 Show Unique StylesShows styles that exist in one library, but not in the other. With this setting, the style names are italicized and display in blue.
Copying the style collections
Once the style library has been migrated to the new Inventor version, choose the style collection (if any) to copy to the new library. For example, select one style from the Style Library 1 pane. After selecting one or more styles, click the Copy Selected Styles from Style Library 1 to Style Library 2 to add them to the new library.
With copy the styles function, you can copy all of the migrated customized styles to the new style library and use them.
For more information, see style library in the Autodesk Inventor Help.