Assigning Notes to Shots
The Notes window is available from almost every menu and allows you to enter unlimited wrapping text pertaining to the current shot. Notes are retained as you jump from one shot to another, and saved when you save the grade.
Notes are saved to an .XML file in the scene's Library directory. The file is identifiable by a .desc.xml extension. You can open the DESC file in a text editor to view and make changes that will be reflected in Lustre the next time you load the grade. This could be useful if, for example, you wanted to review the notes for each shot between grading sessions. You would copy the file to a laptop, and then copy it back to the scene's Library directory if any changes were made. See XML in Lustre.
When activating the On-Screen View mode (Ctrl+W), the notes you added to the shot are displayed alongside the shot name.
When editing the DESC file, only the Notes field should be changed. Editing any other field could produce unexpected results.
To use the Notes window:
Enable the Notes button.
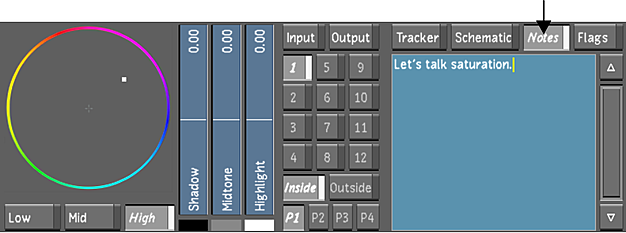
This displays the Notes window below the Notes button.
You can use any of the following standard text editor functions when drafting notes.
Press: To: cursor arrows Move up, down, left or right. Ctrl+A Select all text. Backspace, Delete Delete text. Home Jump to the start of the current line. Ctrl+Home Jump to the start of the text. End Jump to the end of the current line. Ctrl+End Jump to the end of the text. Page Up Jump one text screen up. Page Down Jump one text screen down. Shift+cursor arrow or left mouse button-drag Select text. Ctrl+A Select all text. Enter Add an empty line. Esc or click outside the text editor Disable the text editor. Note:Lustre hot keys are not functional while the Notes text editor is enabled.Save the scene's notes by saving the grade. See Creating a Grade Version for a Cut.