Characterize the 3ds Max biped
In the following procedure, you characterize in MotionBuilder the 3ds Max biped you saved in the previous procedure (Create and send a 3ds Max biped to MotionBuilder) so you can animate it in MotionBuilder.
To animate a biped, you need to characterize the biped and then add a Control rig.
To characterize the 3ds Max biped:
If you closed your MotionBuilder session, launch MotionBuilder and open the biped.fbx file.
Save the scene as biped_characterized.fbx.
Note:Save the file to a directory other than the default MotionBuilder Tutorials directory to ensure you do not overwrite the original .fbx file.
Create a take:
In the Transport Controls, click Take 001 and choose Take 002.

The Recorder dialog displays.
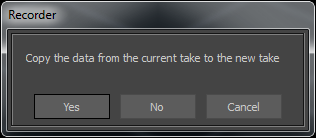
Recorder dialog
Select No.
Creating a take enables you to save your biped in the "T" stance without having to add keyframes. It also enables you to save the biped in Take 001, as you imported it into MotionBuilder.
Position your biped skeleton in the T stance:
In the Viewer window, select the left shoulder (Biped001 L UpperArm) node or right shoulder node on the skeleton.
In the Viewer window toolbar to the right, click the Rotate tool (
 ) or press R to enable rotation and rotate the skeleton's arm until it is parallel with the grid (Z in 0).Note:
You can also enter 0 in the Z field of the Global/Local Layer fields (
 ) at the bottom right of the Viewer window.
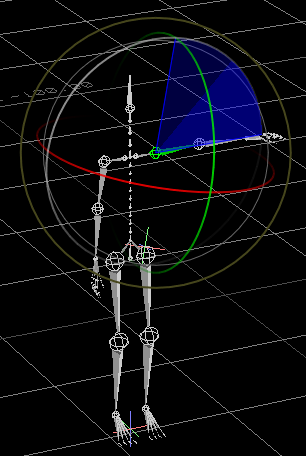
Skeleton's left shoulder rotated into a T-stance
Select the other shoulder node and rotate the skeleton's arm until it is parallel with the grid (Z in -180).
In the Character Controls window, click Skeleton to define your skeleton.
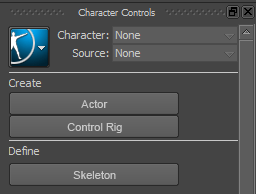
The Create Control Rig dialog appears.

Click Define.
The Character Controls window displays a character representation in the Character Definition pane with a non valid characterization indicated by a red symbol (
 ) at the top right.
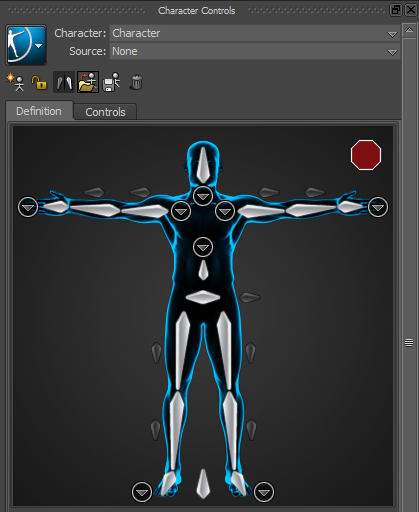
Character representation displays a non valid characterization
In the Viewer window, select any bone.
In the Character Controls window Definition toolbar (
 ), click the Load Skeleton Definition (
  ) option.
The Load Skeleton Definition dialog appears.

Load Skeleton Definition dialog
The Template menu options lists the skeleton definition templates you can choose from to match your bone naming convention.
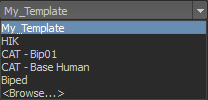
Click the Template menu and choose the Biped template and then click OK.
In the Character Controls window, the Character representation in the Definition pane displays a green symbol (
 ) at the top right indicating the characterization is valid.
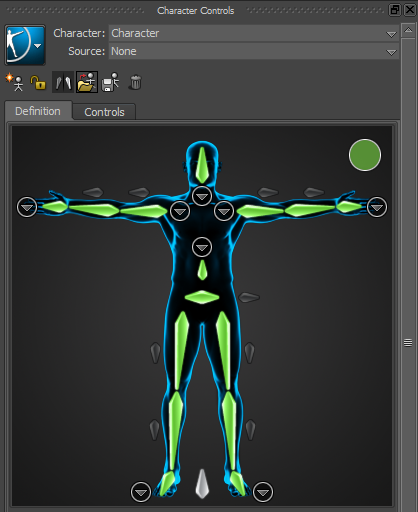
Character representation displays a valid characterization
A yellow symbol (
 ) indicates potential problems are detected, and a red symbol (
  ) indicates the characterization is not valid.
Save your work.
Now that the 3ds Max biped is characterized, you can add a Control rig you can animate. Go to the next procedure: Add a control rig to the characterized 3ds Max biped.