- In the tree view, right-click on
Analysis 1 and choose
Edit.
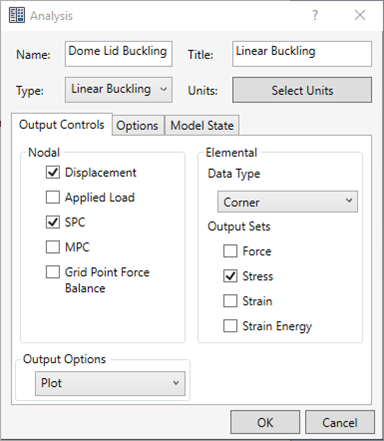
- Type Dome Lid Buckling for Name, and type Linear Buckling for Title. Select Linear Buckling from the Type drop-down menu.
- Click the Options tab, and then enter 3 for the Number of Modes to be extracted. This will instruct Autodesk Nastran to calculate the first 3 eigenvalues.
- Click OK to return to the tree view.
- Save the model at this point.
- In the tree view, right-click on Constraints under Subcase 1 and choose New.
- Rename the constraint to Outer Face Fixed.
- Orient the model inside
Inventor Nastran so that you can clearly view and pick the outer most upper face.
- Be sure that
Subcase 1 is selected in the
Subcases list.
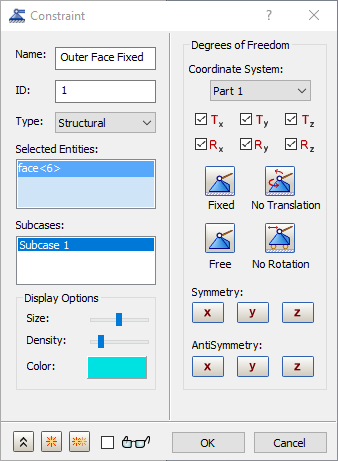
- Accept the default settings and click OK to create a fixed constraint.
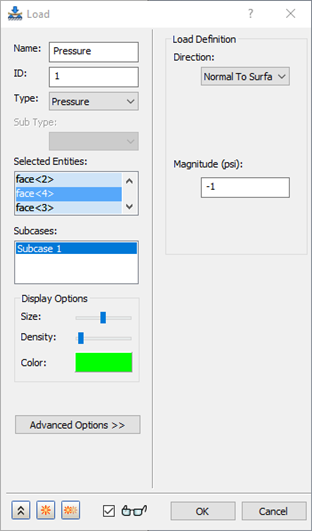
- Right-click on Loads under Subcase 1 and choose New.
- Change the Name to Pressure.
- Change the Type drop-down to Pressure. Type -1 for Magnitude under Load Definition.
- Be sure that Subcase 1 is selected in the Subcases list.
- Select all the upper faces in the model, either individually, or by using a box pick method.
- The
Load dialog should look as shown below.
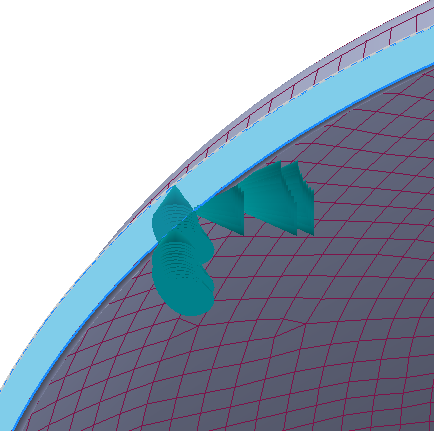
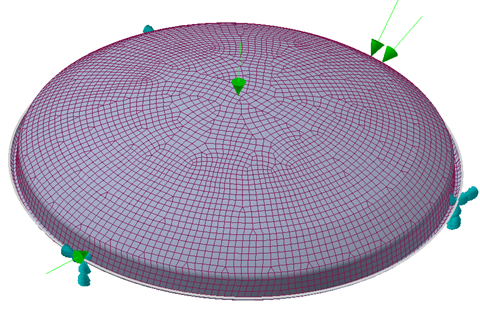
- Click
OK. The model should look as shown below.
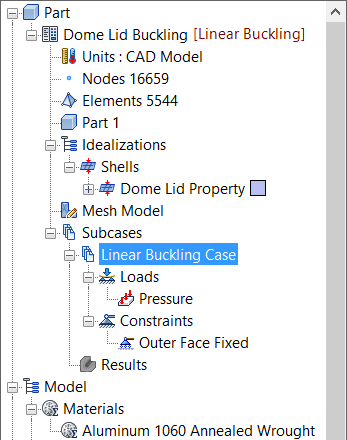
- In the Part tree, right-click on Subcase 1, select Rename and type in Linear Buckling Case.
- Once finished, the tree view should look as shown below.
- Click Save to save your work.
- Right-click on the empty space of the tree view and select Solve in Nastran.
- Autodesk Nastran solves the model and displays the progress in the Autodesk Nastran Output window inside Inventor Nastran.
- When you see the dialog "Nastran Solution Complete", click OK to load the results into Inventor Nastran.