Note: Point Cloud Triangulation is available only when creating inspections for CNC and Manual machines.
To triangulate a point-cloud:
- In the inspection sequence, select the Point-Cloud item's entry.
- Click Point-Cloud tab > Triangulate panel > Create. The
Point-Cloud Triangulation dialog is displayed.
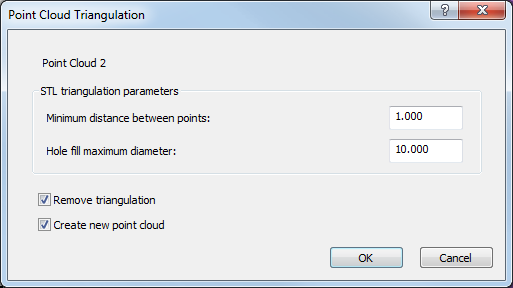
- Enter the
Minimum distance between points to specify the size of the triangles in the mesh. Any points closer than the specified distance are treated as one point.
The distance value controls the size of the triangles in the mesh; smaller values give a smoother mesh. A value of zero only excludes duplicates.
- Enter the Hole fill maximum diameter to specify the maximum diameter of holes that can be filled automatically. Holes with a diameter equal to, or smaller than, this value are treated as part of a surface; holes with a diameter greater than this value remain as holes.
- If triangulation has been applied to the point-cloud item and you want to revert to the original untriangulated state, select the Remove triangulation check box.
- To preserve the original point-cloud item and save the triangulated cloud as a new item, select the Create new point-cloud check box.
- Click
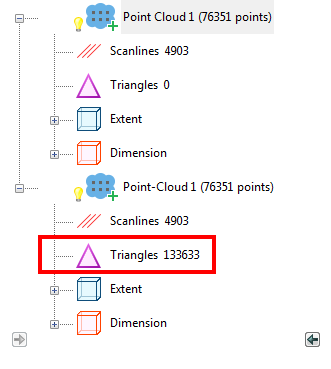
OK to triangulate the cloud and close the dialog. The triangulated point-cloud item is added to the inspection sequence, for example:
If PowerInspect cannot triangulate the point-cloud, a warning message is displayed: click Yes to display the Point-Cloud Triangulation dialog and use a suggested Minimum distance between points and Hole fill maximum diameter; click No to cancel the operation.