Use the Print to File Settings dialog to specify settings for printing an image to a file:
- Select File > Print > Print Set-up.
- Click
Files on the
Page Setup dialog, to display the
Print to File Settings dialog:
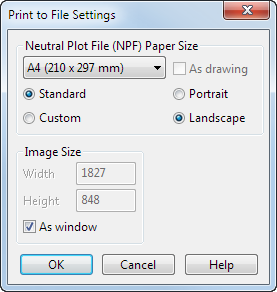
- Use the
Neutral Plot File (NPF) Paper Size options to set the size and orientation of the paper used by the neutral plot file:
- Select Standard and then select a standard paper size from the drop-down list.
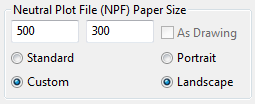
- Select
Custom
to define your own paper sizes. Two boxes are displayed instead of the drop-down list. Enter maximum width and height values. The contents of your graphics window are scaled to fit the sizes specified. It is possible that your image may not fit the paper.
- If you are in drafting mode, As Drawing is selected and PowerShape selects the best paper size for the drawing from the available sizes on the selected printer. As drawing is not available in modelling mode.
- Select Portrait or Landscape to specify the orientation of the image on the paper:
- Specify the image size:
- To set the size of the image from the size of the modelling window, select As Window.
- To scale the image to specific dimensions, deselect As Window and enter the Width and Height of the image in pixels .
- Click OK to save your changes and close the dialog.