Import a point cloud (.asc, .csv, or .mod file type) and convert it to a mesh using the following steps:
- Click File > Import.
The Import File dialog is displayed.
- Select a file and click
Open. The cloud of points is imported and the Cloud Tools tab is displayed.
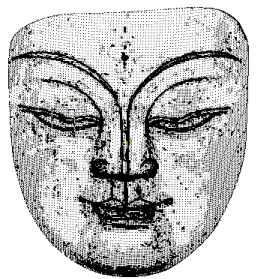
- Click Cloud Tools tab > Create panel > Mesh.
The Generate mesh dialog is displayed:
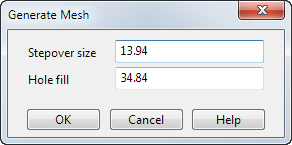
- Stepover size specifies the size of the triangles in the mesh. The value that is displayed initially is a rough estimate, based on the size of the mesh. Smaller Stepover size values give a finer and smoother mesh.
- Hole fill specifies the maximum diameter of holes to fill automatically. The mesh generator attempts to fill holes that have a diameter equal to, or smaller than, the Hole fill value.
- Update the
Stepover size
value using one of the following techniques:
- Enter a new value.
- Use the Measure tab on the Calculator to measure between two points in the mesh.
- If required, enter a new Hole fill value.
- Click
OK
to create a triangulated mesh:
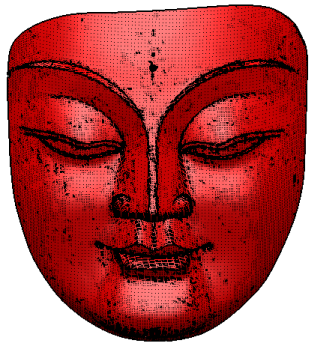
- Click Home tab > Delete panel > Itemsto delete the cloud and display the mesh:

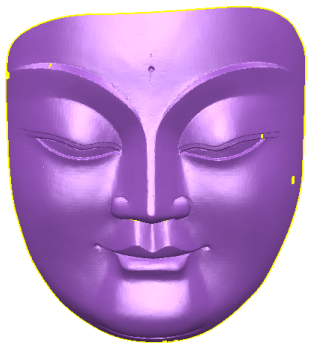
- Select the mesh.
- In this example, the mesh needs reversing. Click Mesh Tools tab > Modify panel > Reverse to reverse the mesh:
Tip: Files imported that contain grouped points are imported as clouds. If the points are not in a group then individual point entities are created.