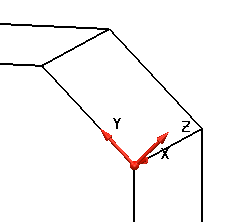
To align an existing workplane with an inclined face on your model:
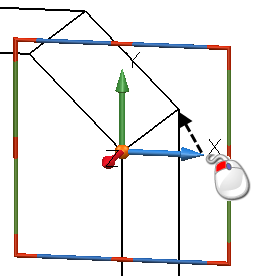
- Select the workplane to display its graphical handles.
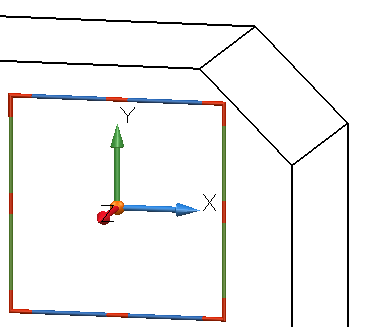
- Move the workplane by snapping it to existing geometry on the inclined face.
The workplane moves to its new position.
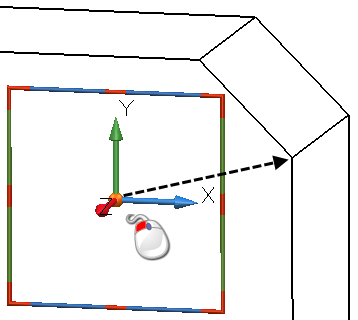
- Drag one of the workplane's axes to point towards another piece of existing geometry.
The direction of the X-axis is changed so that it lies on the inclined face.
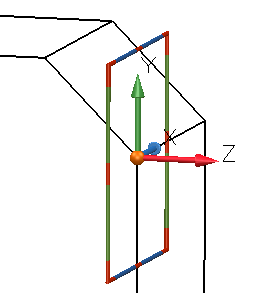
PowerShape makes its best guess as to how to align the other two axes (changing them as little as possible).
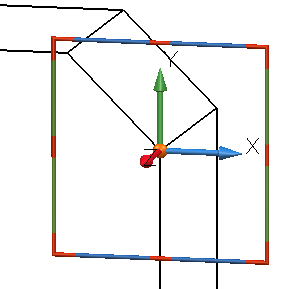
- To align the other axes on the inclined face, twist the workplane about the axis that has just been positioned.
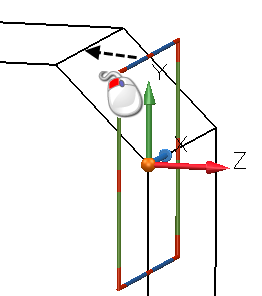
The workplane is twisted around its X-axis so that the Y-axis lies on the inclined face.
Note: If we had dragged the Y-axis instead of twisting the workplane about its X-axis, the X-axis would have moved.
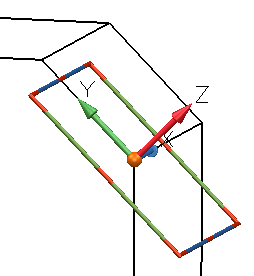
The workplane is now aligned with the inclined face on the model. You may now work directly on the inclined face of your model.