Use the Rotate option to rotate a group of objects by a specified angle. The objects are rotated around an axis normal to the principal plane. For example, if the principal plane is YZ, the objects are rotated around the X axis.
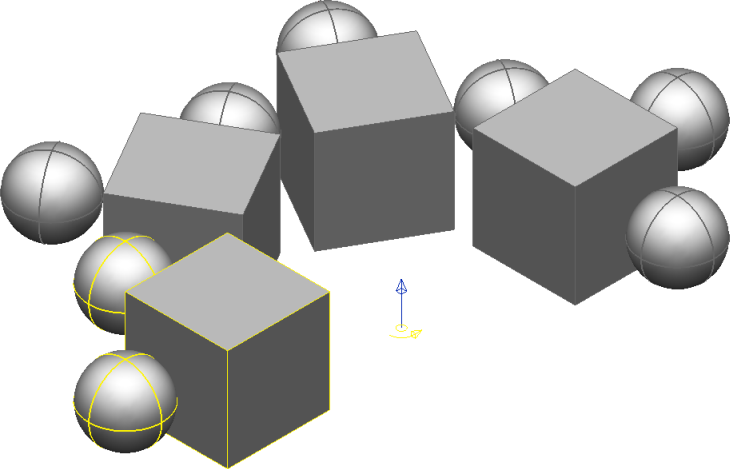
You can rotate the objects to give one or more copies. The following picture shows how three copies have been rotated from the original, each separated by an angle of 30 .
.
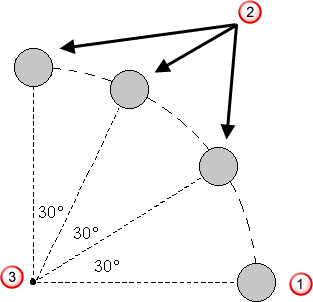
 Original object.
 Copies.
 Rotate axis.
To rotate a group of objects:
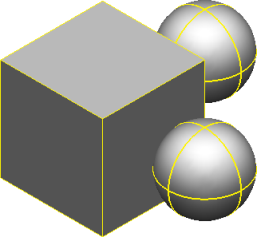
- Select the objects, for example:
- Click Edit tab > Transform panel > Rotate.
The Rotate toolbar is displayed:

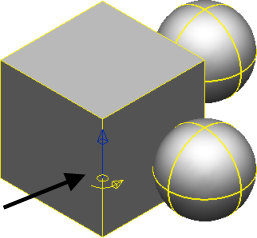
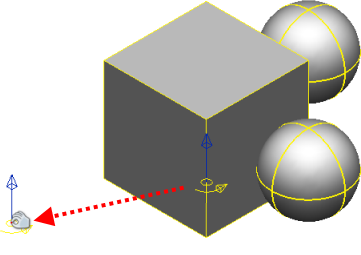
In the graphics window, the rotate axis marker is displayed. It is an arrow at the origin of the current workspace, which points along the axis normal to the principal plane. Objects are rotated around the rotate axis.
- To move the marker to change the axis, do one of the following:
- Click and drag the marker to a new position. You can modify the angle value after dragging the selected item.
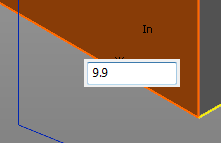
Note: If you don't want to enter a value, you can ignore the box; it is closed when you continue with your work.- Click
Rotate axis
 on the toolbar and enter a position.
If you change the principal plane, the rotate axis automatically points in the direction of the axis normal to the new principal plane.
- Click and drag the marker to a new position. You can modify the angle value after dragging the selected item.
- If you want to rotate the objects and keep a copy of the original objects, select the
Keep original
 button. The button changes to
 . Enter the number of copies you want in the
Copies
box.
. Enter the number of copies you want in the
Copies
box.
- Enter the angle of rotation to rotate the objects, or click and drag the objects around the rotate axis. A graphical preview of the transformed items is displayed when you enter an
Angle. The example below shows the preview that is generated when the solids are selected and an
Angle
of
60
is entered:

If you are creating many copies, the angle of rotation defines the angle of rotation of the copies from each other.
If we wanted 3 copies with an angle of rotation of 60
, we get the following where each surface is rotated 60 from the one next to it:
The toolbar stays open to perform further Rotate operations.
- Select new objects to operate on using box selection, or the standard Ctrl+Click and Shift+Click operations.
- Click
Apply
 to accept the changes or
Cancel
to accept the changes or
Cancel
 to discard the changes and close the toolbar.