Add and Remove Component Sizes in a Spec. Set Component Properties in the Spec. Update a spec with the changes made to the catalogs.
Set properties and descriptions in the spec sheet that are new or different from catalog values. Remove unused component sizes.
Remove component sizes that you do not want in the spec. Add sizes that were out of range when the component is copied from a catalog.
Remove components from a spec sheet
- In the Spec Editor, on the Spec Sheet pane, click a part or a group.
- Click Remove from Spec.

Edit a spec sheet description
- In the Spec Editor, on the Spec Sheet pane, right-click the upper-left corner description area. Click Edit Spec Description.
- In the Edit Spec Description dialog box, enter a description.
- Click OK.
Add notes to spec sheet parts
- In the Spec Editor, on the Spec Sheet pane, right-click a group name (for example: --- Pipe ---).
- Click Add Notes.
- In the Add Notes To Group dialog box, enter a note.
- Click OK.
The note displays above the group on the Spec Sheet pane. You can right-click on the note to remove it.
Display metric or imperial units
- In the Spec Editor, on the Specs menu, click Layout and Settings.

- In the Spec Editor Layout and Settings dialog box, in the Display Nominal Sizes in Spec As list, click a unit type.
- Click OK.
Modify component properties in a spec
- In the Spec Editor, on the Spec Sheet pane, click a part (for example: PIPE, PE, ASME B36.10).
- Click Property Editor.
- In the table, select a cell and enter a value. For example, specify
API5L in column Material Code.

Add and remove component sizes in a spec
- If you want to remove a component size, select Remove From Spec for each size that you want to remove (for example: 3/4” and 3”).
- If you want to add a component size, do the following:
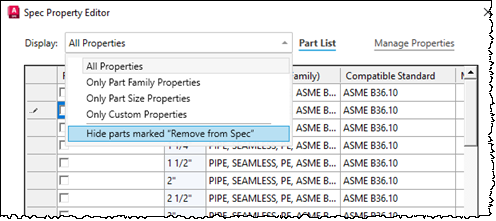
- Click Display dropdown list, clear Hide Parts Marked "Remove From Spec."

- Clear Remove From Spec for each size that you want to add (for example: 2”).
 Note: If the component size that you want to add does not appear when you clear Hide Parts Marked "Remove From Spec," you can use the catalog editor to add the size.
- Click Display dropdown list, clear Hide Parts Marked "Remove From Spec."
- Click Apply.
Add custom properties to components in a spec
- In the Spec Editor, on the Spec Sheet pane, click a part (for example: Check Valve, Swing, 300 LB, BW, ASME B16.10).
- Click Property Editor.

- In the Spec Property Editor dialog box, click Manage Properties.
- Under Property Definition, in the Display Name box, enter a name (for example: Valve ID).
- In the Field Type list, click a type (for example: Numeric Value).
- In the Default Value box, enter a default.
If the Field Type is True/False, specify a True or False default value.
- If the Field Type is Text, in the Field Size box, enter a size from 1 through 255.
- Click Add.
- Click OK.
Update a spec with catalog changes
- Click Specs menu
 Check for Updates from Catalogs.
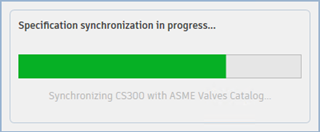
Spec synchronization starts.
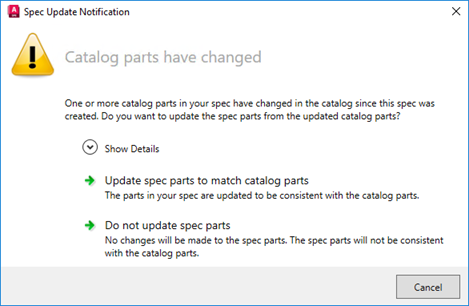
- When finished, the Spec Update Notification dialog box displays. Choose whether to update spec parts to match the catalog parts or not.

Batch update multiple spec with catalog changes
- If the spec file that you want to update is open, close it.
- Click Specs menu
 Batch Update Specs from Catalogs.
- In the Open dialog box, select one or multiple spec files.
- Click Open.

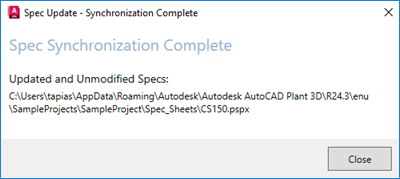
Note: To synchronize specs with catalogs, the spec file must be closed and exclusive access to the spec file is required.