These procedures assume that you have installed a content pack that includes multi-port valves and compatible piping.
Place a Multi-Level Valve
Unlike other valves, multi-level valves are oriented as if laid flat on the ground as opposed to head-up.
If you do not have piping available to connect to, follow these steps:

- Begin placing a valve.
- Press Ctrl to select a port. If possible, select a top-level port.
- In the drawing, specify an insertion point.
- Enter
p to set the rotation plane.

- Click to rotate and place the valve.
Create a Closely Coupled Valve Group
- Select and copy a valve.
- For the start point, use node snap (nod) to specify a port on one side of the valve.
- For the second point, specify a port on the other side of the valve.
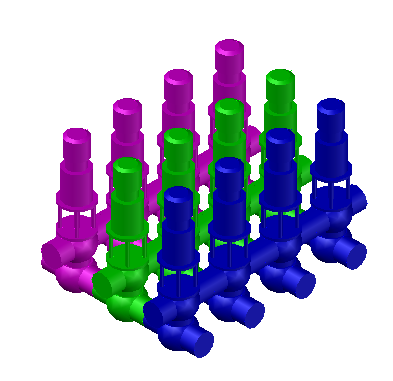
- Repeat to create a valve group.
Set Port Orientation in a Multi-Level Valve
When you place multi-level valves, you can orient the valve relative to the top section of the valve housing.
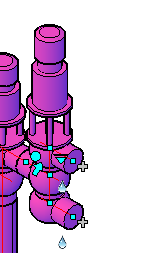 Default orientation of a 3-level mixproof divert valve
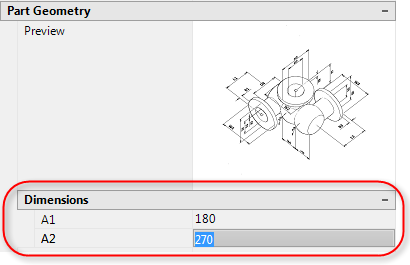
If you need to set the orientation of the lower sections, follow these steps:
-
In the Properties palette, verify that TYPE=VALVE-MULTIWAY is set.
If this is not set, the levels cannot be oriented independently.
- In Part Geometry, in Dimensions, enter an angle (for example, enter
270 for A2).
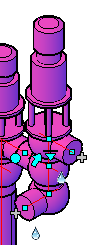 Level 3 (A2) set to 270 degrees
Note: If possible, place your valve relative to a port at the top of the housing. This avoids needing to re-orient the valve after specifying lower-level housing angles in the Properties palette.