Update components in the model that use the spec.
To create a custom part (specialty item)
- On the ribbon, click Home tab
 Part Insertion panel
  Custom Part.
 - In the Custom Parts Builder window, click Plant 3D Shape.
- In the Custom Part Type list, click Permanent.
- In the Part Type list, click the type (for example: Inline Instrument).
- In the Size list, click the size of the pipe the part attaches to (for example: 4).
- Click the Shape Browser. Specify a part shape.
- Under Dimensions, enter the part dimensions (for example: D 6, L 12).
- Under Port Properties, specify properties for the port (for example: End Type FL).
- Click Insert in Model.
To create a placeholder part
- On the ribbon, click Home tab
 Visibility
  Toggle Placeholder Display.
 - On the ribbon, click Home tab
 Part Insertion panel
  Custom Part.
 - In the Custom Parts Builder window, click Plant 3D Shape.
- In the Custom Part Type list, click Placeholder.
- In the Spec list, click the pipe spec that needs this part (for example: CS300).
- In the Class list, click a part type (for example: Nipple).
- In the Size list, click a size (for example: 6”).
- Click Insert in Model.
- Click to specify a point on the pipe line.
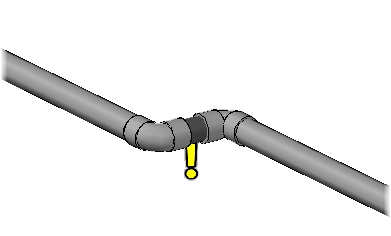
The placeholder part is connected to the pipe line.

- To finish adding placeholder parts, press ENTER.
To update a spec in the model
- At the command prompt, enter plantspecupdatecheck.
- If automatic spec updating is not set, accept spec updates.
To substitute a piping component in the model
- In the drawing area, click the placeholder component to select it.
- Click the substitution grip, and in the substitution palette, click the new item.