Replace an existing asset with another that you select from the Asset Browser. The material will assume the properties of the new asset.
Note: If you edit an asset that is used in a project, that asset will change in any other material in the project that also uses that asset. You must replace or duplicate the asset in order for the asset to be different than the asset selected in your original material.
- Open the Material Browser dialog: Click Manage tab
 Settings panel
 Materials.
- In the Material Browser dialog, select the material.
Note: Some materials may display the
 icon on the thumbnail. These materials use legacy
appearance assets. If a new appearance asset is available, replace it for improved rendering.
icon on the thumbnail. These materials use legacy
appearance assets. If a new appearance asset is available, replace it for improved rendering.
- Click the tab for the asset to replace (for example, Appearance, Physical or Thermal), and then click the Replace Asset button
 .
.
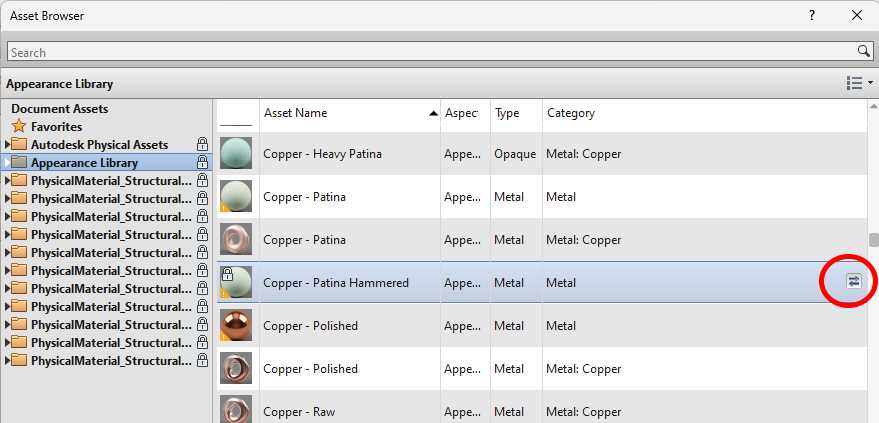
- In the Asset Browser dialog, select the asset to add to the material.
Tip: To locate an asset, use the search bar, or click one of the column heads to sort by name, aspect, type, or category.
- Click the Replace button
 located to the right of the selected asset.
 Note: When you click Replace, the Asset Browser does not reflect any changes.
 - Close the Asset Browser.
The selected asset replaces the original asset in the material and displays in the Material Editor panel.
The asset change applies only to the material in the current project.
- Click Apply in the Material Browser dialog.
Repeat this procedure to replace other assets for the material.