Use these steps to create macros using the Macro Manager.
In Revit, macros use the Application keyword for addressing the application object in C#. This includes all the application-wide data and settings.
Note: If the application contains macros, macros must be enabled in the
Macro Security settings.
Macros creation overview
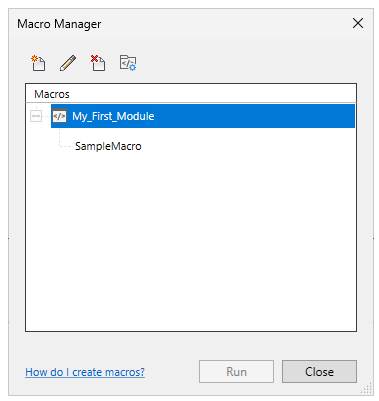
- In the Macro Manager dialog, select a module and click
 Edit.
Edit.
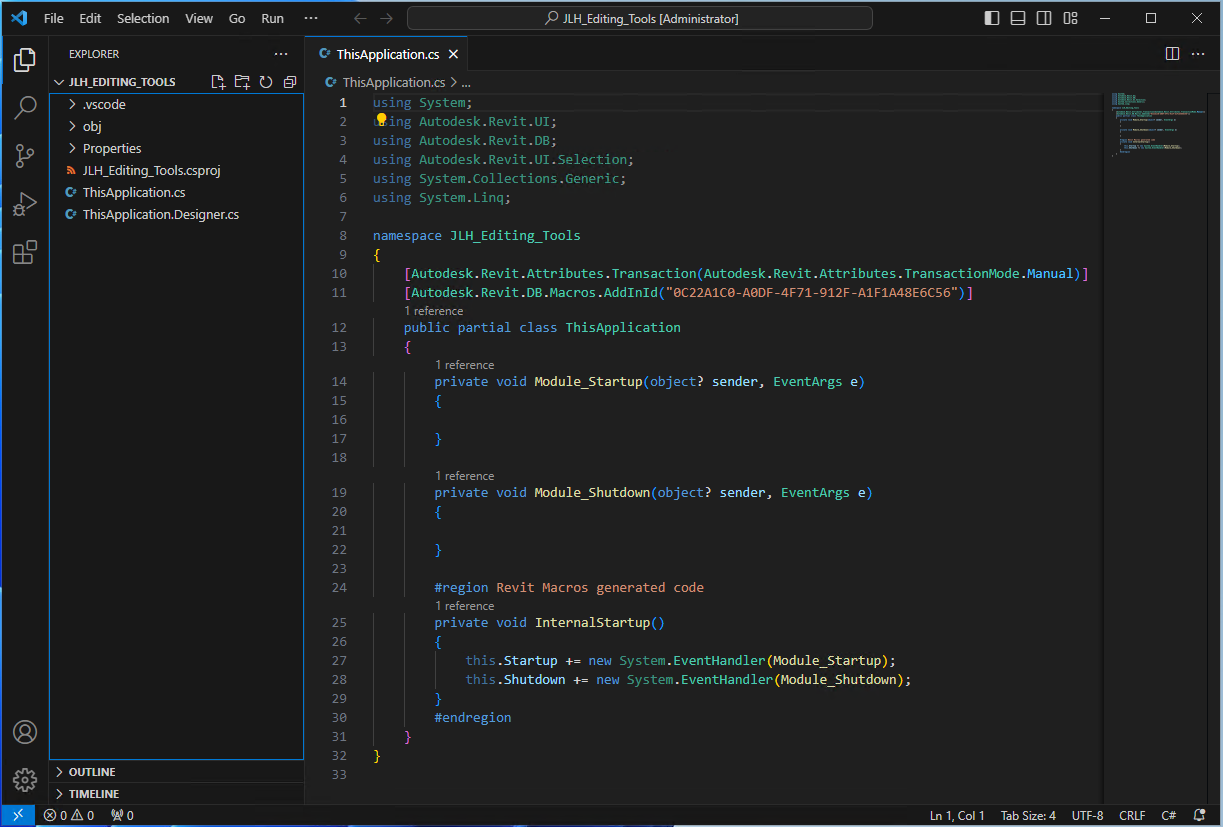
A session of Visual studio Code launches to write the macros. It displays a starting template for the macros in C#.
For example, uses a C# template for application-level macros, the session of Visual Studio Code has already:
- Included the necessary using directives.
- Identified the module namespace (JLH_Editing_Tools in the graphic below).
- Started the ThisApplication class definition.
- Started the methods for Module_Startup() and Module_Shutdown().
- Write the macro code in the Visual Studio Code session and build the macro.
The new macro is placed in the parent module in the Macro Manager.
- Repeat steps 1 through 3 for any additional macros needed in the module.
Note: Remember that you must successfully build and save module projects in Visual Studio Code, before they will display in the Macro Manager's categorized list. Build in one of the following ways:
- Terminal
 Run Build Task
- Terminal New Terminal
- Under Terminal Menu enter command "dotnet build".
Once the build result is displayed, the module status and macro list will refresh in the Macro Manager.
- Terminal