You can place aligned dimensions between 2 or more parallel references or 2 or more points, such as wall ends.
- Click Annotate tab
 Dimension panel
 (Aligned).
Options are Wall centerlines, Wall faces, Center of core, and Faces of core. For example, if you select wall centerlines, the cursor first snaps to the centerline of a wall when you place it over the wall.
- On the Options Bar, for Pick, select Individual References.
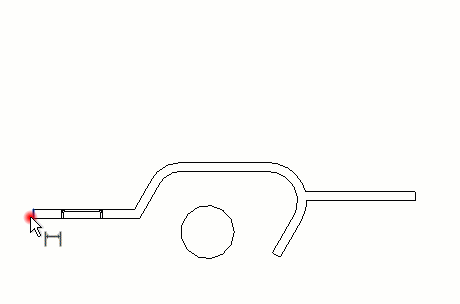
- Place the cursor at a reference point on an element, such as a wall.
The reference point highlights if you can place the dimension there.
Tip: You can cycle through the different reference points by pressing Tab. A blue dot reference displays at intersections of geometry. A gray square reference displays at any intersection of internal wall layers. - Click to specify the reference.
- Place the cursor on the desired location of the next reference point, and click.
As you move the cursor, a dimension line displays. You can continue to select multiple references, if desired.
- When you have reached the last reference point, move the cursor away from the last component and click.
The permanent aligned dimension displays.