A multi-rebar annotation allows you to tag multiple rebar and rebar sets with a single annotation.
Use multi-rebar annotations to tag each bar in a rebar set with a detailed annotation for fabrication and construction. When you use a Multi Rebar Annotation to include more than one rebar set, you can consider the following:
- Use equality formula display while grouping the dimensions of a segment within each set separately.
- Define separate tags for each set. This is a useful consideration when different data is necessary, for example, spacing implications defined in a label.
- Sort tags to keep like sets together.
- Group like tags into one when all data is identical.
- Edit each dimension label separately.
- Group dimension segments and the space between sets.
- Segment grouping is subject to the unit rounding specified in a project.
- Dimension the position of rebar sets with respect to the concrete host faces, or to any other dimension reference in Revit. The tag inside the multi-rebar annotations only extracts information from the rebar references, while the others are used for the dimension only.
- To use the multi-rebar annotations, you must select at least one rebar reference - either two rebar references or one rebar and one non-rebar reference.
- Dimension free form rebar sets with planar and parallel bars.
Note: Like for shape driven rebar, the view in which the Multi Rebar Annotation is created must be perpendicular to all the bar planes of the bars in the set.
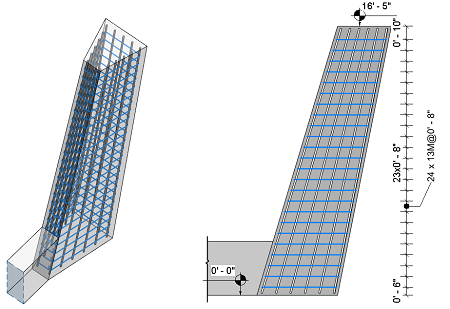
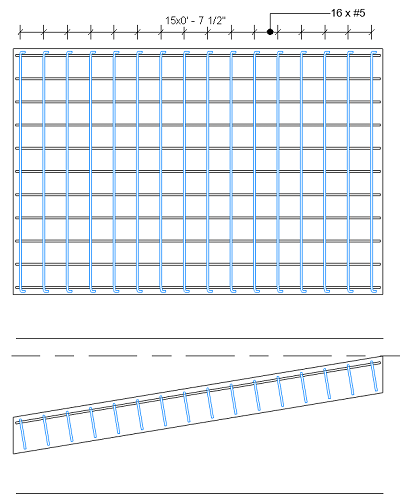
- Dimension rebar sets in structural elements inclined with respect to the view (e.g. ramp displayed in plan view). The rebar sets can be either free form or shape driven, and must be made up of single segment parallel bars, with or without hooks.
- Place Tags Automatically: To automatically place multi-rebar annotation tags, make sure that
 (Pick Position) is toggled off in the Annotate tab
  Tag Panel
 (Multi-Rebar)
  Modify | Multi-Rebar Annotation Aligned
  Tag panel.
- The tag is automatically placed above or to the left of the dimension line, at the specified offset, when you click inside the line to place it:
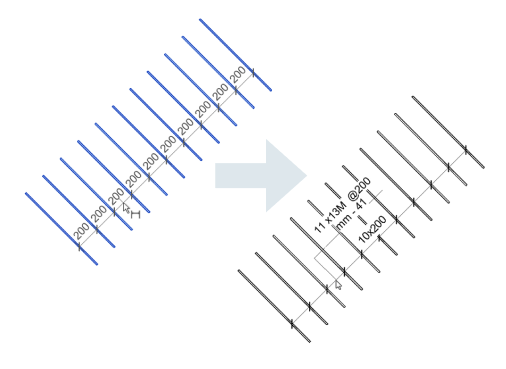
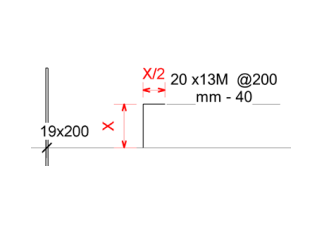
- Or the tag is automatically placed at the position where you click, when you click outside the dimension line to place it:
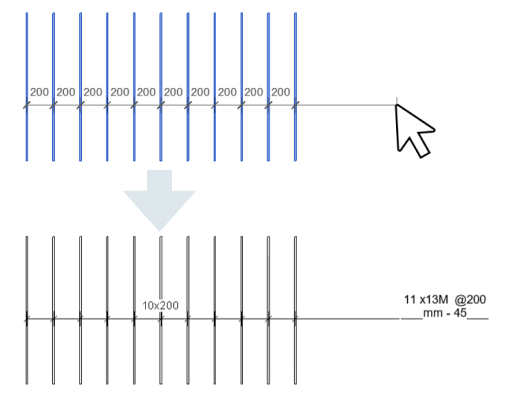
- The tag is automatically placed above or to the left of the dimension line, at the specified offset, when you click inside the line to place it:
Tip: Space to flip the tag on either side of the dimension line.