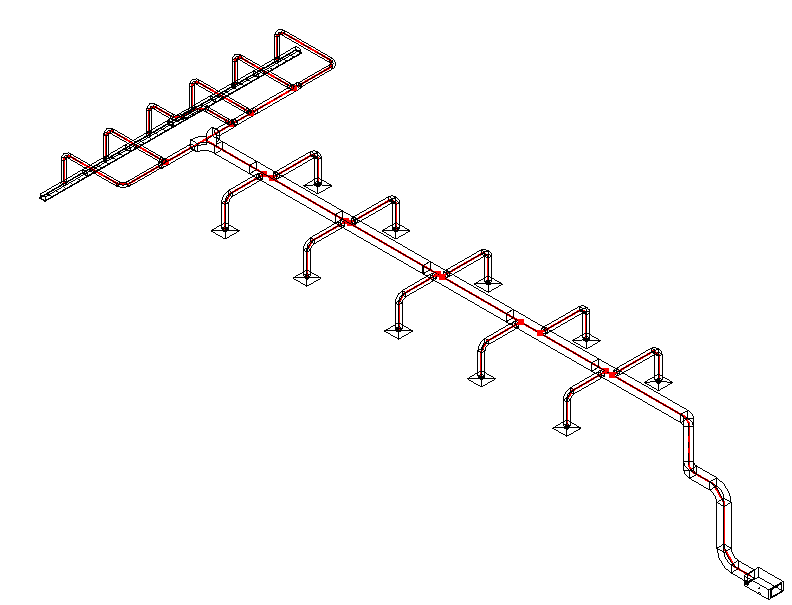
Analytical duct and pipe segments allow you to analyze and understand your MEP designs as you model and work with them in Revit.
Review the video to understand the workflow using analytical duct and pipe segments.
What are analytical duct and pipe segments?

To select an analytical segment, hover over the segment in the canvas and press the Tab key until the status bar reports "Analytical Segment," then click to select. The properties displayed in the Properties panel are inherited from the primary element and are read-only.
Why should you use the tools?
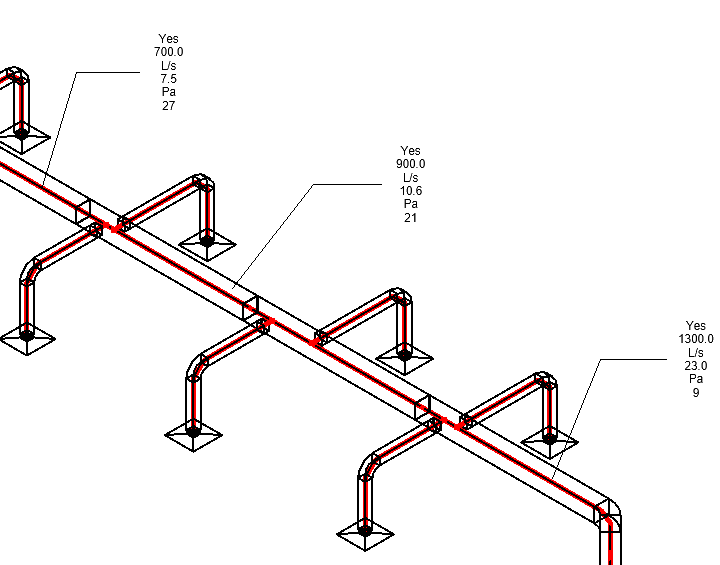
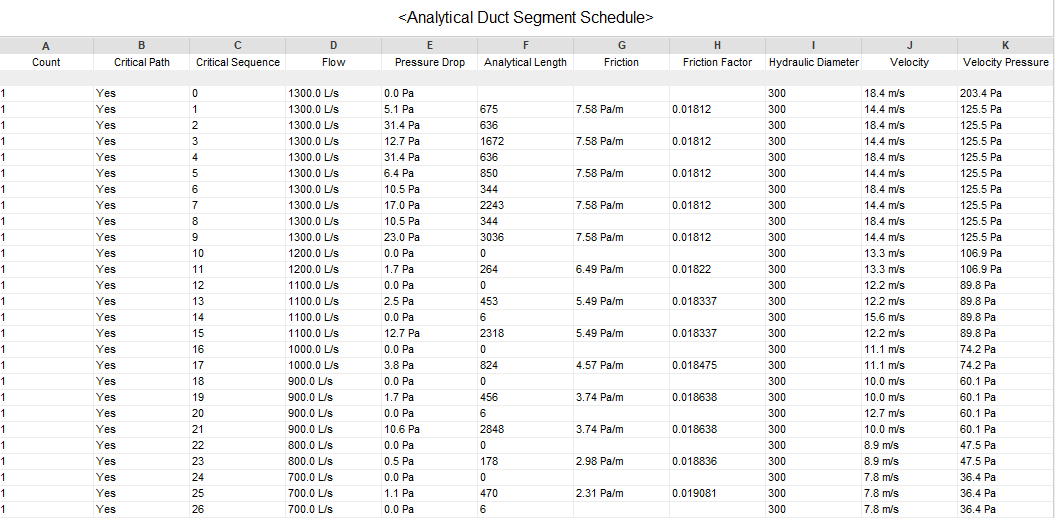
Analytical elements can be both scheduled and tagged. Use schedules to understand the overall length of a system and the pressure drop along it. Elements that are part of the critical path can also be identified with the schedule. Tag analytical elements in a view to create an isometric diagram of a system that displays flow and pressure drops. When viewed this way, you will not need to utilize the system inspector or other tools as much. Design and documentation of an MEP system is easier with analytical segments.
 |
 |
How to access the tools?
The good news is that these tools are included as part of Revit 2025. Analytical segments are incorporated into duct and pipe elements, so you don't need to model them separately. Creating a schedule to analyze the elements of the system is no different from creating a schedule for any other category in Revit. To place a tag on an analytical segment, you will need to create a tag, as one is not included in the Autodesk-supplied content.
For more information about analytical segments, see About Analytical Pipe Segments