Viewing Node Information
When wanting node information, there are two places to look, one that displays node information (Node Information dialog) and one that also enables the changing values and attaching custom attributes to nodes (Node Attribute Editor).
Node Information Dialog
Scenegraph > File > Information
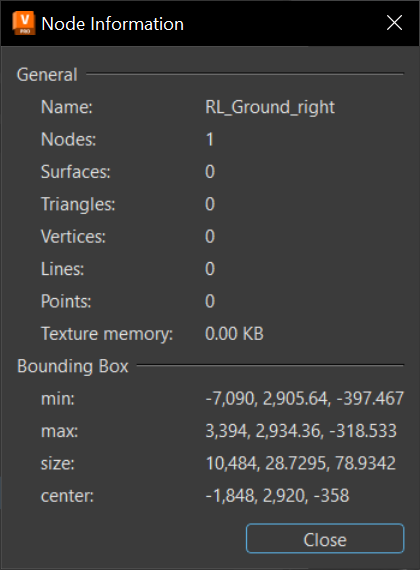
The Node Information dialog displays general and specific information about the selected node, such as its name, the number of child nodes, and texture memory usage.
The separators, such as spaces, points, and commas, to make it easier to read large numbers. For example, VRED displays a number like this, 182,461,862, instead of 182461862.
For Python users, use vrdNodeInfo getNodeInfo(node) to access the Node Information dialog.
Accessing the Node Information Dialog
- Click
 (Graph) to open the Scenegraph.
 - From the Scenegraph menu bar, select File > Information.
- When finished, press Close.
Node Attribute Editor
The Node Attribute Editor provides information about any node in a scene. You can view detailed information about selected nodes and attach custom attributes to nodes.
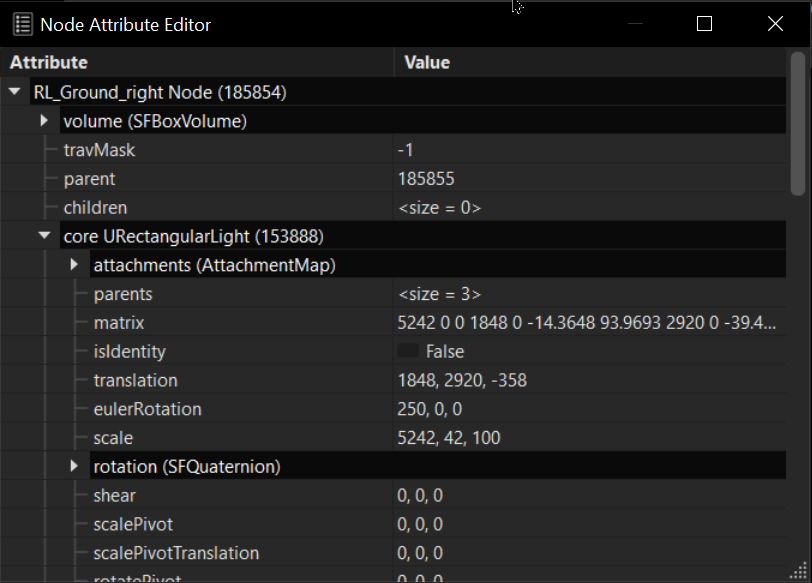
For example, use the Node Attribute Editor to set up the ranges for a DistanceLOD, which child should be drawn for which distance range, set the parameters of the range property, and so on.
Accessing the Node Attribute Editor
- In the Menu Bar, click Scene > Scenegraph.
- In the Scenegraph, select the node you want to work with.
- In the Menu Bar, click Scene > Node Attribute Editor.
For Python users, use vrdNodeInfo getNodeInfo(node) to access the Node Information dialog.