Assets and the Asset Manager
Scene > Asset Manager
Content for the Asset Manager is installed separately from the VRED installer, to keep the installer lightweight. This also provides us with the opportunity to offer extra content in a separate download, which can be installed when needed. The Autodesk VRED Assets installer can be found in your Autodesk account, as a separate executable file. This makes the installation of redundant Asset Manager content every release, optional.
Working with Assets
Assets are externally-referenced files from preset libraries found in the Asset Manager. They can be shared across multiple projects and can be materials, geometries, environments, and sceneplates. After import from the Asset Manager, material and environment representation from referenced assets gets an additional green icon in the lower left corner.
For information on assets and the Asset Manager, see the following:
- Asset Manager
- Asset Manager Preferences
- For Python users, Create Asset and Module vrAssetsModule
Where To Find Assets - Downloading and Loading
The Autodesk VRED Assets installer can be found in your Autodesk account, as a separate executable file. See the video above for a walk-through of this process. Keep in mind, the new assets must be downloaded and unzipped before they can be loaded into the Asset Manager.
For Chrome users, if Chrome is preventing you from installing the Assets, check out Chrome Troubleshooting.
If after following these steps, you still do not see any assets, please contact VRED support.
A user provided feedback on this topic, requesting more information. So as a result, it has been updated.
Part 1 - Downloading New Assets
To go Autodesk.com and click the Sign In button (if this link doesn't take you directly there) and sign in.
Click your user icon, then in the My Account section, select one of the following:
Product updates (appears when the window is expanded)
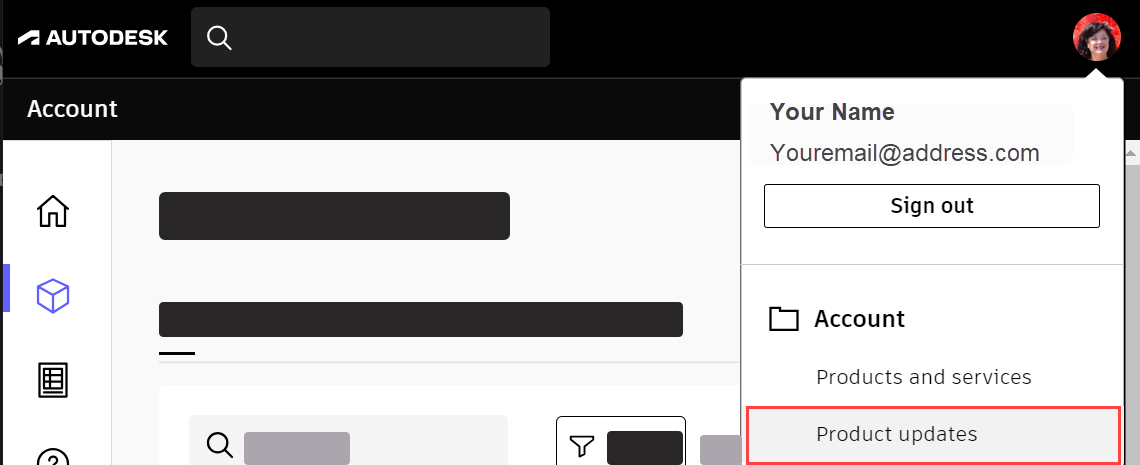
Manage products and download (appears when the window is reduced)

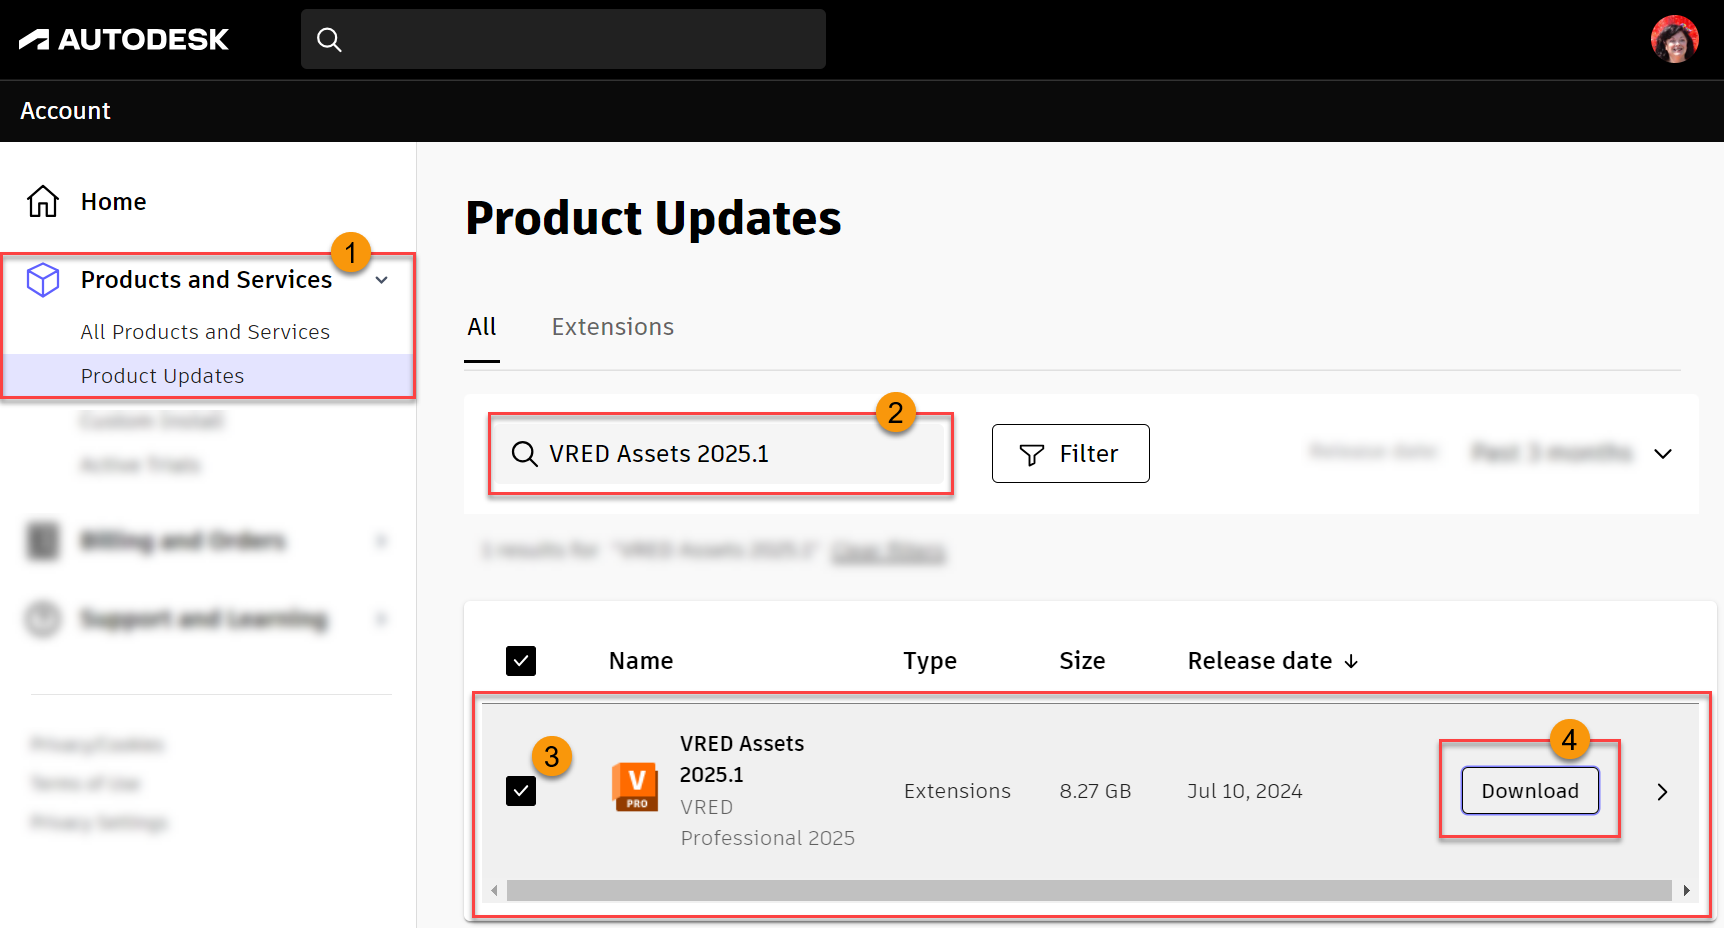
Along the side, select Products and Services > Product Updates, then type, VRED Assets, in the search.
Check the box next to the assets, then click Download.
 Important:
There may be multiple files to download. Ensure your browser pop-up blocker is disabled. If you see
 , this indicates pop-ups are still blocked. Click it, select the Always allow... option, and click Done. Multiple downloads should begin.
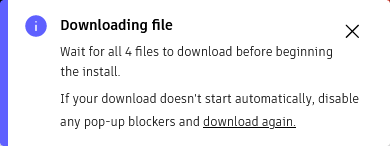
In your
Downloadsfolder, click an asset file, then OK to download the assets to the defaultC:\Autodesk\folder. Follow the steps.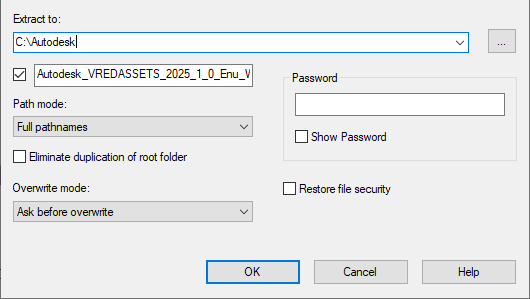
Part 2 - Loading New Assets
Now that the VREDAssets files are downloaded, they need to be extracted, so they can be loaded.
In
C:\Autodesk\, navigate to theVREDAssetsfolder.For example,
C:\Autodesk\Autodesk_VREDASSETS_2022_1_0_Enu_Win_64bit_dlm\x64\VREDAssetsSelect each zipped folders, right-click, and select Extract All to upzip the assets.
In Edit > Preferences > Asset Manager, in the Search Paths section, click a tab, Add Path, then navigate to the folder containing those assets. Do this to load the assets for each tab.
When finished, click Apply and OK.
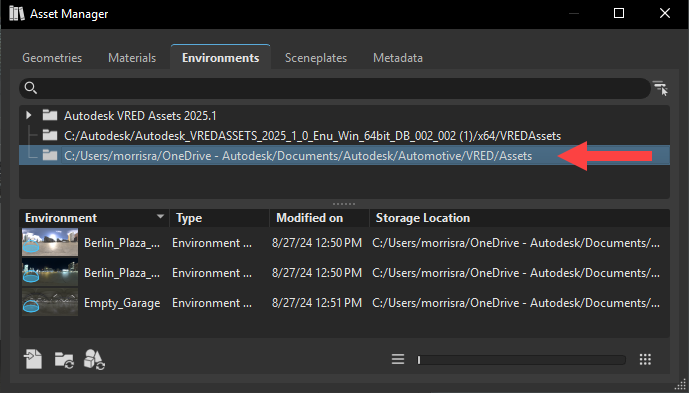
Select Scene > Asset Manager, click the folder from the list, then click
 .
.Locate the asset's .osb file, then click Open to add it to the Asset Manger.
Chrome Troubleshooting
If Chrome is preventing you from installing the VRED Assets, follow these steps for changing your browser privacy settings.
- Select the setting icon in the browser.
- Select Settings and type Site Settings in the search field.
- Click Site Settings and scroll down to Pop-ups and use redirects.
- Ensure Site can send pop-ups and redirect is enabled.
- Under Customized behaviors and next to Allowed to send pop-ups and use redirects, and click Add.
- Enter https://manage.autodesk.com and click Add.
What Assets are Included
Download free assets from Renderpeople, and others from Substance, Maground, Domeble, and the VRED Library using the Web Shop. You can also find an HTML5 car configurator menu example in the Asset Manager's Sceneplate tab and an X-Rite SpectraLight QC environment in the Asset Manager's Environment tab.
Renderpeople
From Autodesk's partnership with Renderpeople, you get 6 free textured, rigged, and skinned 3D characters ready to use in VRED. You will find 2 business and 4 family characters. Simply drag any of these characters into the existing scene. Once loaded, adjust them accordingly. To download more scanned and animated 3D characters, visit renderpeople.com.

Web Shops
Use the web shops to download the following types of free assets:
- Substance 3D material, model, and light assets from Allegorithmic Substances.
- Backgrounds and stitched 32-bit 360° HDR environments with lighting and up to 26 F-stops from Maground.
- 2k, 4k, and 6k backplates and 32-bit floating 360° HDRI environments with up to 30 F-stops from the Scenebox 360 Domeble.
- 3D environments containing a fully modeled environment, in addition to an environment material with an HDR, and different lighting variant sets from the VRED Library.
HTML5 Menus
Find a simple HTML5 car configurator menu example in the Asset Manager's Sceneplate tab. Use this to load the Genesis car example, then have the ability to toggle through different variant sets of the model. Other HTML5 menus include the HTML5 Frontplate menu, dynamic and animated user interface, and learning content.
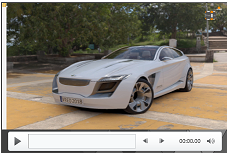
Click this link to view a video of the Genesis Car Configurator Menu.
X-Rite SprectraLight QC
Find the X-Rite SpectraLight QC environment in the Asset Manager's Environment tab. Use this box environment to represent the D65 daylight lighting behavior of the real world device.
The following example illustrates how these random items are effected by the X-Rite SpectraLight QC environment.
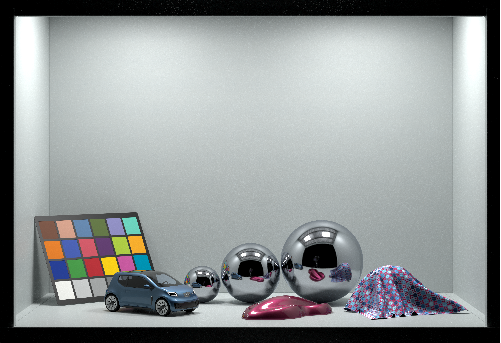
We measured the light source and side wall materials of the real light booth and created an HDR image from inside the original CAD model. This environment has a size of 950mm x 660mm x 595mm and is ideal to evaluate product designs and material examples under real lighting conditions.
How to Add a Network Asset Library and Access The Assets
Use the Asset Manager preferences to add a network asset library to the Asset Manager. This enables you to access assets on the network through the Asset Manager.
Select Edit > Preferences > Asset Manager.
In the Search Paths section, click Add Path.
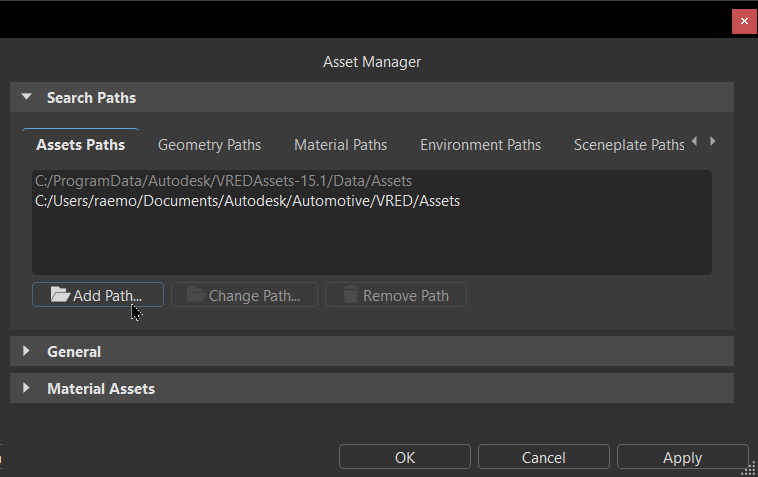
Navigate to the Network Asset Library and click Select Folder.
Click Apply to add its path to the Asset Manager and OK to close the preferences.
 Note:
Note:To change the path of a library for a new project, use Change Path. To remove a path to a no longer accessed library, use Remove Path.
Open the Asset Manager, click the network folder from the list, then click
 .
.Locate the asset's .osb file, then click Open to add it to the Asset Manger.
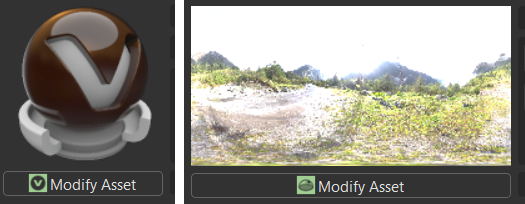
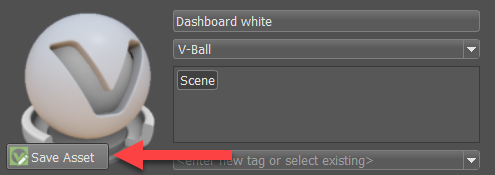
Modifying and Saving an Asset
Because assets are externally-referenced files, you must use Modify Asset to modify them. Once modified, the changes need to be saved, using Save Asset.
In the Material Preview, select an asset to load it into the Properties Editor.

Right-click the asset and select Asset > Modify. The asset properties are now editable.
Tip:You can also click the Modify Asset button.
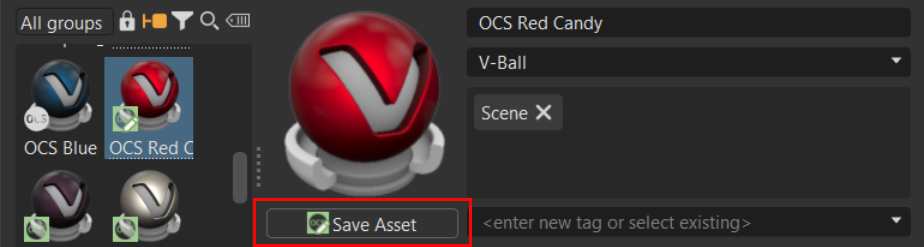
Modify the material asset.
Click the Save Asset button to save the modifications to the Asset Manager.
Reloading an Asset from the Asset Manager
When the original externally-referenced file has been modified, if you need the changes, the asset must be reloaded. This syncs up all instances of the asset, unless otherwise specified.
- In the Material Preview, select an asset that needs to be reloaded into the Properties Editor.
- Right-click the asset and select Asset > Reload from Asset Manager. The Reload from Asset Manager appears.
- Select the item in the scene, then click Yes. This updates the asset in the scene with the current version from the Asset Manager.
How Material Textures Are Saved
Use Textures in the Asset Manager preferences to set how material textures are saved in a material asset. They can be saved inlined with their texture data embedded into the asset osb file or non-inlined and not embedded.
- Select Edit > Preferences > Asset Manager > Material Assets.
- For Textures, select either Inline Textures or External Image Files.
- Click Apply, then OK to close Preferences.