Various methods of selecting network objects have been covered so far. Further selections can be made using SQL queries, which allow you to create lists of objects that satisfy specified conditions. The conditions can be as simple or as complex as you like. For example, you can create a list of nodes of a particular type or links for which particular fields lie within specified ranges.
The following steps create a number of selection lists using SQL. You can use the provided 'Newtown Network' network.
- Create a list of all reservoirs:
- Click the
 tool. The SQL
dialog is displayed.
Show image
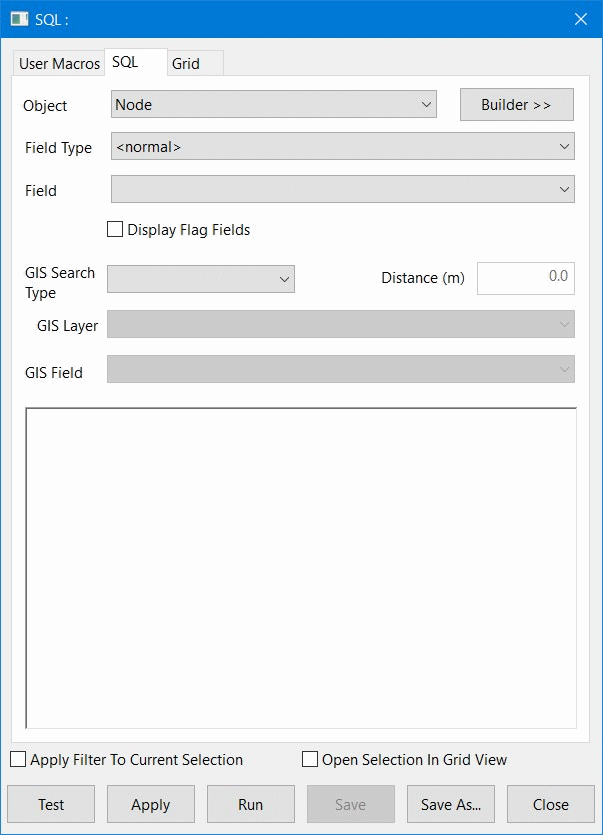
- In the Object Type box, select 'Reservoir'. A simple query can select objects of one type only but remember that you can combine lists if more than one type is needed. More complex queries can also be used to select objects of more than one type.
- Select 'node_id' from the Field drop-down list.
- Click the Builder button. The dialog is expanded to show the operations that can be included
when building the SQL query.
Show image
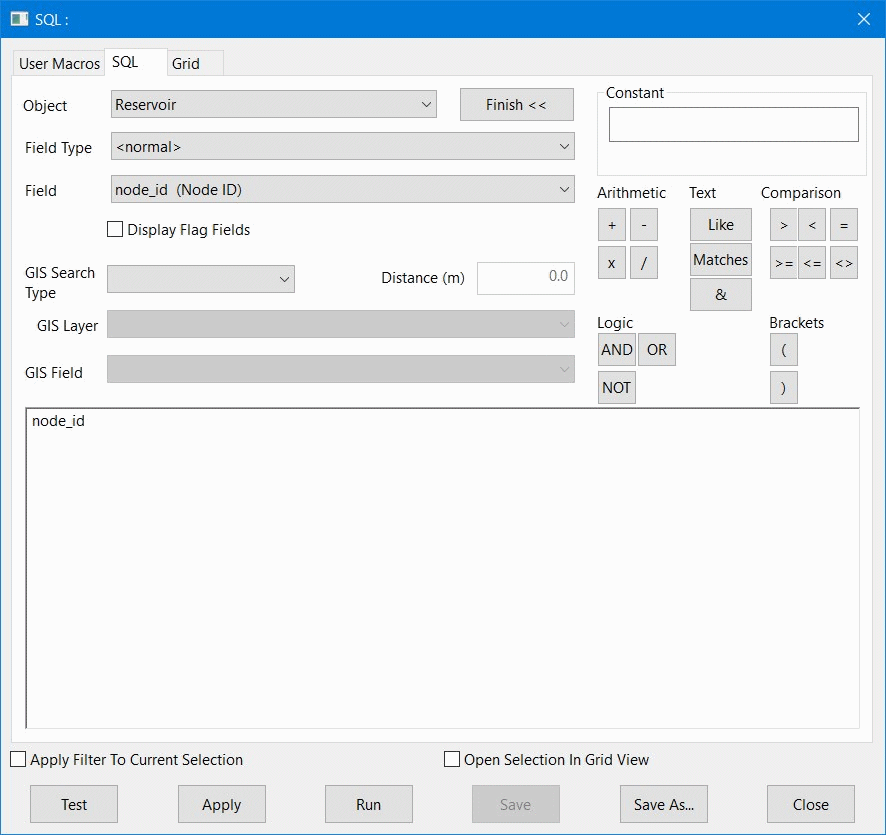
- Click the '>' button.
- Click the Constant box, type '0' (zero) and click the small OK button immediately below. The query is now complete.
If you make a mistake, click the large text box on the left, containing
the query, and edit it. You can type any expression directly into the
text box; you do not have to use the Builder options if you are familiar
with the format required for SQL expressions.
Show image
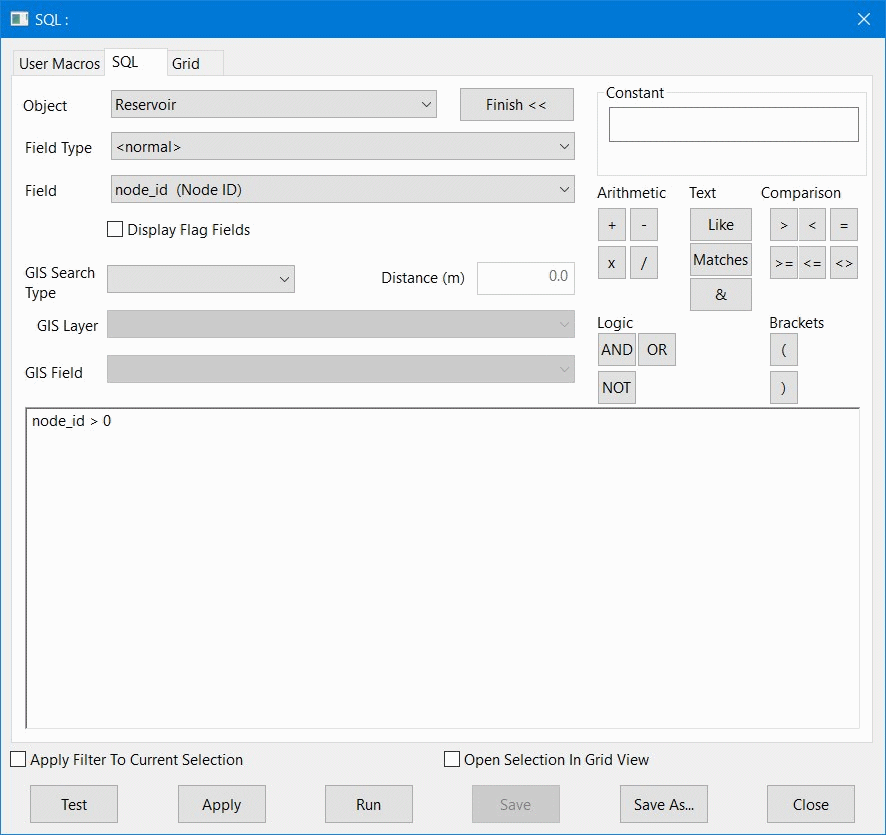
- Click the Save As button. Open the Tutorial and Newtown model groups. Click the Stored Query Group and enter 'Select Reservoirs'. Click Save to add the query to the group. The Save As dialog is closed.
- In the SQL dialog, click Run.
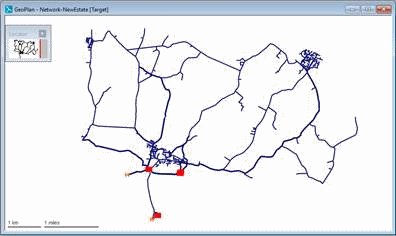
The dialog is closed and all objects matching the query condition are
selected (that is, those reservoirs that have a node ID).
If required, right-click an empty area of the GeoPlan, and select Find selection to maximise the display.
Show image
- Right-click the Selection List Group and choose New | Selection list. Give the list a name of 'Reservoirs (SQL)' and click OK. Up to this point, the SQL that generates the list has been created; the list of objects that results from running the SQL needs to be specifically saved. If you do not save the list, you will have to recreate it by running the SQL again whenever you need to select the items.
- Click the
- Another task can be to select all nodes above 140 mAD (the
 tool cannot be used in this case):
- Clear the current selection. If you run an SQL query from the SQL dialog, any matching objects are added to the current selection. However, if you run an SQL query by dragging its icon onto the GeoPlan, the new selection replaces the current selection.
- Click the
 tool.
tool. - Select 'Node' as the Object Type.
- Select 'z (Elevation)' as the Field.
- In the main query box, type '> 140'.
Show image
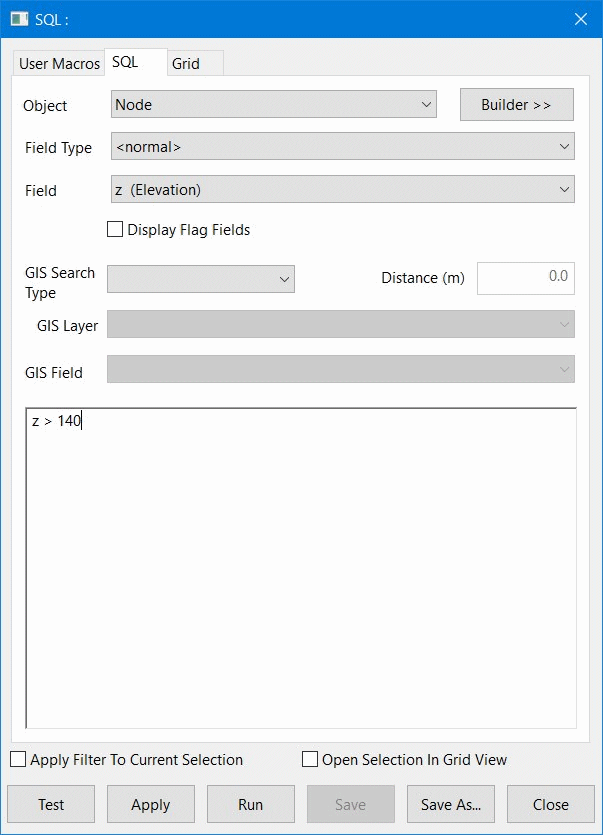
- Click Test. The dialog shows the number of objects satisfying the criteria. Click OK.
Show image
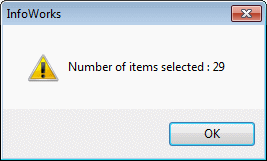
- Save the query in the Stored Query Group, giving it a name of 'Nodes Above 140 mAD'.
- Click Run. The selected nodes are highlighted. You can also run an existing SQL query, without using the SQL dialog, by dragging the query onto the GeoPlan.
- Use Find
selection to maximise the display.
Show image
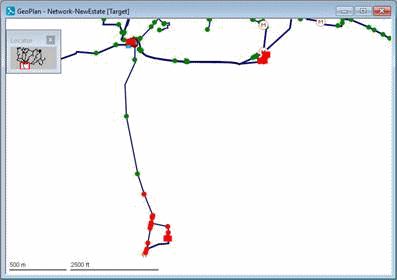
- Save the selection in the Selection List Group as 'Nodes Above 140 mAD'.
- Open the Nodes grid view (refer to the Working with grids and property sheets topic for more information about grids) and sort the records in descending order of elevation. The selected nodes are listed at the top. This confirms that the list is accurate and provides an alternative method for generating the selection. Close the grid view.
- You can use any of the data fields in a query.
For example, you can create a list of pipes that are greater than 175 mm wide:
- Clear the current selection.
- Click
 , set the Object
Type to 'Pipe' and enter the condition: 'diameter > 175'.
Show image
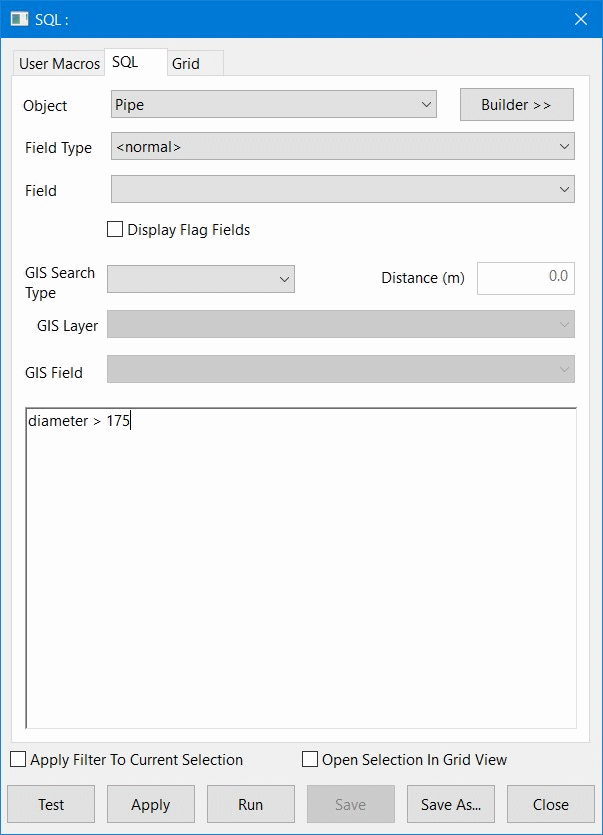
- Test the query. The number of items selected is shown. Click OK.
- Save the query as 'Pipes > 175 mm'.
- Run the query and find the selection.
Show image
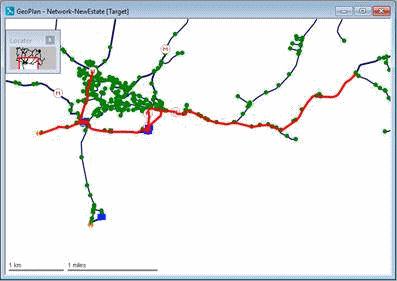
- Save the selection in the Selection List Group as 'Pipes > 175 mm'.
- The GeoPlan tools and grids can achieve the same
effects as simple SQL queries. However, more complex SQL queries can be
designed to select objects according to a combination of criteria:
- Start by making a copy of the last query. Right-click the 'Pipes > 175 mm' query (in the Stored Query Group) and choose Copy. Right-click the Stored Query Group and select Paste. Right-click the new query ('Pipes > 175 mm!') and choose Rename. Change the name to 'Minor Pipes' and click OK.
- Clear the current selection.
- Drag the Minor Pipes query onto the InfoWorks
WS Pro background (not the GeoPlan). The query is reloaded.
Dragging the query onto the GeoPlan runs the query but does not load
it for editing.
Show image
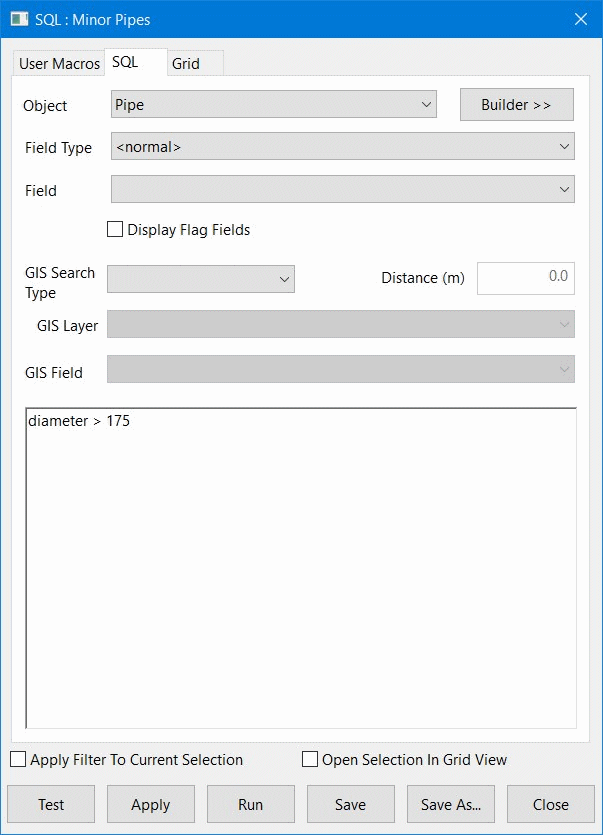
- Click the Builder button.
- Extend the condition, either by using the buttons on the dialog or by typing the condition directly: 'diameter < 175 OR length < 1'.
Show image
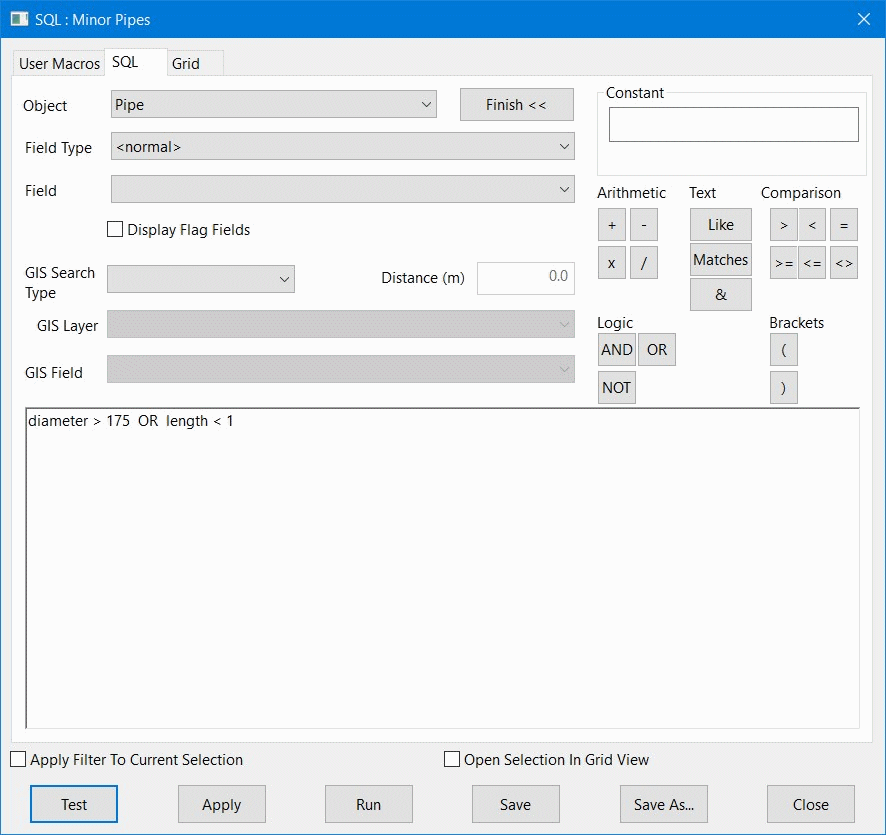
- When entering expressions (either directly or using the Builder options), make sure you leave a space either side of the operators (Arithmetic, Text, Comparison and Logic).
- Click Test. There are now more matching objects, which have either a diameter less than 75 mm or length less than 1 metre. Click OK.
- Click Save to re-save the query. If you want to create a new version of a query, rather than simply editing it, you must make a copy before loading the query.
- Run the query and save the selection in the Selection List Group as 'Minor Pipes'.
- It is possible to view the results of a query as
a grid (refer to the Working with grids and property sheets topic for more information about grids):
- Clear the current selection.
- Drag the Minor Pipes query onto the InfoWorks WS Pro background.
- Click the Grid tab.
Show image
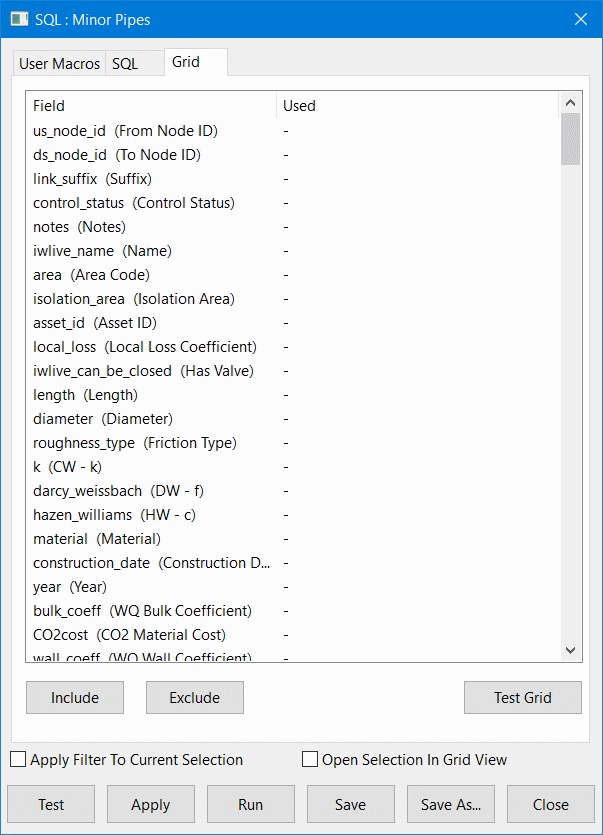
- Hold down Ctrl and click the us_node_id, link_suffix, length and diameter fields. Click Include.
Show image
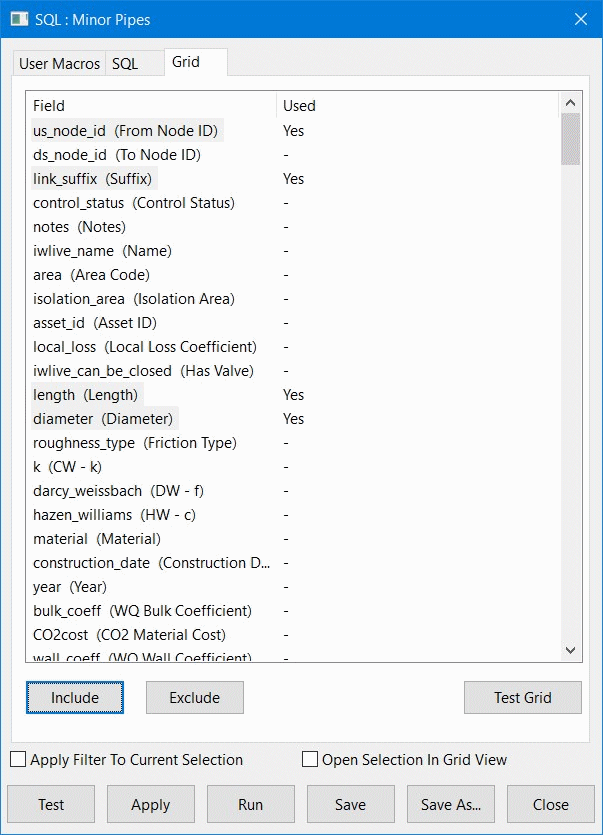
- Click Test Grid.
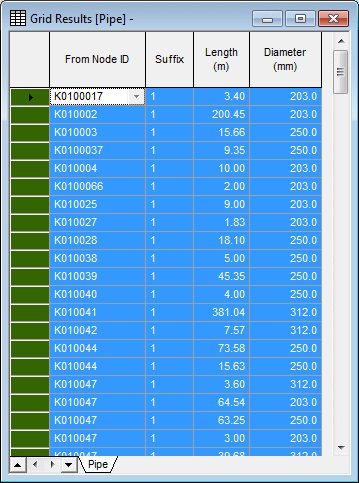
The query is run and the Pipe grid view is loaded. Close the SQL dialog.
The grid shows only the matching records and the selected columns.
If you don't select any fields in the Grid tab, all columns are included.
Show image
- Close all the windows, including the GeoPlan window.

Using SQL
Selection Lists
About working with database objects
Links Grid
Nodes grid
