In this exercise you use bitonal filters to improve raster line work and use raster editing tools to remove unwanted spots from an image.
- Bitonal filters improve the appearance of raster line work in a bitonal image, often eliminating the need for redrawing.
- Raster editing tools allow defects and scanning artifacts to be removed from the image.
In this exercise, you improve existing line work by applying a line thickening filter to a portion of the drawing. You also use the raster Remove tool to remove unwanted raster pixels from the drawing.
Related Exercise
Before doing this exercise, ensure that AutoCAD Raster Design toolset options are set as described in the exercise Exercise A1: Setting AutoCAD Raster Design Toolset Options.
Exercise
- In the
..\Program Files\Autodesk\ApplicationPlugins\RasterDesign2026.Bundle\Contents\Tutorials\Tutorial2 folder, open the drawing file
Scanned_06.dwg.
Clean up jagged line work
- On the ribbon, click
View tab
 Named Views panel
View Manager
Named Views panel
View Manager
 . Then expand the
Model Views node and select the view named
TU-pad, click
Set Current, and click
OK.
. Then expand the
Model Views node and select the view named
TU-pad, click
Set Current, and click
OK.
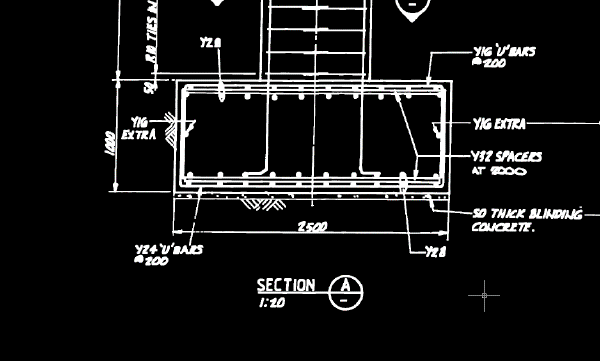
Some of the raster lines are very thin. Some lines, such as the dimension lines, have gaps due to poor scanning quality.
- On the ribbon, click
Raster Tools tab
Edit panel
Process Image drop-down menu
Bitonal Filters
 . Then (as noted on the command line) press
Enter to select the whole image.
. Then (as noted on the command line) press
Enter to select the whole image.
- In the
Bitonal Filters dialog box, select
Thicken for the filter type, and enter
2 for the number of passes. Verify that all directions are checked, then click
OK.
After you thicken the lines twice, some closely spaced parallel lines have merged into a single line.
Undo the Bitonal Filter Thicken command
- Enter u to undo the Thicken command.
- On the ribbon, click
Raster Tools tab
Edit panel
Process Image drop-down menu
Bitonal Filters
. Then press
Enter to select the whole image.
- Again select
Thicken for the filter type, but select 1 for the number of passes, then click
OK.
With one pass, the gaps in dimension lines are repaired, but the closely spaced lines remain separate. Some experimentation and iteration is often necessary to achieve optimum results with filters.
- On the ribbon, click
View tab
Named Views panel
View Manager
. Then expand the
Model Views node and select the view named
TU_extents, click
Set Current, and click
OK.
AutoCAD Raster Design toolset has applied the thickening filter to the entire image.
- Use
PAN and
ZOOM to examine the line work in the image.
Remove spots
- On the ribbon, click
View tab
Named Views panel
View Manager
. Then expand the
Model Views node and select the view named
TU_spots, click
Set Current, and click
OK.
This area of the image contains spots (scanning artifacts) from small holes in the original drawing.
- On the ribbon, click
Raster Tools tab
Edit panel
Remove drop-down menu
Circular Region
 .
.
- Click the middle of a spot for the center point, then click a second point to mark the radius of the circular area to be removed.
- Press Enter to repeat the command and draw a circle to remove another artifact.
- Close the drawing without saving changes.