Matchbox in Action
While you can use interactive Matchbox shader effects elsewhere in Flame (such as from the Timeline or Batch), using Matchbox in Action presents some unique benefits:
- Matchbox shaders in Action can be parented to a single or multiple texture nodes. Multiple Matchbox shaders can also be added to a texture node. Supported texture maps are Diffuse, Normal, UV, Displacement (HW Only), Parallax, IBL, Specular, Emissive, Lens Flare textures, and Substance textures. These Matchbox shaders effects occur in texture space, after Media list effects but before Action objects. They can be seen as pre-processing effects.
- You can also connect a Matchbox shader to an Action Camera to create a Camera FX that is applied to the whole scene. Camera FX are scene-based post-processing effects.
Keep in mind that the Matchbox XML schema contains tags to identify if the shader is designed as an Action Node, Timeline FX, or Transition. The tags ShaderType and SoftwareVersion are added automatically to the XML by the shader_builder script.
The Action Priority Editor has a Matchbox Only mode to view and change the drawing order of Matchbox shaders.
See the sections below for information on how to add, and things to watch for, when working with each type of Action Matchbox shaders.
Matchbox Shaders Connected to Texture Nodes
To add a Matchbox node in Action connected to a Texture node:
Do one of the following:
Select Add Matchbox in the context menu of a supported texture or 3D Geometry.
The file browser opens to allow you to select a Matchbox shader.
With a supported texture node selected in the Schematic view, double-click the Matchbox node in the All Nodes bin.
The file browser opens to allow you to select a Matchbox shader.
With a supported texture or 3D Geometry node selected in the Schematic view, double-click a Matchbox preset node from the Matchbox node bin.
The Matchbox node with a parented Diffuse node is added to the scene as children of the selected texture or geometry.
Type Matchbox or the name of a Matchbox shader in the Search widget.
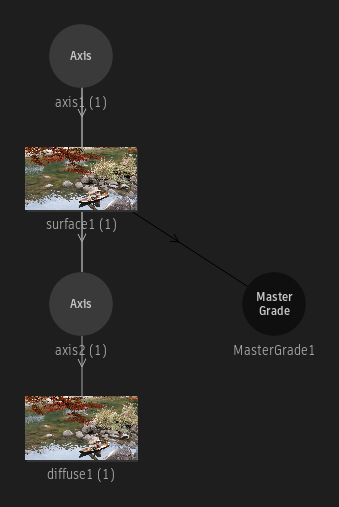
Matchbox nodes and their links are displayed as black in the Schematic view to help you identify them.
Double-click the Matchbox node in the Schematic view to display its menu.
The Matchbox node populates the user interface dynamically, based on the GLSL (and XML) code, but there are a few UI elements that are constant, located in the Shader menu.
Use the Action Object Solo view (F8) on the parent texture to cycle through three Matchbox views: Context, Result, and Result Matte. The F8 view also allows to interact directly in the viewport with widgets, if they are present in the shader.
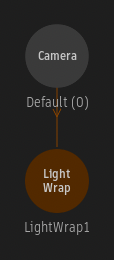
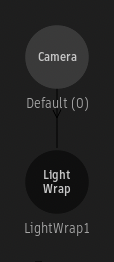
Matchbox Shaders Connected to Cameras (Camera FX)
Connect Matchbox shaders to the Action Camera to have the result of the shader applied to the result of the Action scene. Similar to using Texture Matchbox shaders, the priority editor is used to handle the pipeline order.
GMasks can be connected to a Camera to limit their effect to the post-processing pipeline exclusively. GMask output passes have an option to only show GMasks connected to the current camera, so you can set GMask to not interact with the scene, and only be created to be used with the post-processing pipeline. You can also use a GMask input Matchbox shaders if they have been implemented to use this input.
The Action post-processing pipeline can connect the Matchbox shader automatically to the appropriate Action output. To support this, shader developers need to set the InputType tag properly in the shader XML. Each Action output has its equivalent InputType tag. This includes RGBA shader rendering.
The following input types are supported:
- Front (this defines the Primary Output render layer selection).
- Back
- Matte
- 3D Motion Vectors
- Albedo
- Ambient Occlusion
- Comp (this defines the Action Comp output of the render layer, in case the Primary is another type).
- Emissive
- GMask
- Lens Flare
- Motion Vectors
- Normals
- Occluder
- Position
- Reflection
- Roughness
- Shadows
- Specularity
- UV
- Z-Depth
- Z-Depth HQ (32-bit Z-Depth output packed in two 16-bit channels; you must use the Matchbox API to leverage the data).
Matchbox Camera FX also have access to the Acton output list in their patch panel located in the Shader menu, so the proper connection can be set if the Matchbox shader hasn't been tagged properly in the XML.
To add a Matchbox node in Action connected to a Camera:
Do one of the following:
Select Add Matchbox or Add Camera FX in a Camera's context menu.
The file browser opens to allow you to select a Matchbox shader.
With a Camera node selected in the Schematic view, double-click the Matchbox node in the All Nodes bin.
The file browser opens to allow you to select a Matchbox shader. Some Matchbox shaders supplied with Flame are already optimized for use as Camera FX; navigate to the ACTION_CAMERA_FX sub-folder.
With a Camera node selected in the Schematic view, double-click a Matchbox preset node from the Matchbox node bin.
Type Matchbox or the name of a Matchbox shader in the Search widget.
The Matchbox node is added to the scene as a child of the selected camera. Once a Matchbox node is parented to a camera, it becomes a Camera FX, and you are not able to connect the Matchbox node to any other node other than the Camera nodes in the Schematic view.
Matchbox nodes and their links are displayed as black in the Schematic view to help you identify them.
Double-click the Matchbox node in the Schematic view to display its menu.
The Matchbox node populates the user interface dynamically, based on the GLSL (and XML) code, but there are a few UI elements that are constant, located in the Shader menu.
Rendering Camera FX
When rendering a Camera FX pipeline, Action uses Multi-Render Targets (MRT) to allow outputs to be much more efficient. Depending on the Rendering settings, the scene is rendered only once or twice instead of as many times as there are output passes, leading to a significant speed increase in the case of Camera FX requiring many input connections. The biggest speed improvement can be found when the Accumulation Rendering option is set to Accumulation On or Accumulation Off, since all passes can then be done using a single MRT. In the case of Accumulation RGBA, two MRTs are needed, which reduces the speed improvement compared to the other Accumulation settings, but still offers a significant boost compared to not using MRT at all.
Change Matchbox Shaders
The shader loaded in an existing Matchbox node can be changed.
- Double-click the Matchbox node in the Schematic view to display its menu.
- Navigate to the Shader menu.
- Click Change Shader.
The file browser opens to allow you to select a Matchbox shader.
Colour Change in 2026.1 
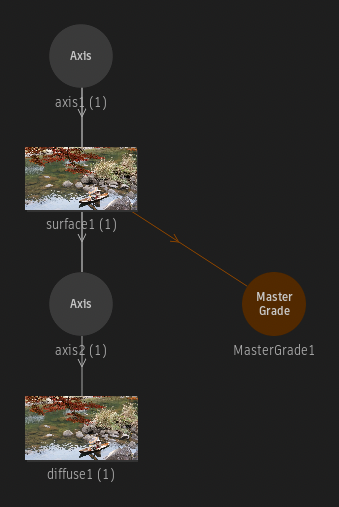
As of Flame 2026.1 Update, Matchbox nodes and their links are displayed as orange in the Schematic view to help you identify them.