This dialog is used as part of the process of exporting survey data. It is displayed when you click OK on the Data Source dialog after choosing the objects to export from your network when an option is selected from the Network | Export | Export survey data menu.
The dialog is used to select the location to which the export data should be saved.
The options on the dialog vary depending on the export format.
MSCC XML format

- Either enter a path and filename for the exported files in the Filename field, or click Browse
to search for a location where the files are to be exported to.
The specified filename will be used as the first part of the name for all exported files.
- Choose which MSCC format the files are to be exported as from the Format dropdown list.
- Check Export defect images to export image files.
BEFDSS XML format
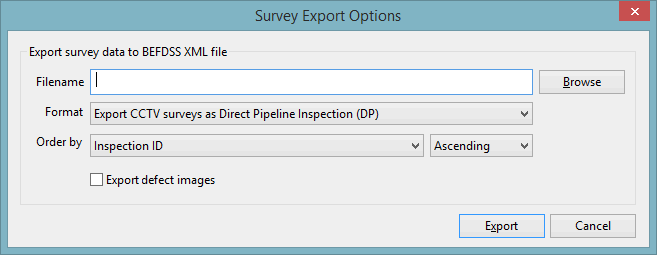
- Enter the path of the folder to where the data is to be exported. (Click Browse to search for a location.)
- Enter a name for the exported files. This will be used as the first part of the name for all exported files.
- Select the format to export the data to:
- Export CCTV surveys as Direct Pipeline Inspection (DP) - traditional CCTV survey
- Export CCTV surveys as Indirect Pipeline Inspection (IDP) - indirect inspection that involves looking down the pipe from a manhole, without the camera travelling down the pipe itself
- Export CCTV surveys as Inventory Data Pipeline Inspection (IDP) - CCTV survey request
- Export manhole surveys as Manhole Inspection (M) - manhole survey
- Export manhole surveys as Inventory Data Manhole Inspection (IDM) - manhole survey request
- Check Export defect images to export image files.
- In the Order by field, select the field to be used to determine the order in which the surveys will be exported. Select the option to sort export by Ascending or Descending order.
STC25 format
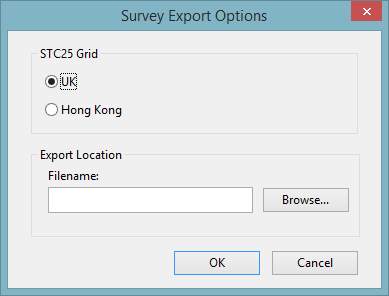
- Set the grid format.
- Enter the path of the folder to where the data is to be exported. (Click Browse to search for a location.)
- Enter a name for the exported files. This will be used as the first part of the name for all exported files.
Examiner/Image/Cleanflow/EU TXT format
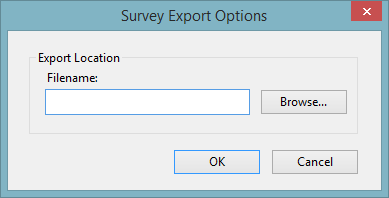
- Enter the path of the folder to where the data is to be exported. (Click Browse to search for a location.)
- Enter a name for the exported files. This will be used as the first part of the name for all exported files.
PACP/LACP format
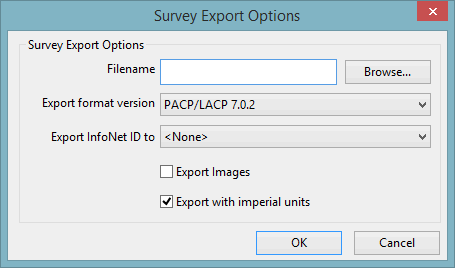
- Enter the path of the folder to where the data is to be exported, or click Browse to search for a location.
- Enter a name for the exported files. This will be used as the first part of the name for all exported files.
-
Select which version of PACP/LACP the files are to be exported as from the Export format version dropdown list.
- Select the Custom Field to which the Survey ID will be exported. If None is selected, the ID will not be exported.
- Check Export images if image files are to be included in the export, or leave unchecked if not.
- Set the status of the Export with imperial units option. Check to export using imperial units; the IsImperial field in the Inspection tables of the PACP and LACP database will be checked. Uncheck to export using metric units; the IsImperial field in the PACP and LACP database tables will be unchecked.
MACP format
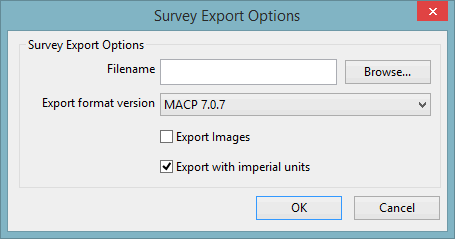
- Enter the path of the folder to where the data is to be exported. (Click Browse to search for a location.)
- Enter a name for the exported files. This will be used as the first part of the name for all exported files.
- Choose the export format version from the drop-down list.
- Check Export Images to export image files
- Set the status of the Export with imperial units option. Check to export using imperial units; the IsImperial field in the Inspections table of the MACP database will be checked. Uncheck to export using metric units; the IsImperial field in the MACP database will be unchecked.
RibX XML format

- Enter the path of the folder to where the data is to be exported. (Click Browse to search for a location.)
- Enter a name for the exported files. This will be used as the first part of the name for all exported files.
WSA transfer format
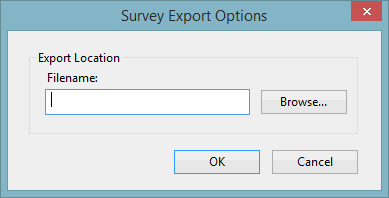
- Enter the path of the folder to where the data is to be exported. (Click Browse to search for a location.)
- Enter a name for the exported files. This will be used as the first part of the name for all exported files.