Draw the arc and specify the number of elements to display in the array.
- Do one of the following:
- Select the elements to be copied in an array, and then click Modify | <Element> tab
 Modify panel
 (Array).
- Click Modify tabModify panel (Array), select the elements to be copied in an array, and then press
Enter.
- Select the elements to be copied in an array, and then click Modify | <Element> tab
- On the contextual tab of the ribbon use the dropdown and select
 (Radial).
- Select the desired options, as described for creating a
linear array.
Tip: When you create a radial array, the steps are similar to rotating an element and copying it. See Rotating Elements.
- Reposition the center of rotation control (
 ) to the desired location by dragging it.
The array members will be placed around an arc measured from this point. In most instances, you want to drag or reposition the center of rotation control away from the center of the selected elements. The control snaps to points and lines of interest, such as walls and the intersections of walls and lines. You can also position it in open space.
- Move the cursor to a position where the arc of the radial array will begin. (A line radiates from the center of rotation symbol to the cursor position.)
Note: If you want to specify the angle of rotation (instead of drawing it), specify an Angle value on the contextual tab of the ribbon. Skip the remaining steps.
- Click to position the first ray of rotation. If the cursor snaps while specifying the first ray, the snap line rotates along with the preview box and snaps to angles on the screen while placing the second ray.
- Move the cursor to place the second ray of rotation.
Another line displays to indicate the ray. A temporary angular dimension displays as you rotate, and a preview image shows the selection rotating.
- Click to place the second ray and finish the array.
If you selected Move To 2nd on the contextual tab of the ribbon, the second ray of rotation defines the location of the second member of the array. Additional array members are placed using the same spacing.
If you selected Move To Last, the second ray of rotation defines the location of the last member of the array. Additional array members are spaced equally between the first and last members.
If you selected Group and Associate on the contextual tab of the ribbon, controls appear on the radial array. Use the 2 end controls to resize the angle of the arc. Use the middle control to drag the array to a new location. Use the top control to resize the radius of the array.
Example

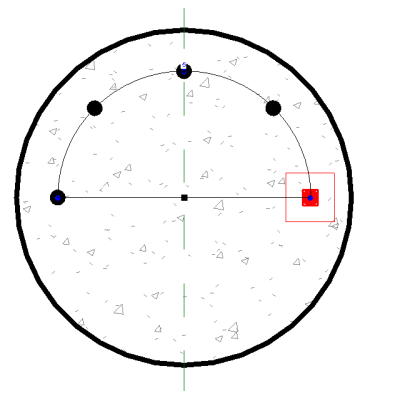
Drawing the arc for the radial array
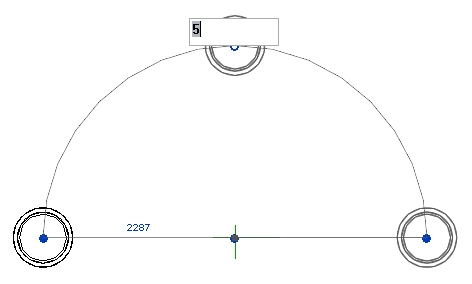
Specifying the number of elements in the array
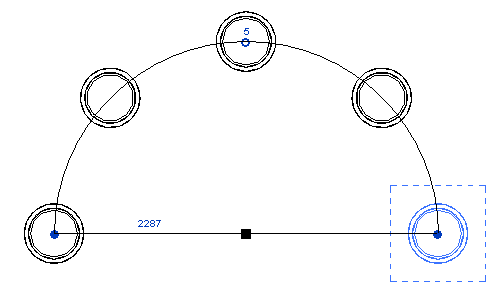
The completed radial array
Structural Example
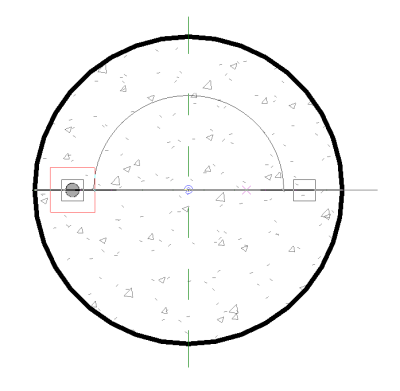
Drawing the arc for the radial array
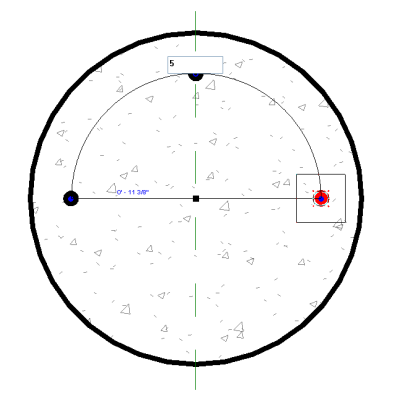
Specifying the number of elements in the array
The completed radial array