You can use linked topography in many of the same ways that you can use topography created in Revit.
 Video: Work with Linked Topography
To link topography to your model, click Insert tab Link panel
 (Link Topography).
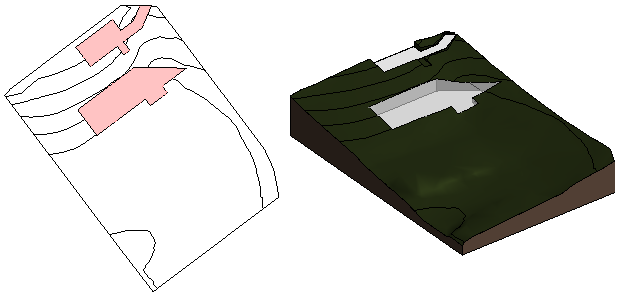
Using linked topography in the model
One topography link may include multiple surfaces. You can treat each surface separately.
You can do the following with the linked topography surfaces:
- Assign a different phase to each surface.
- Display the topography in a view, and place it on a sheet.
- Create a section view that cuts the topography. Display poché below the surface.
- Specify contour settings and display contour labels on the topography.
- Place site components on the topography.
- Place railings on the topography. They follow its surface.
- Create sub-divisions and assign materials to them.
- Add spot dimensions (such as spot elevations and spot slopes) to a surface.
- Include topography data in a schedule.
Visibility and graphics for linked topography
You can control the visibility and graphics of linked topography as follows:
- Visibility/Graphics: Use the Visibility/Graphics dialog to control the display of the topography in each view. For example, you can display or hide the topography, change its graphics, and more. In a 2D view or a 3D view, on the Visibility/Graphics dialog, click the Model Categories tab, and expand the Toposolid category to turn visibility on or off, and to define graphics settings.
- Assign a material to the topography.
Managing linked topography
To manage topography links, use the Manage Links dialog.
- Reload: When you reload a topography link, all hosted elements are restored to the topography surface. For example, railings remain in their respective positions on the surface.
If a reloaded surface has changed so that a hosted element is no longer positioned on it, a warning displays so you can investigate and correct the issue. If some surfaces in the reloaded topography no longer exist, you see a list of the deleted surfaces.
- Reload from: Use this option to reload a topography link from another location.
- Remove: If you remove a topography link, the elements that it hosts are also deleted. A warning dialog indicates how many elements are affected. Expand the list to see element details. To avoid deleting the hosted elements, cancel the Remove operation.
Additional linked topography considerations
The source file being linked may contain invalid surfaces. When this occurs, you will receive a notification and Revit can attempt to fix the invalid surfaces. You might also consider manually fixing the invalid surfaces in the source file before linking to Revit.
For performance reasons,Revit limits the number of mesh triangles that can be linked to 1,000,000. When this limit is exceeded, Revit will simplify the resulting linked element to optimize performance and file size. For additional information see Simplify Topography.