In order to update a
Robot model:
- In
Robot, click
Add-Ins
 Integration
Autodesk Revit Structure.
The Integration with Revit Structure dialog opens.
Integration
Autodesk Revit Structure.
The Integration with Revit Structure dialog opens.
- Select
Update model and click
Update options.
The Integration with Revit Structure - Update Options dialog opens.
- Specify the scope and transfer options, and then click OK.
- Click
OK to start the update.
If you select Update from the intermediate file (.smxx), the Open dialog displays. Use this dialog to select a SMXX file.
- In the Update model from Revit Structure dialog, you can view the progress of the transfer (update of necessary data in Robot resulting from changes made in Revit).
- The
Mapping of elements dialog opens only if, during the transfer, section names (defined in
Revit) are not recognized in the active section database of
Robot.
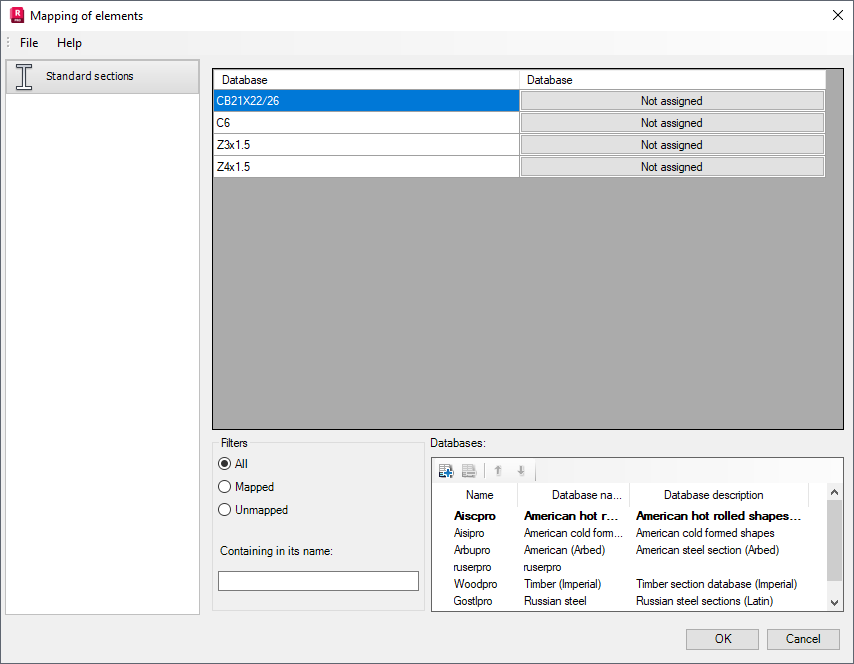
- Click the
Not assigned button located in the right-hand side of the profile, which was not recognized. The additional dialog opens, where the profile to be assigned from the database is to be selected.
Use the icons to work in the Mapping of elements dialog:
 add selected database of profiles to the list.
 delete selected database of profiles from the list.

 change order of viewing the databases of profiles (one position up/down).
- When you click OK, sections from the database are assigned to the unrecognized sections (they are assigned geometrical properties).
- Click the
Not assigned button located in the right-hand side of the profile, which was not recognized. The additional dialog opens, where the profile to be assigned from the database is to be selected.
- After the model update is completed, the messages/warnings which appeared in the update process may display on the screen.